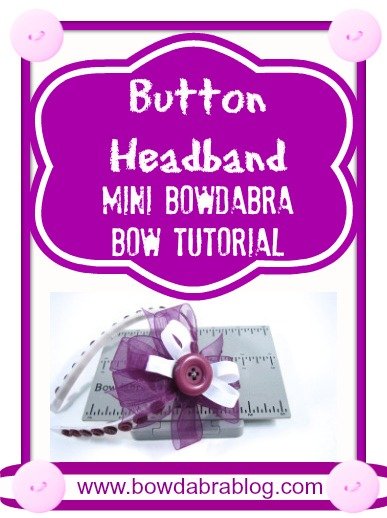
Headbands are not just for little girls they are great for all ages and hair styles. I will wear a headband not only when I am dressed up but also in the gym to keep my hair out of my face. Headband are so versatile; add some buttons and a bow to a headband and I am completely sold!
To make your own button headband you will need:
- Mini Bowdabra
- Hair Bow Tool & Ruler
- Bowdabra Bow Wire
- Sheer Ribbon
- 3/8? Grosgrain Ribbon
- Assorted Buttons
- Headband
- Hot Glue Gun
Instructions:
1. Start by hot gluing buttons onto a headband. I used a thin width headband that I covered with white 3/8? grosgrain ribbon. Leave a space between buttons to attach your bow.
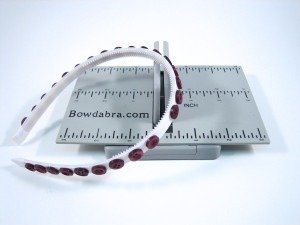

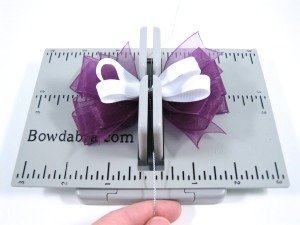
2. Next, place the Hair Bow Tool & Ruler on top of the Mini Bowdabra. Cut a piece of 18? Bowdabra Bow Wire, fold it in half and place it into the Bowdabra.
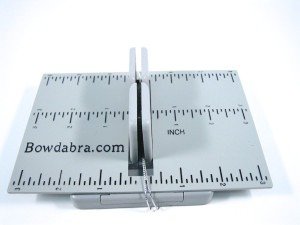
3. Then following the instructions on the Interactive CD, that comes with the Hair Bow Tool & Ruler, make two 4? wide Boutique Bows with 2? tails.
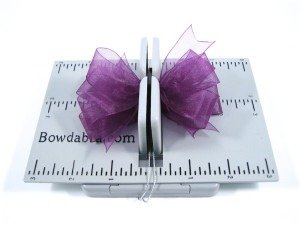
4. Add a 3? wide Boutique Bow using 3/8? white grosgrain.
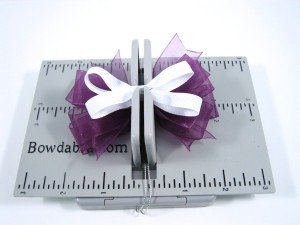
5. Next, scrunch the bow down with the Mini Bowdabra Wand.
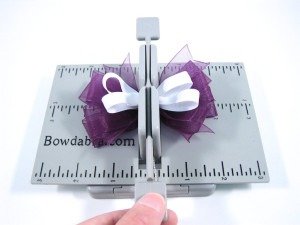
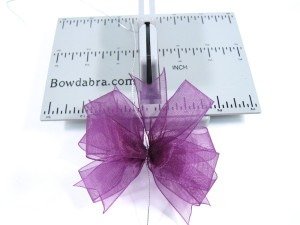
6. While the bow is still in the Mini Bowdabra, thread the two loose ends of the Bowdabra Bow Wire through the loop at the other end. Pull the Bowdabra Bow Wire tightly while the bow is still in the Mini Bowdabra.
7. Gently pull the bow out of the Mini Bowdabra. Separate the two loose ends of the BowdabraBow Wire and bring them around to the back of the bow. To tie off the bow, pinch the BowdabraBow Wire securely against the bow. Twist the bow 4 to 6 times in a clockwise direction.
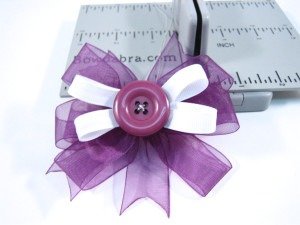
8. Fluff bow and attach a button to the front of the bow using the Bowdabra Bow Wire.
9. Bring the Bowdabra Bow Wire back around to the back of the bow and tie it onto the headband. Trim away the excess wire.
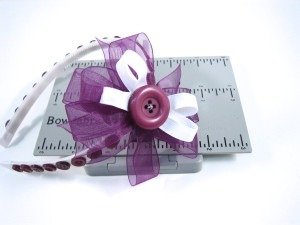
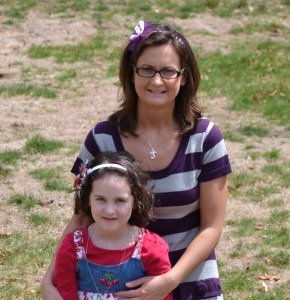
10. Your headband is ready to wear! This style headband is perfect for both a mom and a daughter.