I am very excited about today’s craft. I have wanted to make one of these for quite some time. Today, I am going to show 

Here is What You Will Need:
1 Package of Coffee Filters
1 Wreath form
Hot glue gun
Hair Bow Tool & Ruler with Interactive Bow Making CD
Scrap Piece of 5/8 inch wide Red Grosgrain Ribbon
Instructions:
1. Begin by collecting all the supplies that you will need to make this Valentine’s Day wreath.


2. Next, to make the wreath start out by folding your coffee filter in half.

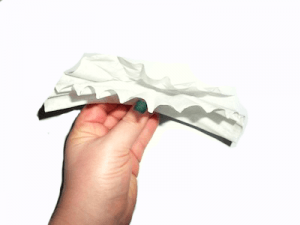
3. Put a line of glue on your wreath form and attach the coffee filter.
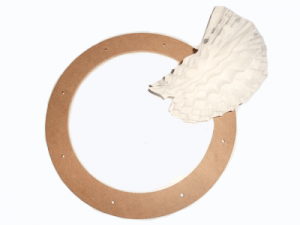
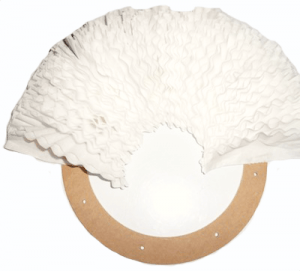
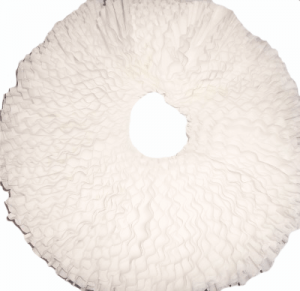
4. Continue to add one folded coffee filter after another onto the wreath. Place the coffee filters evenly spaced and close to one another.

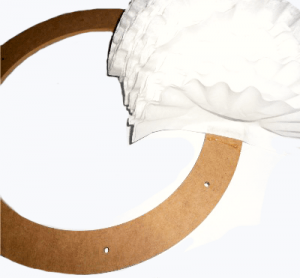
5. The process is slow but well worth the effort.

6. Adding the coffee filters took me about 30 minutes to do. Thank goodness for a great playlist on my iPod 


7. Once you have completed your wreath, it is time for a bow. To make the bow I used the Mini Bowdabra and Hair Bow Tool & Ruler. Begin by placing the Hair Bow Tool and Ruler onto the Mini Bowdabra. Cut an 18”³ piece of Bowdabra Bow Wire, fold it in half, and place it into the Mini Bowdabra.


8. Following the instructions on the Interactive Hair Bow Making CD (CD comes with the Hair Bow Ruler) to create a Boutique Style Bow.

9. Follow the CD’s instructions for finishing the bow. Once finished, tie a scrap piece of 5/8 inch wide red grosgrain ribbon onto the back of the bow. Using the 5/8”³ wide red grosgrain as a finishing ribbon on the center of your bow to hide the Bowdabra Bow Wire. To keep the grosgrain ribbon tails from fraying run a lighter along the edges of ribbon to keep it from fraying. An another alternative to keep ribbon from fraying is clear nail polish. I hot glued my bow onto my extra red ribbon. The wreath is finished and ready for hanging.
