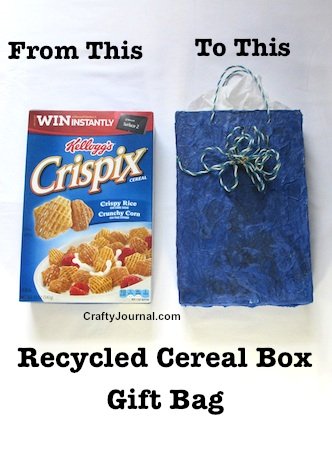
Don’t throw away your cereal boxes! You can use one to easily create this recycled cereal box gift bag.


You can also use recycled tissue paper to cover the box because it won’t matter if the paper is wrinkled.

A colorful way to cover a box would be to use different colors of tissue paper.
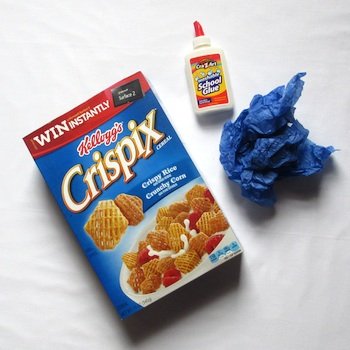
Supplies.
Empty Cereal Box
2 or 3 Sheets of Tissue Paper, they can be used
White Glue or Mod Podge
Foam Brush
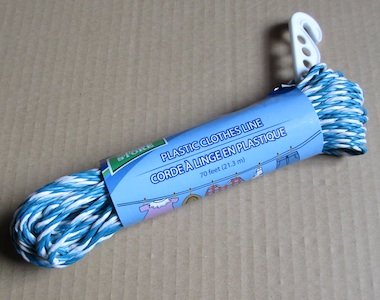
Plastic Clothesline from the Dollar Store
Bowdabra
Paper Punch
Scissors
How to Make a Recycled Cereal Boxes Gift Bag.
1. Cut all the top flaps off the cereal box.
2. Scrunch 2 sheets of tissue paper into a ball and open up again.

Cover the front of the box with a thin layer of white glue.
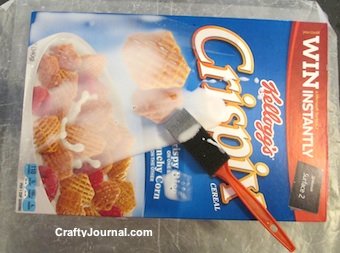
Leaving an inch or two of tissue above the top of the box, lay the wrinkled paper on the box, and gently press down all over.
Turn the box to one side and repeat the process. Cut off the excess paper to use for the second layer.
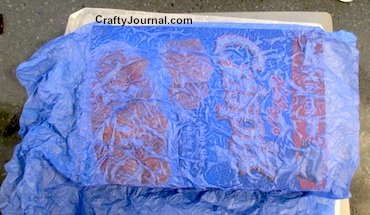
3. Add a thick layer of glue over the first tissue layer, being careful not to tear it, as the tissue paper is very fragile when damp.
Lay a second piece of tissue paper over the first layer and press down gently.
If you tear the tissue paper, you can gently push the edges back together.
Or raggedly tear a small piece of tissue and glue over the spot. The ragged edges won’t show like a straight edge would.
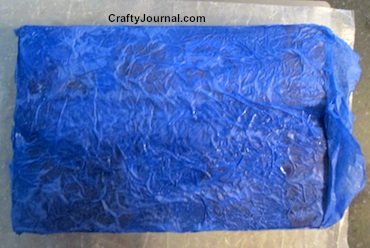
Repeat this process with the back of the box and other side, until you have covered the whole box.
You can use a hair dryer to help dry the tissue paper.
I found that the sides dried slowly, and I let them dry overnight before I finished the box. Mod Podge may dry more quickly as I haven’t had it take so long to dry when I’ve used it for other projects.
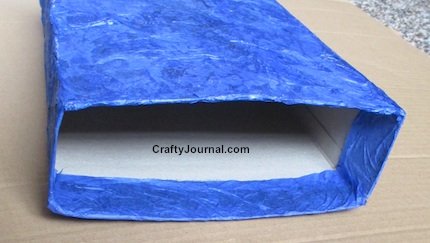
4. When the box is dry enough to handle, cut a slit straight down from the top of the tissue paper to the top of the box at each corner.
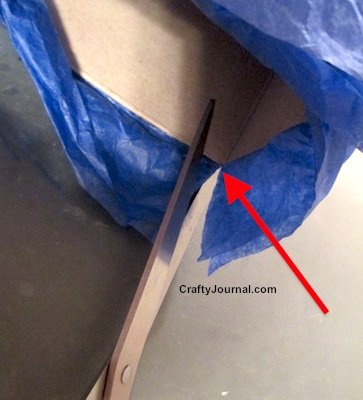
This will allow you to fold the inch or so of tissue paper down into the box and make a nice finished edge around the inside top.
5. Put a thin layer of white glue just inside the top of the box.

Fold the tissue paper down over the glue and gently press to adhere.
Do this all the way around the top of the box.
Let the box dry overnight.
How to Make the Plastic Clothesline Bow with the Bowdabra.

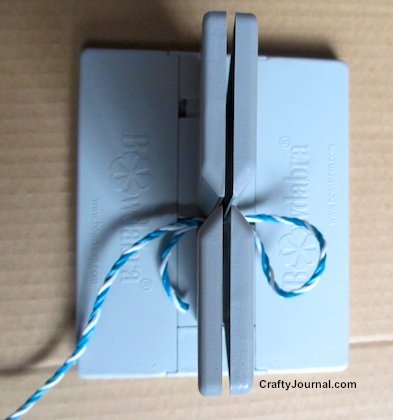
1. Cut a piece of Bowdabra bow wire 24 inches long and fold it in half.
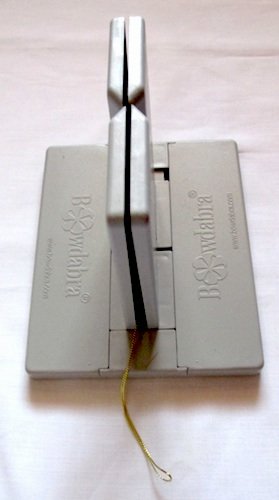
Lay it in the middle of the long slit, tucking the loop under one side and the ends under the other side.
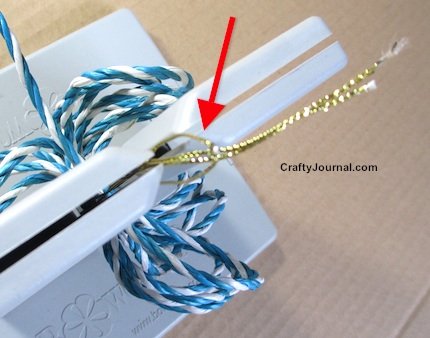
2. Lay one end of the plastic clothesline through the short slit as shown.
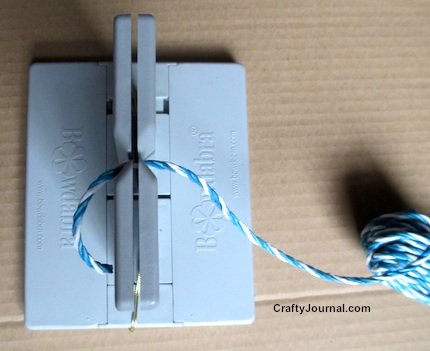

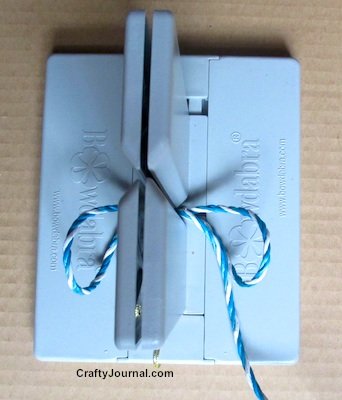
3. Loop the clothesline on the right side and put it back through the slit, leaving about a 3 inch loop.

I put the edge of the loop at the edge of the Bowdabra.
4. Make a loop on the left side and put the clothesline back through the short slit. This loop should also be about 3 inches.
5. Loop the clothesline on the right side so it is about the same size as the previous one and put the rope back through the slit to the left side.
6. Continue making loops this way until you have about 6 or 7 loops on each side.
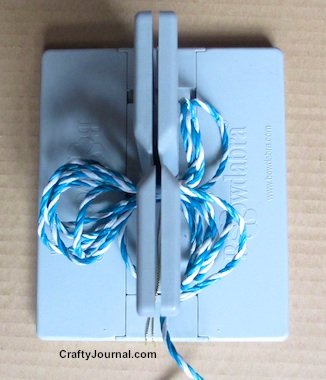
7. Use the Bowdabra wand to press down the center of the bow.
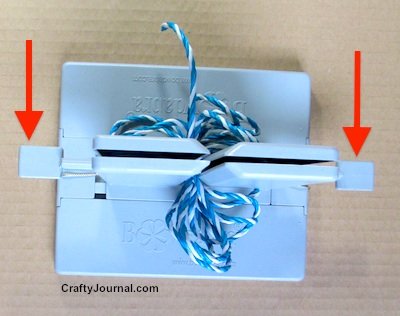
8. Pull up the ends of the Bowdabra wire and put them through the wire loop at the other end.

Pull it fairly tight. Because of the way the plastic clothesline worked I kept it snug, but not extremely tight.
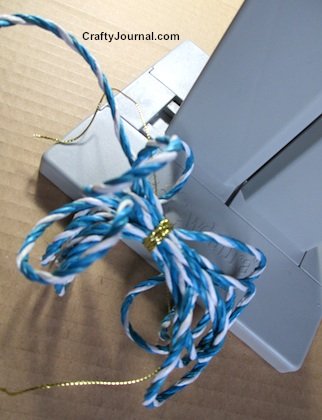
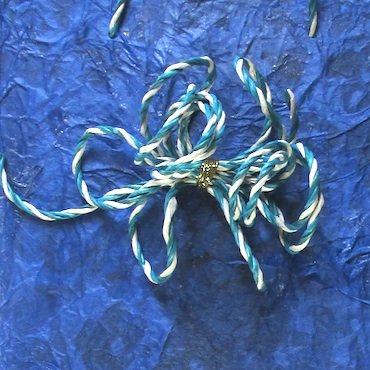
9. Gently pull the bow up off the Bowdabra, wrap 1 wire around each way to the back of the bow.
Wind each end around the center 3 or 4 times before you tie it in the back.

Finish the Gift Bag.
1. Punch holes to insert the handles, leaving about 3 1/2 inches between the holes.
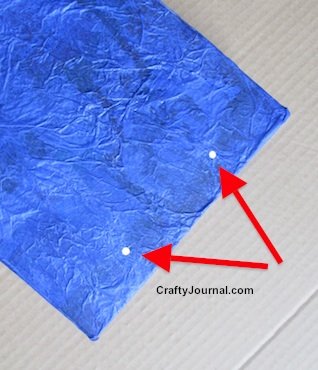

Find the center of the bag at the top.
Mark each hole 1 3/4 inches to each side of center, about 3/4 inch down from the top.
Punch the holes.
2. Cut 2 handles about 20 inches long.
Put one end of the handle through the hole and tie a knot large enough so that it can’t slip back through.
Put the other end of the handle through the other hole and tie a knot.
The part of the handle above the bag should be about 12 inches.
3. Repeat with the other handle.
The knots can be put on the inside of the bag

or the outside of the bag, according to how you prefer it.

4. Lay the bow on the front of the box to see how it looks best.
After you’ve decided the best location, punch 2 small holes (I use an ice pick) about 1/4 of an inch apart where the center of the bow will be.
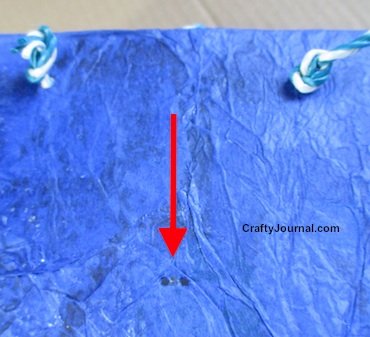

Put the ends of the small wires tied around the middle of the bow, through the 2 holes, and tie them on the inside of the bag.

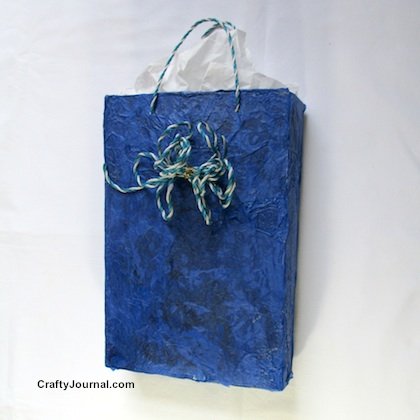
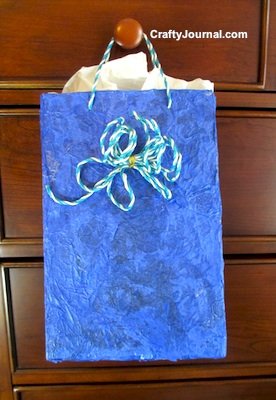
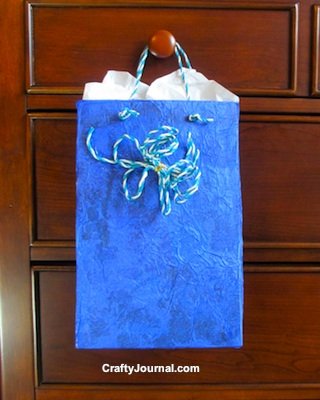
This is the finished bag.
And here’s the recycled gift bag with Big Bow Bunny attached instead of a bow!
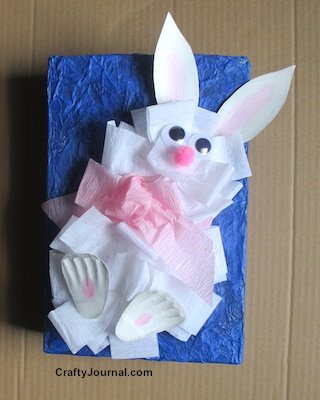
In this case, I thought the bag looked better without the handles, which would have interfered with the bunny’s ears.
Tips.
Any kind of thin rope, twine, or ribbon can be used for handles.
Grommets could be added to the handle holes before the handles are put on.
The plastic clothesline had a mind of its own! To straighten the handles, I heated them with a blow dryer and hung the bag (with a bit of weight in it) for a few hours.
Noreen Doll
Crafty Journal
Do you have the Bowdabra to make these Recycled Gift Bags from Cereal Boxes?