
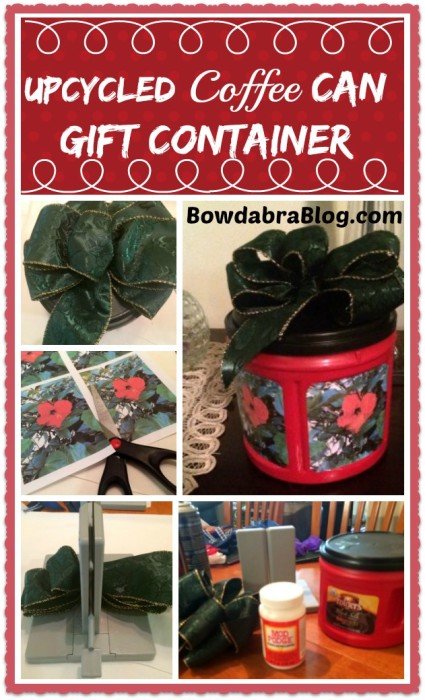
Here in South Louisiana, we drink a lot of coffee. Its fun to recycle that coffee canister into a beautiful coffee can gift container!
Being a proud member of the “I am a crafter and can’t throw anything away” club, I always save most of my empty containers. They are sturdy and make great storage for any craft supplies, school supplies, sewing, toys, etc.
My favorite use is for wrapping that hard to wrap gift. Be it Christmas, birthday, baby or hostess gift. Think of those toys that are sealed in hard plastic. Or dvd’s. All snuggle nicely into the container, and the recipient has an extra gift to use instead of tossing into the wrapping paper pile.
I found the idea for decorating them on the Folger’s Coffee website. There you can find free holiday templates for decorating their canisters.
I prefer to use pictures that I have taken myself and spay paint the container in whatever color suits my fancy or the occasion at the time.
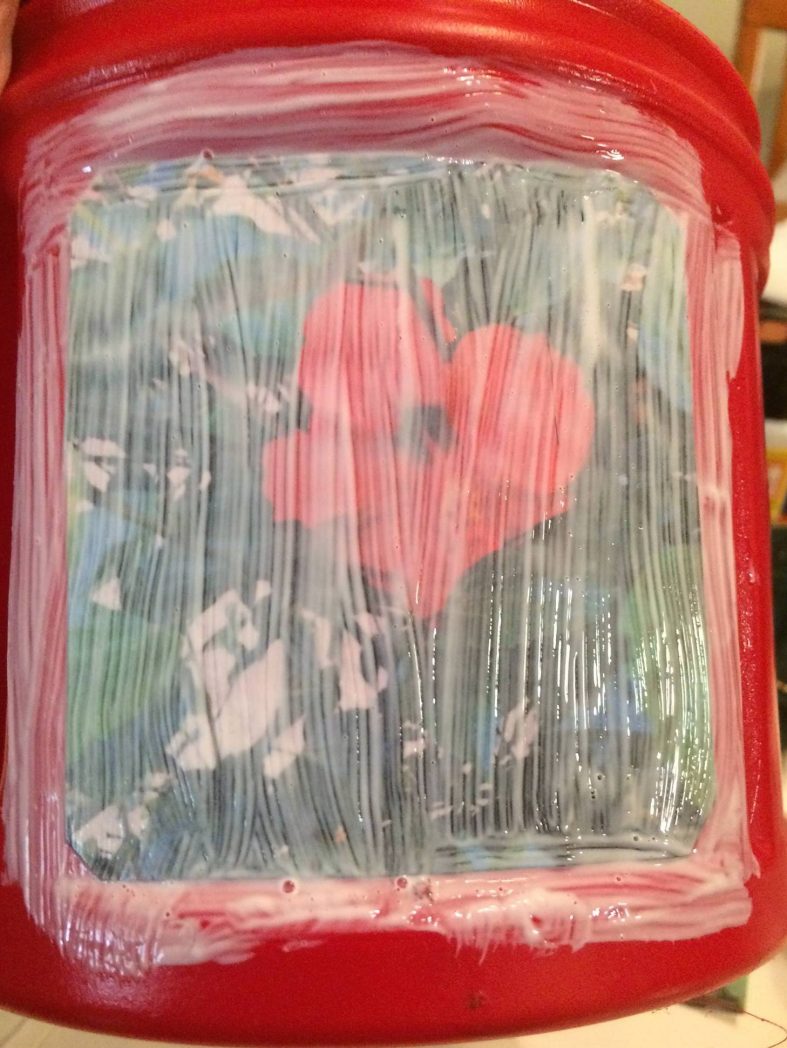
For this project I used Christmas colors. The picture is of a red Hibiscus growing in my yard.
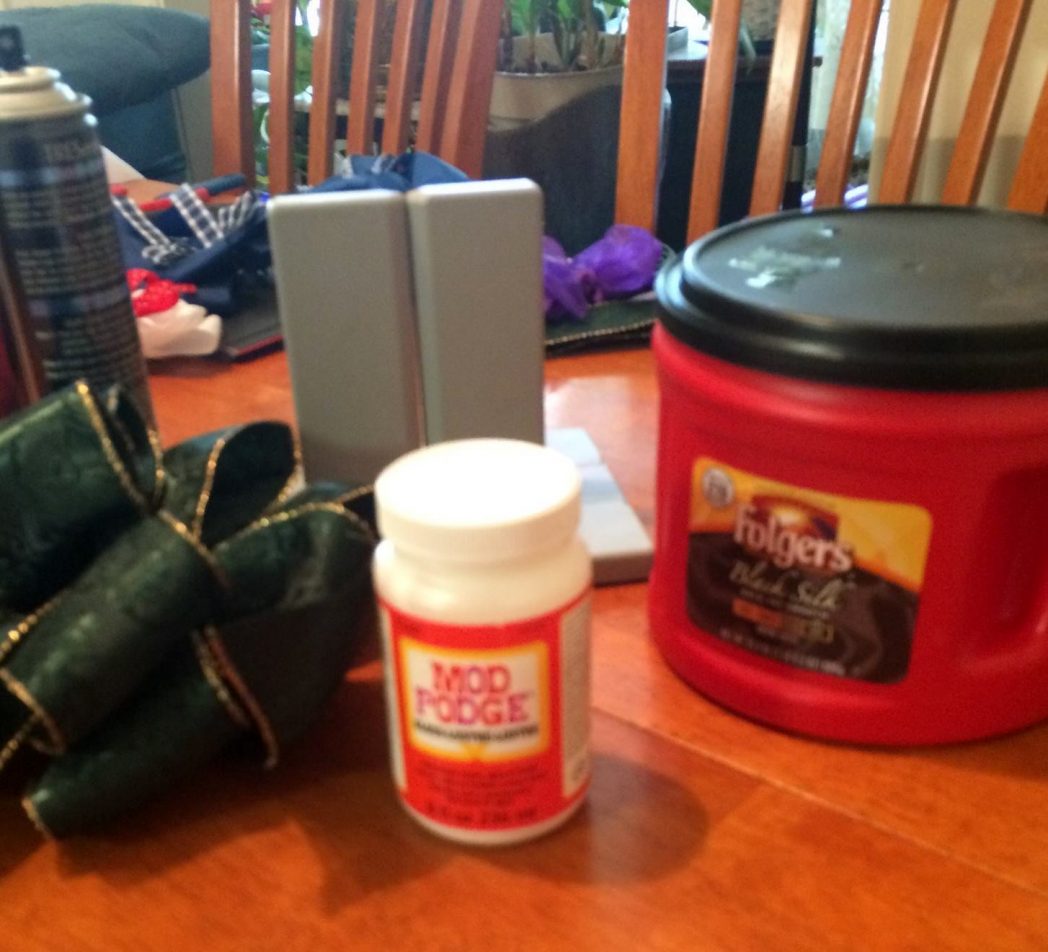
Supplies:
- Clean plastic coffee canister
- Color printer
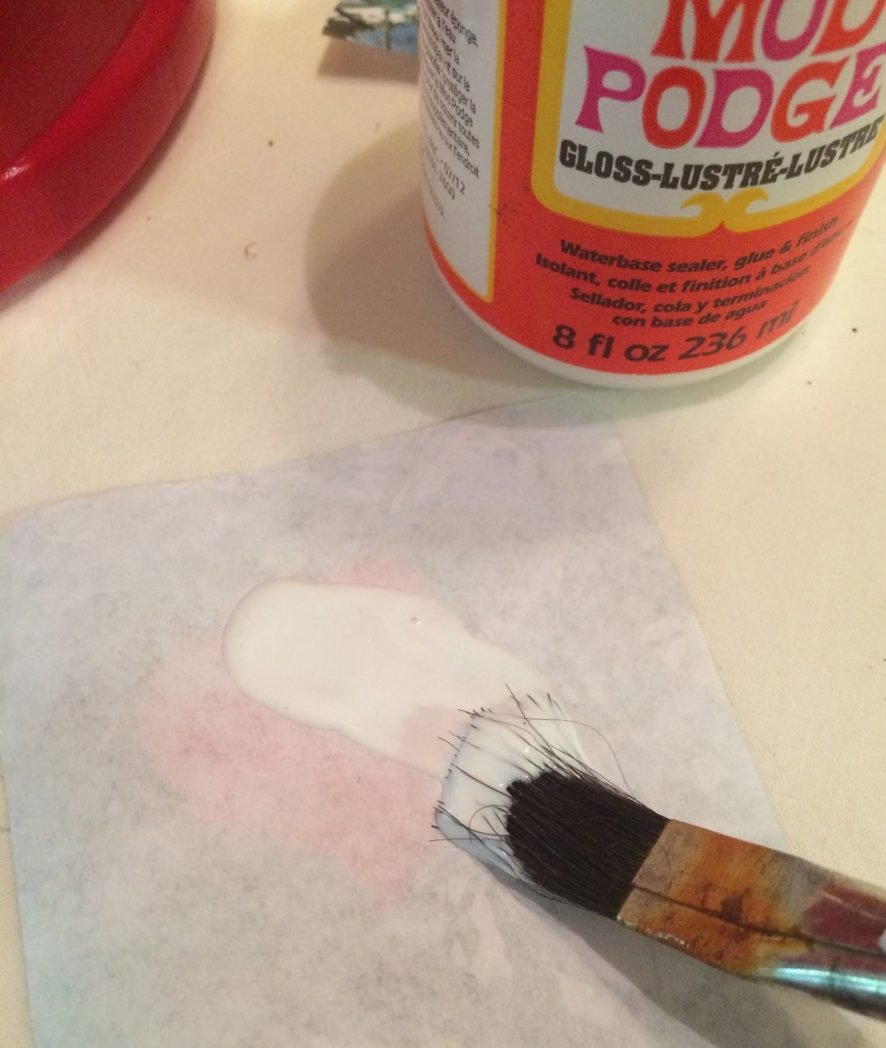
- Mod Podge Gloss (Or any decoupage medium)
- 1/2 to 1 inch paint brush
- Red spray paint
- 2 1/2 green wired edge ribbon
- Bowdabra tool
- Bowdabra wire
1. Gather your supplies.
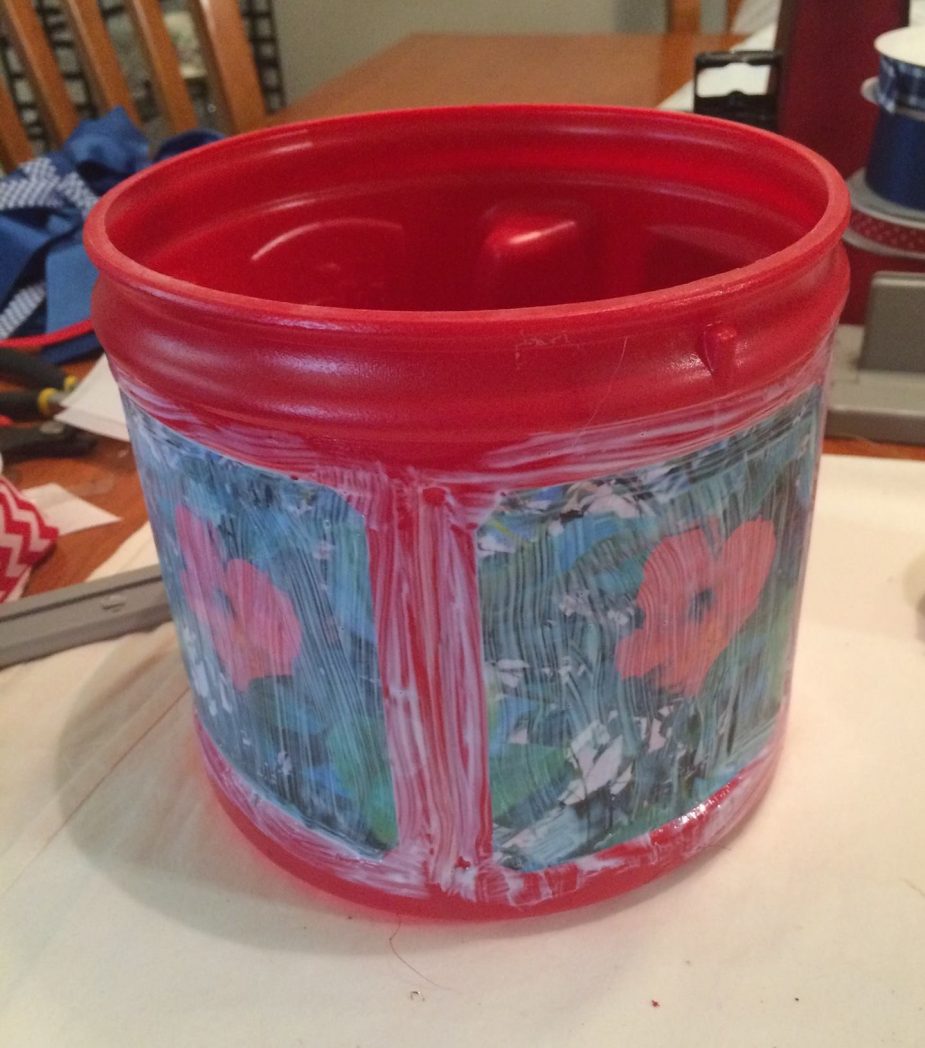
2. Spray paint your coffee canister
3. Print your picture using a color printer. Select size 3 1/2 by 5 on your print options.
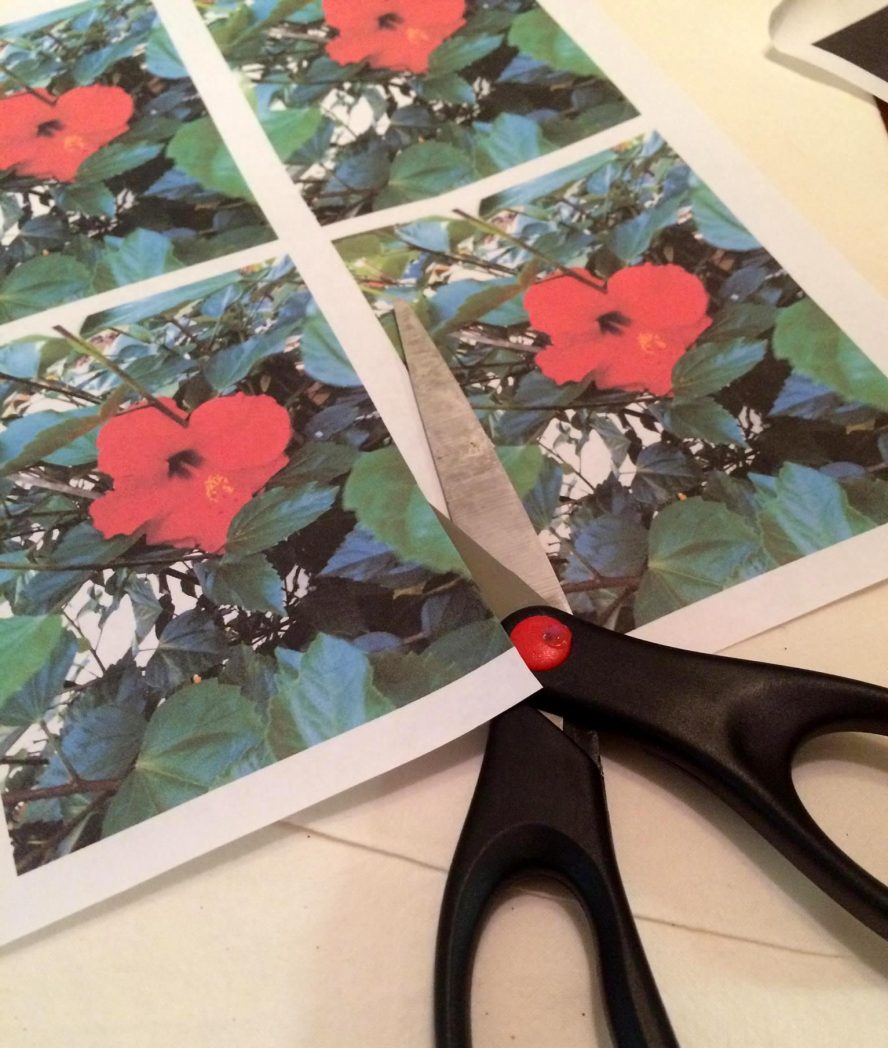
4. Trim your pictures to 3 3/4 by 3 1/2. If your picture is centered you will want to trim at the top and the bottom.
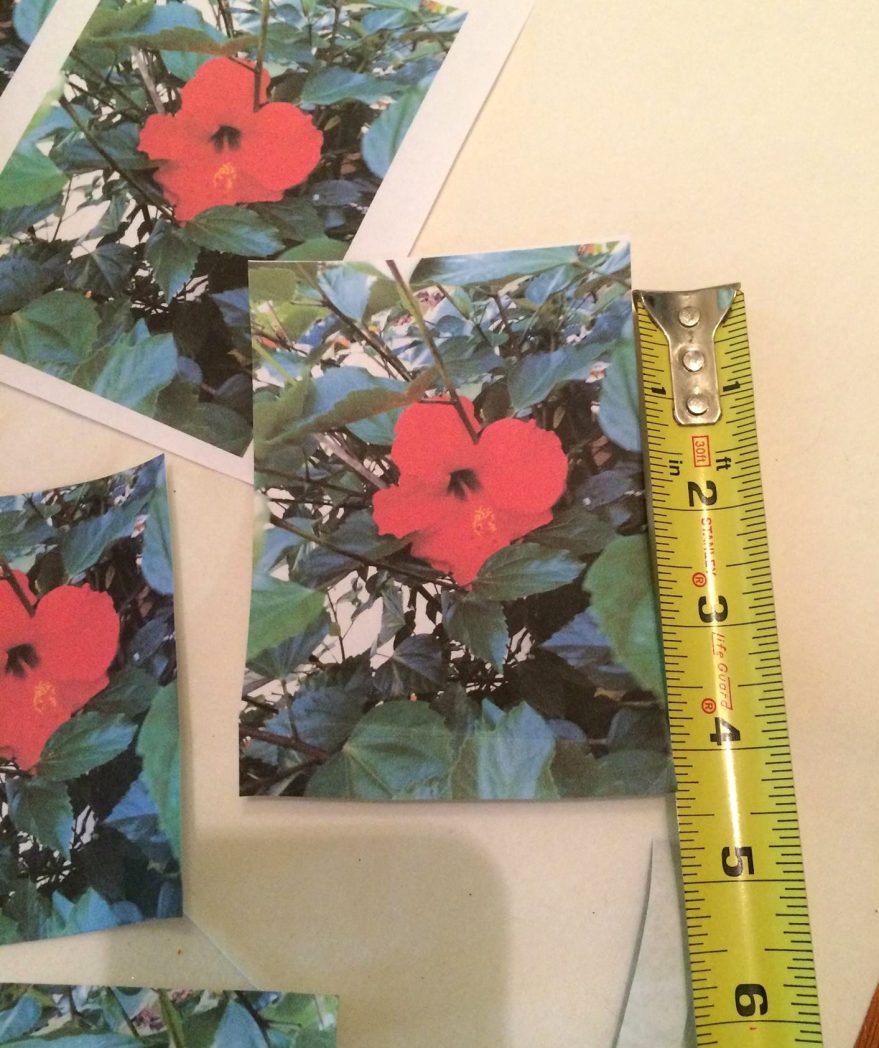
5. Place your picture on the canister and measure for any further trimming needed to fit the indentations.
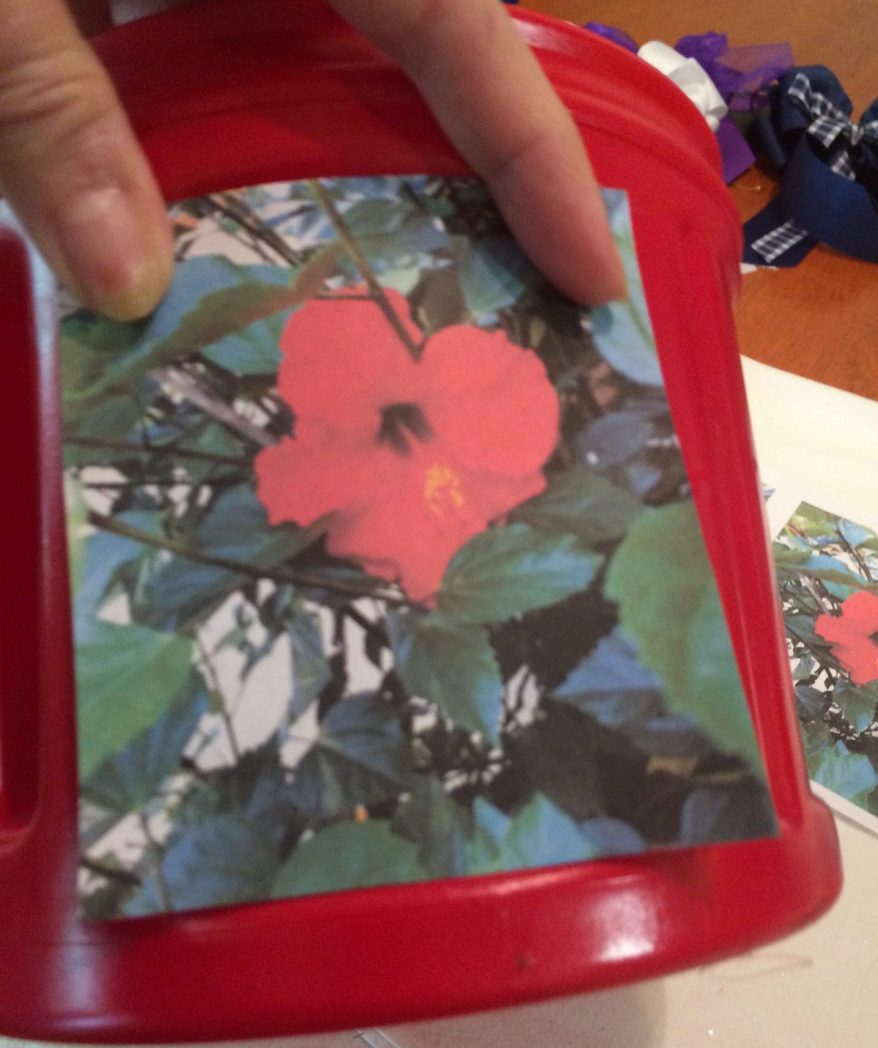
6. Turn your picture over and using a clean dry paint brush, apply a thin layer of Mod Podge on the back. Note: Make sure you use a dry paint brush to prevent water bubbles.
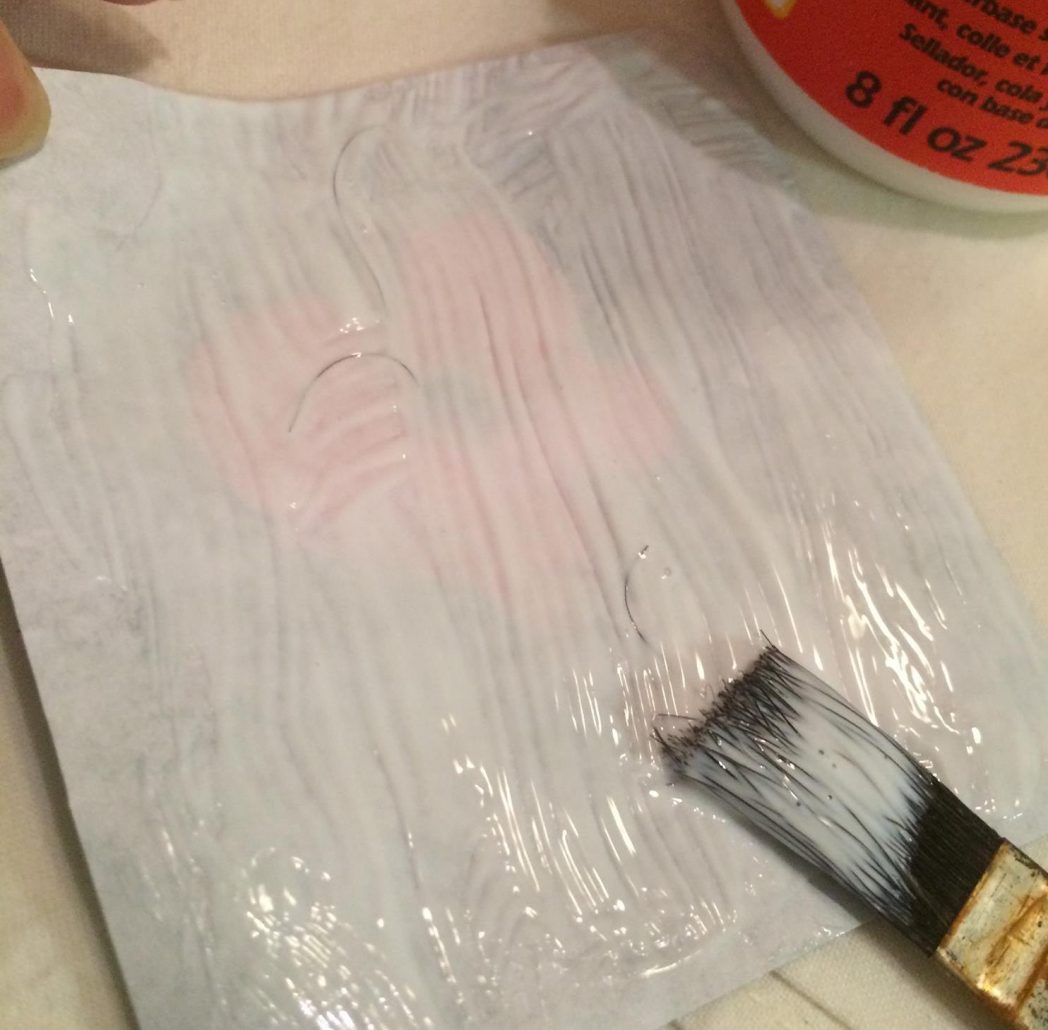
7. Carefully place your picture on the side of the canister. It will be movable for a short period of time before the glue starts to set. Using a piece of card board, (a stiff business card works well) gently smooth out any bubbles or ridges in the glue underneath.
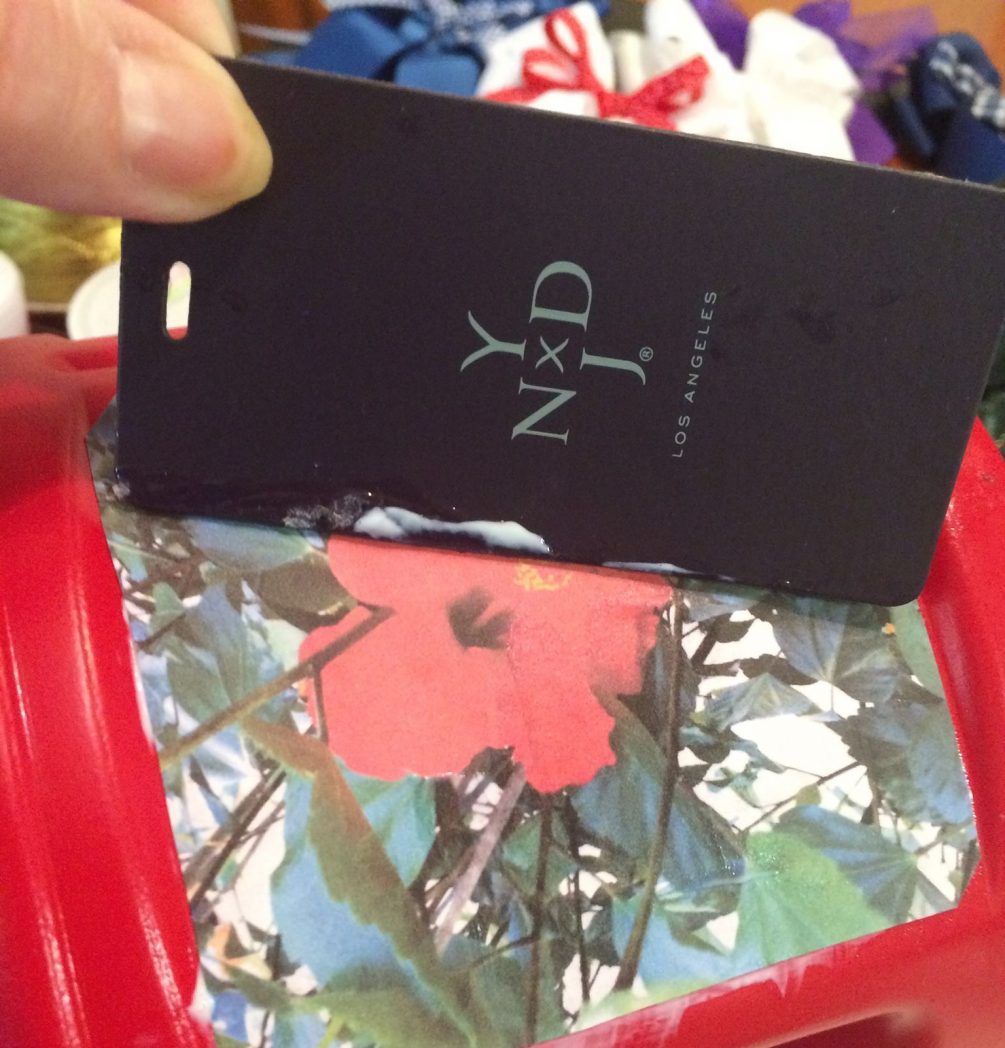
8. Apply a coat of Mod Podge on the top of the picture extending beyond the edges onto the canister all around the picture.
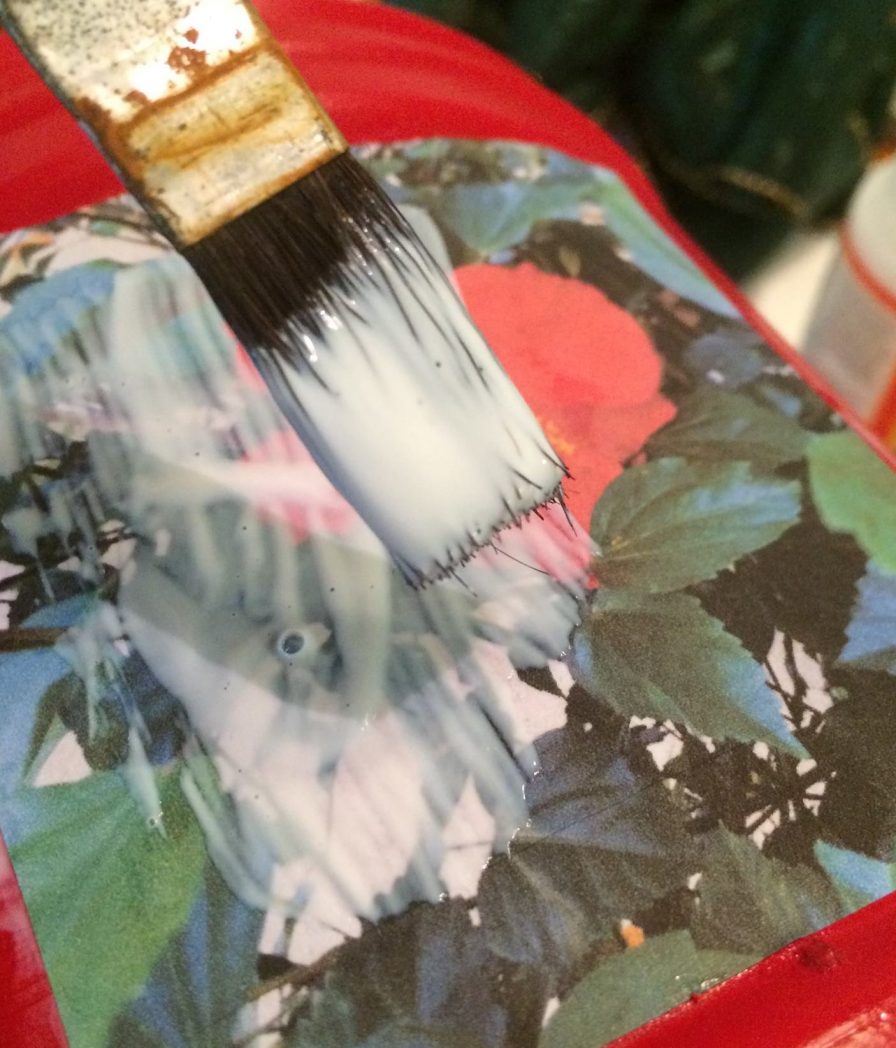
9. Continue with the other two sides.
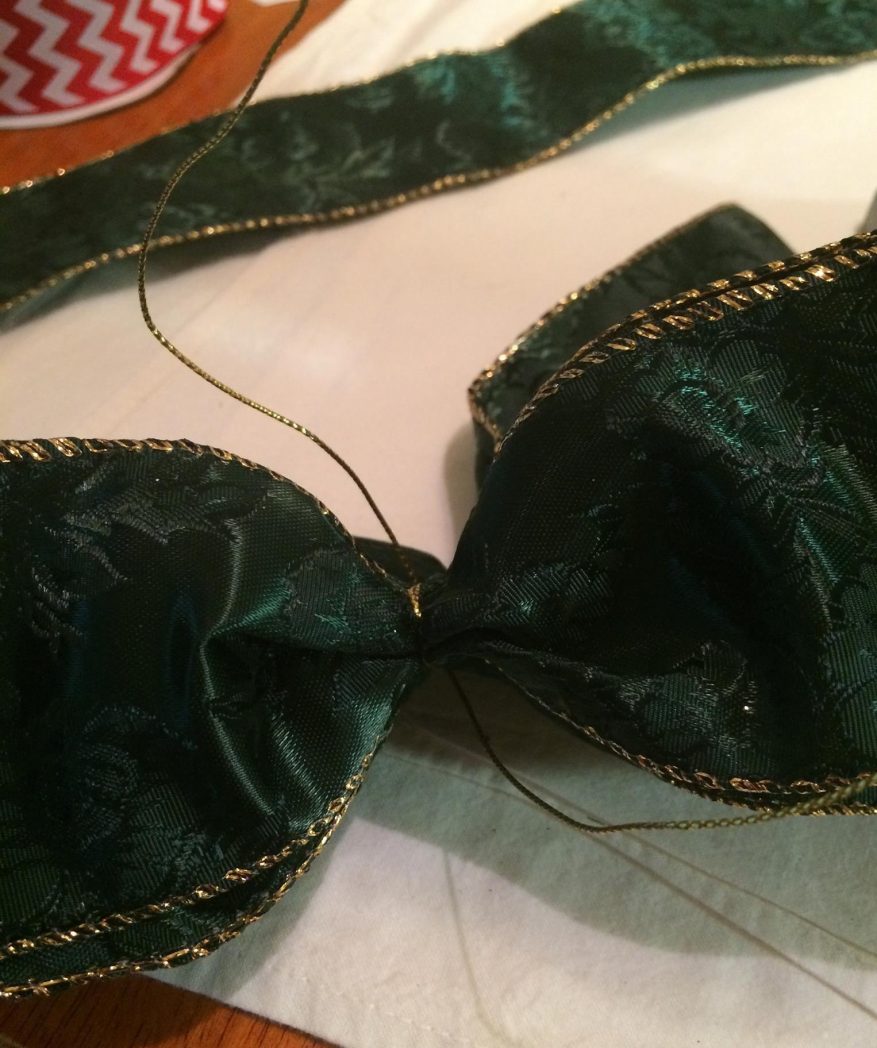
Create your bow:
1. Insert your wire into your Bowdabra tool.
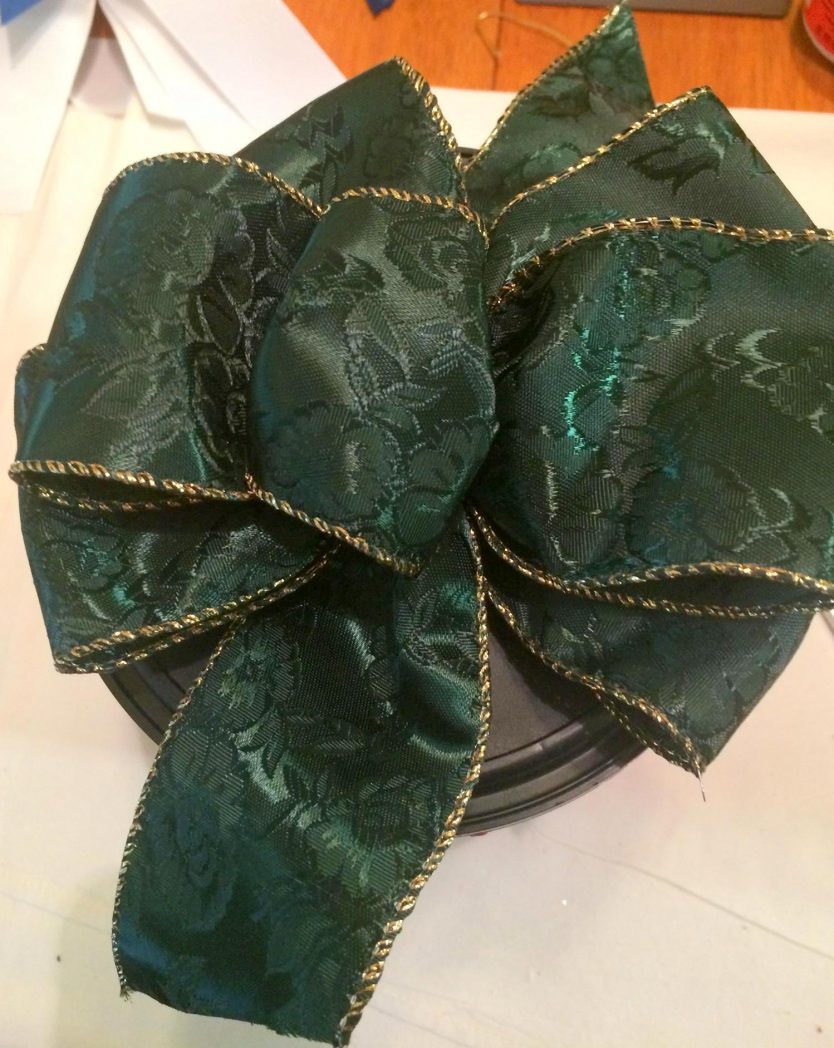
2, Begin by inserting your ribbon into the center leaving approximately a 4 inch tail. Loop your ribbon back and forth until you have 3 loops on each side. Make 1 more 2 inch loop (this will serve as the middle of your bow) and leave another 4 inch tail.

3. Pull your bowdabra wire up, bringing the ribbon lo.ops as you do. Insert the loose ends of the wire into the loop end and tighten. Turn your bow over and tie the wire into a knot.
4. Spread out your loops, fluffing them up as you go.
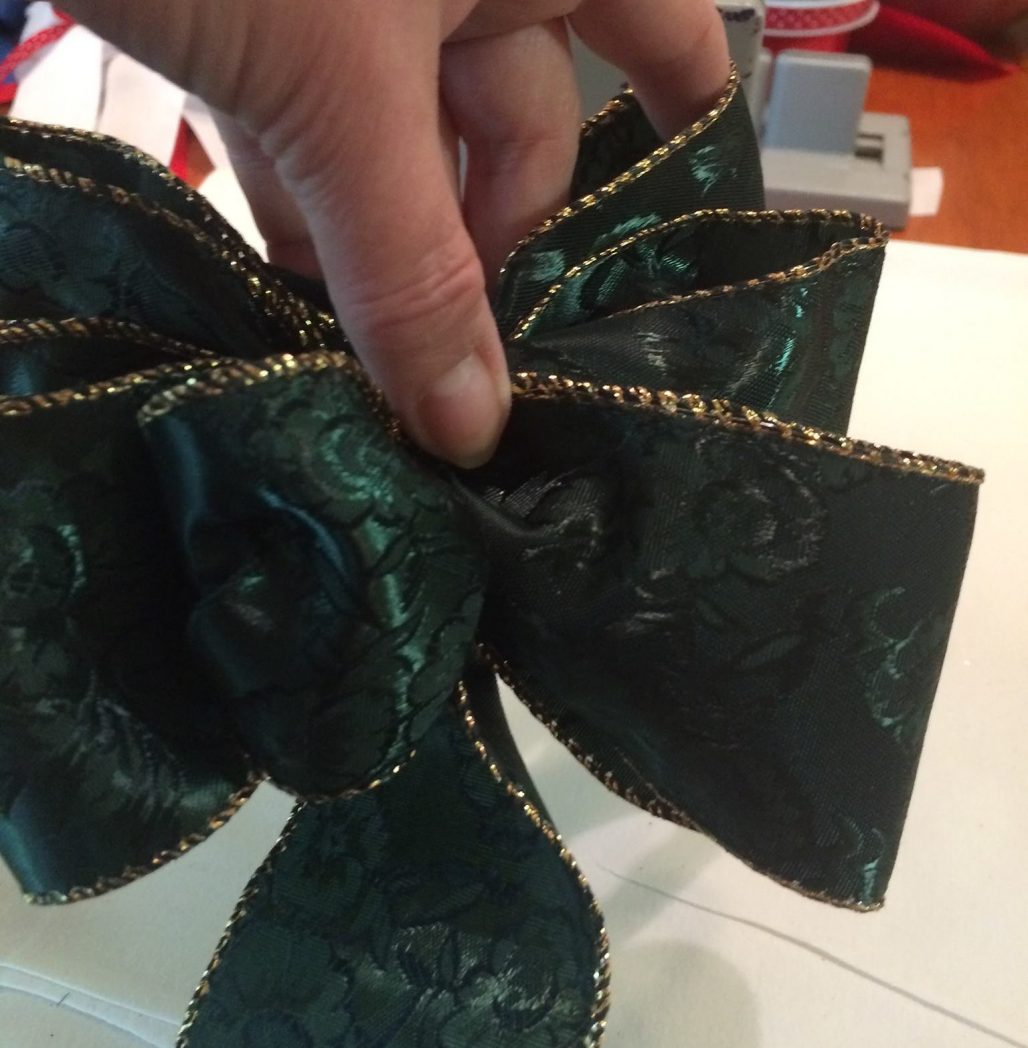

5. Tape your bow to the lid of the canister.

6. Spread and fluff your bow.
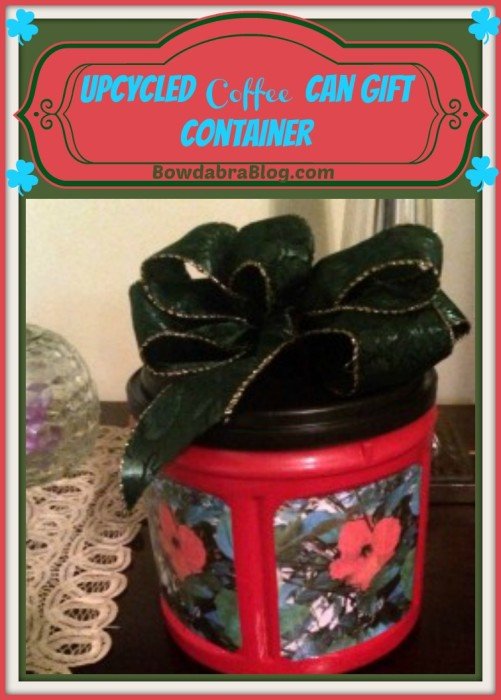


Because the picture is a summer flower, the recipient can also use it for so many more things that require a sealed lid.
Visit Bowdabra designer Pat at her Facebook page Beau Parterre Florals to view more of he beautiful crafts and florals.