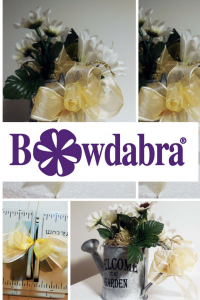
What do you do when the snow piles up and you can’t leave the house? Well, I head to my craft room. Hi everyone, Steph here today with a Bowdabra decorative watering can.

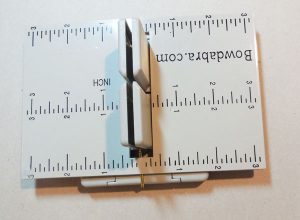
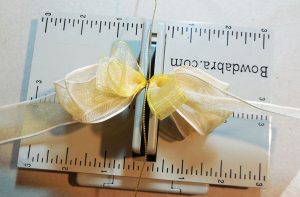
Begin by cutting approximately 18″ of Bowdabra Gold Wire, then folding it underneath the Mini Bowdabra so it is out of your way while you create the bow.


I wanted my loops to be 2″, so I placed the Mini Bowdabra Hair Bow Ruler on top. The Ruler allowed me to create perfectly even loops.

Using 1″ wired ribbon, I started by leaving a 6″ length of ribbon, then proceeded to create 3 sets of loops, each 2″, following the Ruler settings.
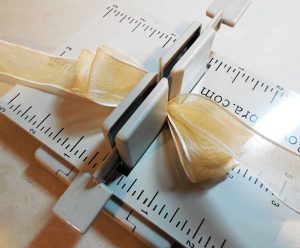

Selecting a smaller sheer ribbon, I folded it to create 3 loops and inserted it in the Mini Bowdabra.
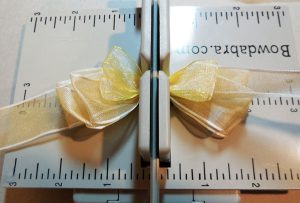

I used the wand to push the ribbon loops down, then pulled up on the gold wire and tied off tightly.

Place a Smoothfoam ball in the watering can. Glue floral shred to the Smoothfoam ball then insert a variety of flowers. to fill in the spaces around the flowers, cut strips of ribbon then use straight pins to pin the ribbon strands around the flowers.
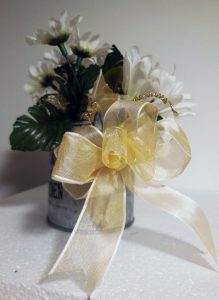

Finishing your Bowdabra decorative watering can
Use the bow wire to tie the bow to the watering can handle, then fluff out both sets of bows. Use a pick to twirl the excess wire and form it around the bow.
It may be winter, but this project has gotten me thinking of spring. What do you think of my Bowdabra decorative watering can?
Thanks for stopping by today.
Steph