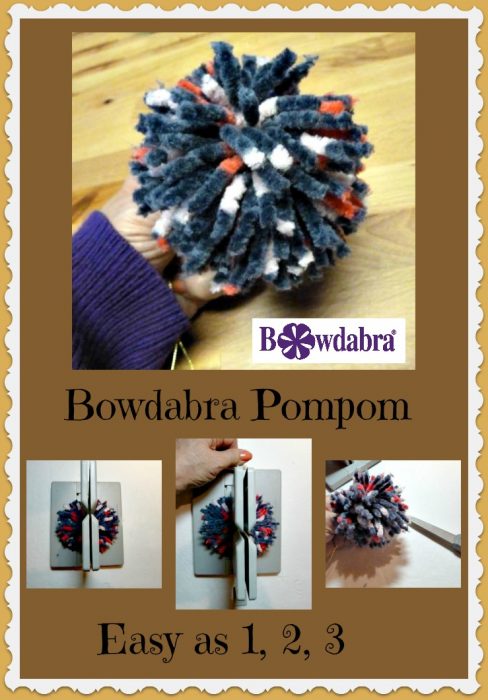

Did you know that you could easily make an awesome pompom with your Bowdabra bow maker? Yes it’s true the Bowdabra is not just for bows and if you use your imagination you can use it for all sorts of crafts!
January 25 is opposite day, so I figured why not be opposite and use my Bowdabra in a new and unusual way? Pompoms are really making a splash these days. You can use them for added bling on handbags, shoes, key rings and more. They are just about everywhere.
And you can use Bowdabra to make a pompom quickly and easily. I used thicker chenille type yarn and it worked very well. You can, however, substitute any regular yarn if you choose.
Materials:
- Thick yarn (I used thick chenille type yarn)
- Ruler
- Bowdabra
- Bowdabra bow wire
- Scissors
- Clips, key ring, if you want to attach your pompom
Bowdabra Pompom

Instructions:
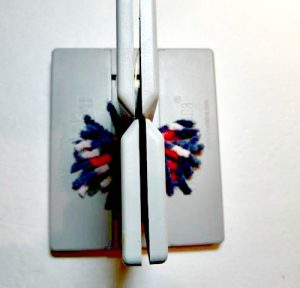
- You can make pompoms in the Bowdabra in two different ways. One method is to use the Mini Bowdabra in the usual way (shown above with 30 loops on each side) making loops and then cutting through the loops when you remove your pompom and trimming to form the perfect pompom. (This is great for smaller pompoms) In the second method shown here you simply cut pieces of yarn and place them into the Bowdabra in groups of three or four.

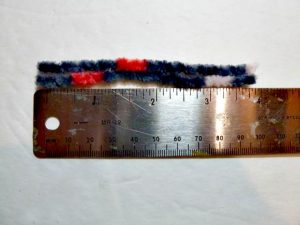
- First, measure and cut 100 4” pieces of the yarn.
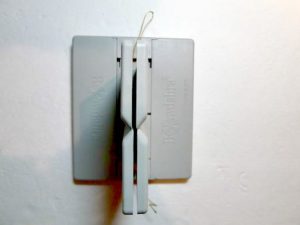
- Cut a piece of Bowdabra bow wire 24” long. Then fold it in half and insert it into the Bowdabra. Fold the pieces of wire under the Bowdabra to keep out of the way while you are making your pompom.
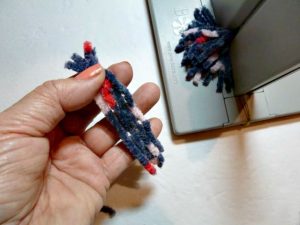
- Begin inserting the pieces of yarn in groups of three or four making sure they are fairly even on both sides.
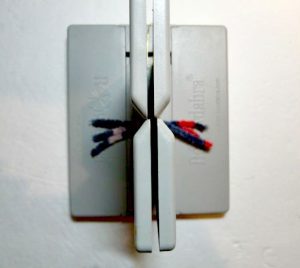

- Continue inserting the pieces of yarn until you have added the entire amount.
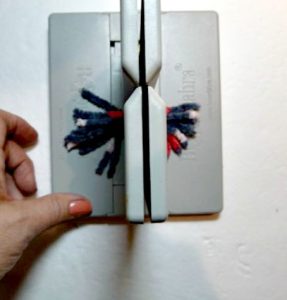


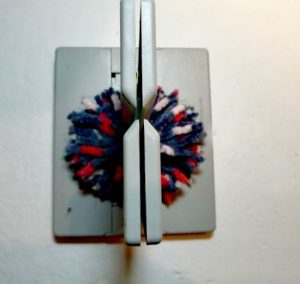

- Next scrunch down with the Bowdabra wand.
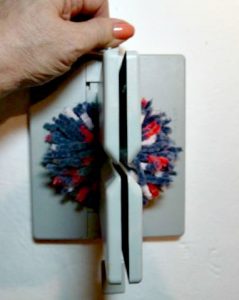

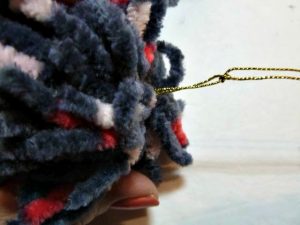
- Then insert the two loose wires through the loop and pull tight while the pompom is still in the Bowdabra. Remove and turn to the back and tie a knot.
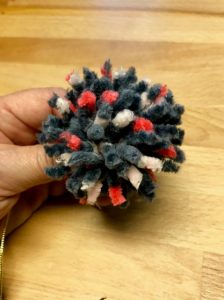
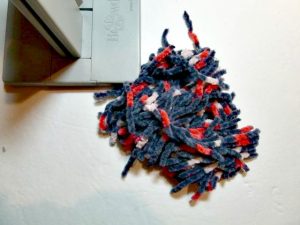
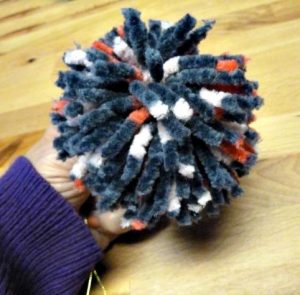
- To finish, fluff the pompom and using the scissors, trim it up so it is all even and round.
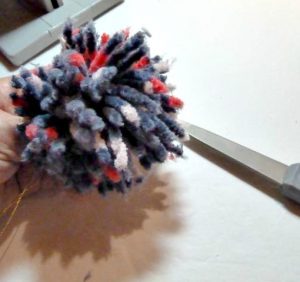

- Finally, turn the pompom to the back and tie another knot about a half inch from the first knot. Then you can use the excess wire to tie to handbags, key rings and more.

Finally, be sure and visit Bowdabra designer Crystal at her blog Make it easy crafts for more quick and easy craft tutorials!