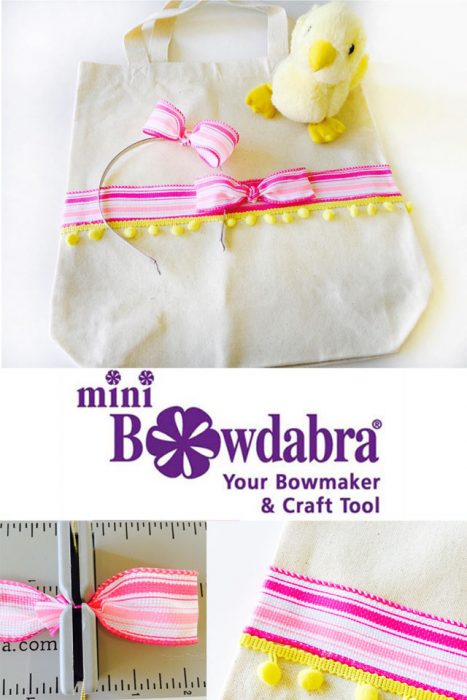
Hi everyone! Tammy here with you today with a tutorial on how to create an Easter tote and Easter hair band that your tween will not only like, but actually use throughout the season. My daughter is at the age where she doesn’t like traditional Easter baskets any more, so I thought why not make her a cute tote and matching hair bow that she can use on Easter and also use after the holiday! Here is how I made them…

Supplies:
Tote
Ribbon (quantity based on size of tote)
Mini ball trim
Fabric adhesive tape
Hair band
Scissors
Directions:
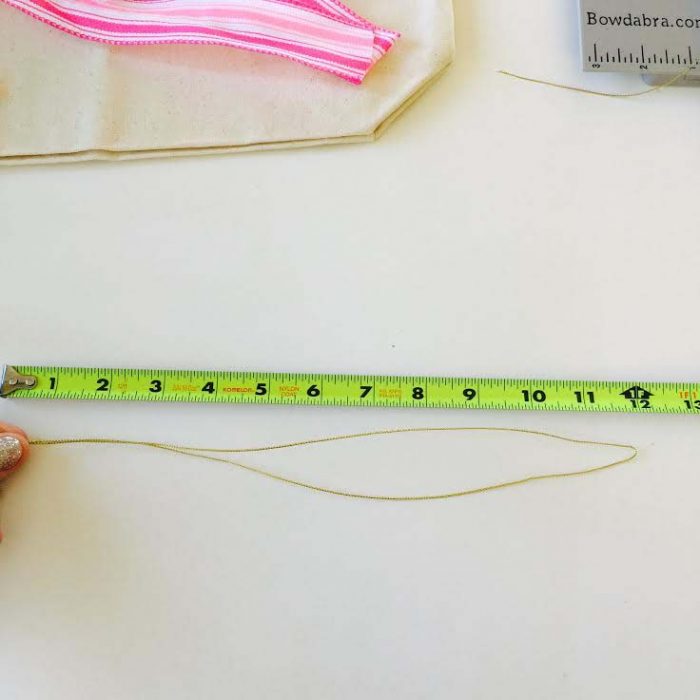

1. Cut a 24″ piece of Bowdabra wire and fold it in half.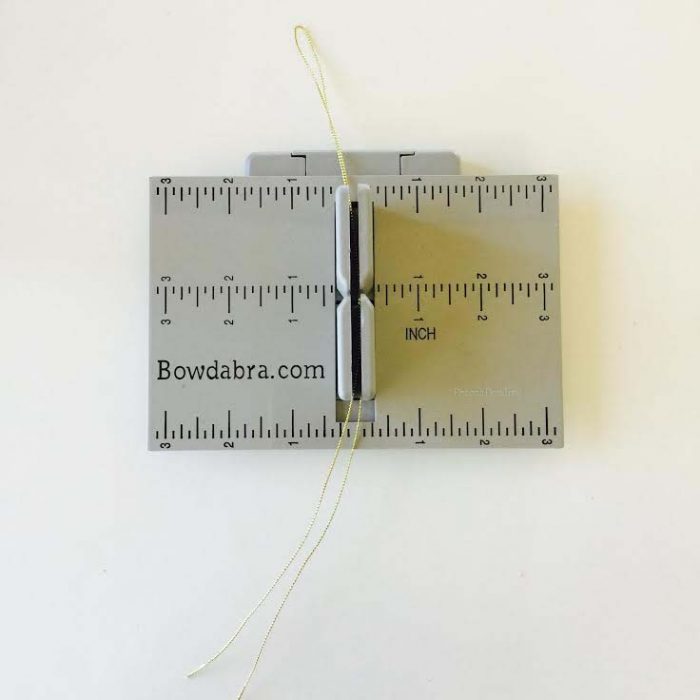
2. Place it inside Mini Bowdabra as shown.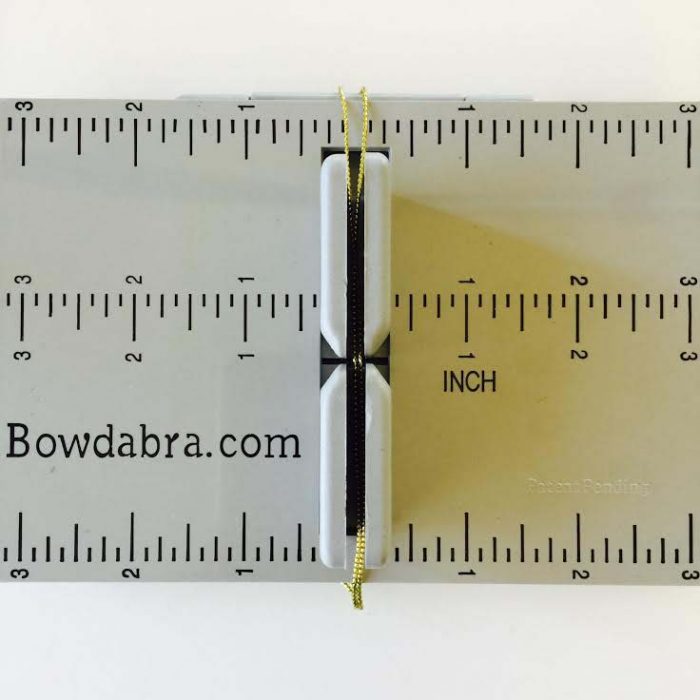
3. Wrap wire around the sides to keep out of your way while working.
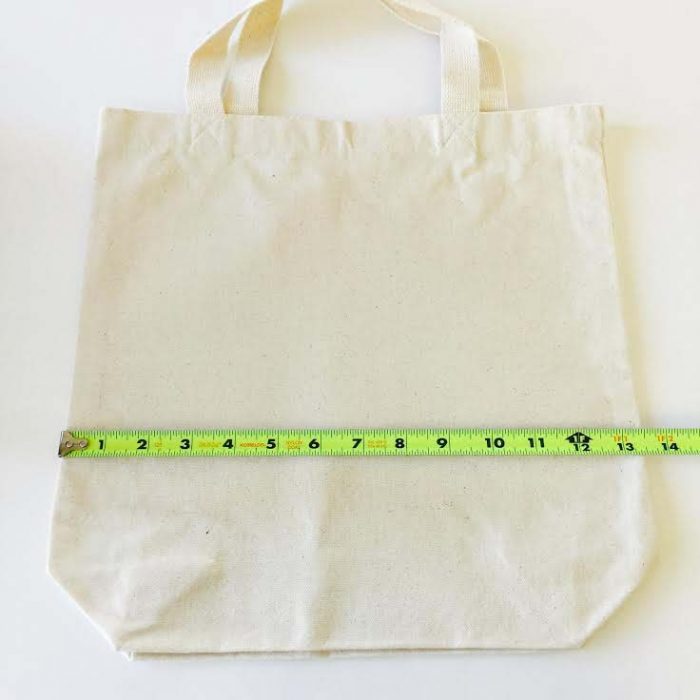
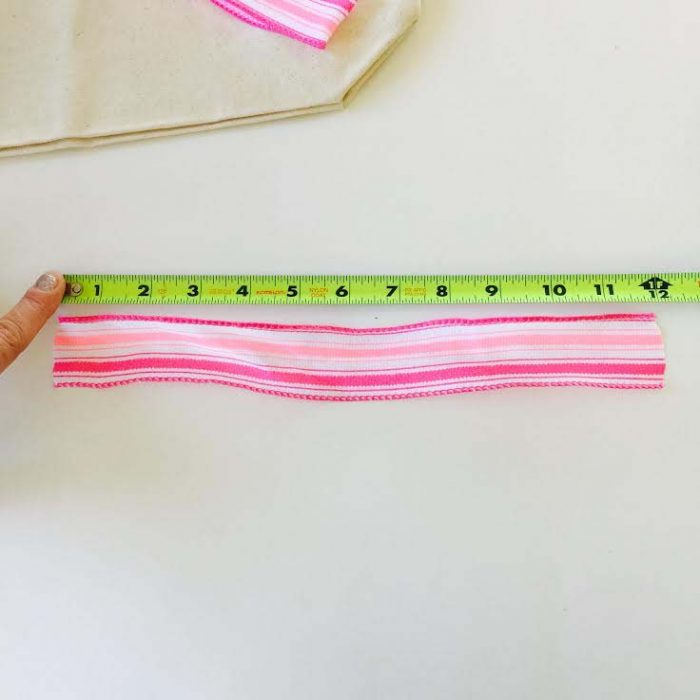
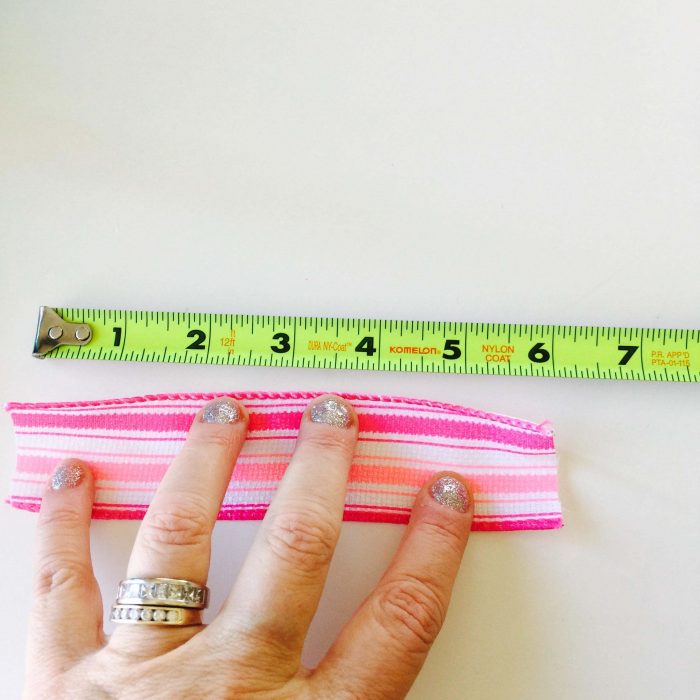
4. Measure the size of your tote as shown. To figure out the length of ribbon needed to wrap around the tote, double the number plus add 3 inches.
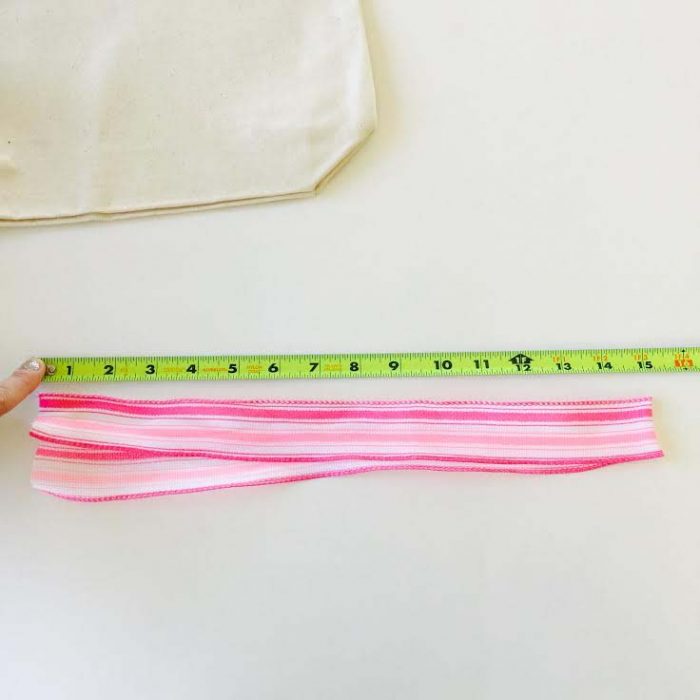
5. Based on my tote width I am using a 30″ piece of ribbon.
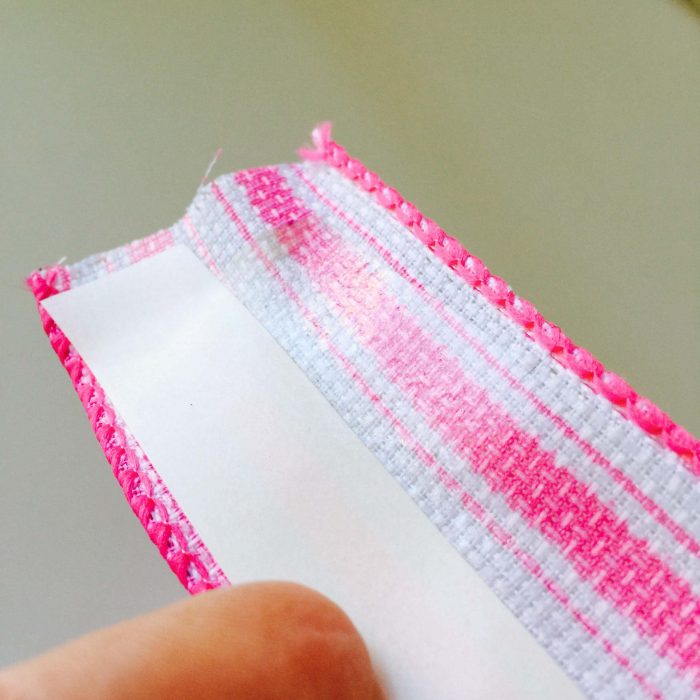
6. Place fabric adhesive tape on backside of ribbon and remove backing from tape.
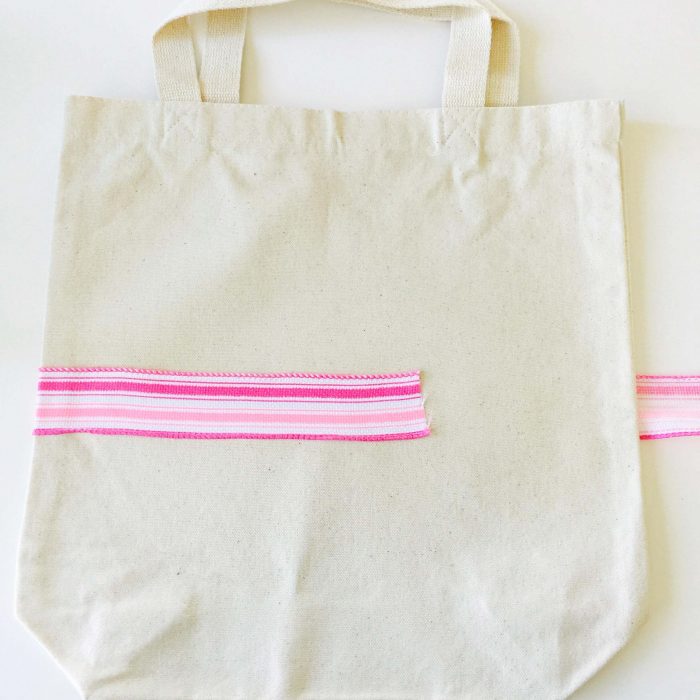
7. Wrap ribbon around the tote and press to secure to fabric.
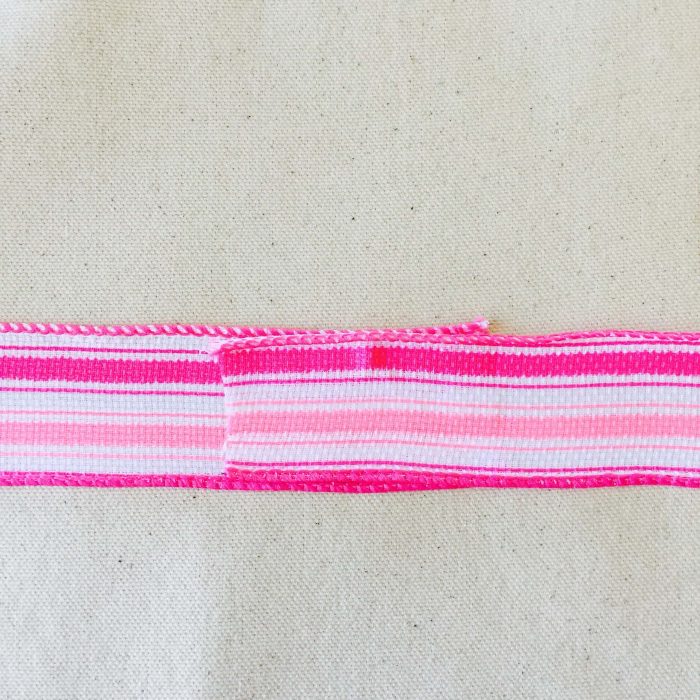
8. Cross ribbon to create a clean finish.
Make the bow for your Easter tote
9. Cut (2) 12 inch pieces of ribbon for the bows.
10. Fold in half to find center point.
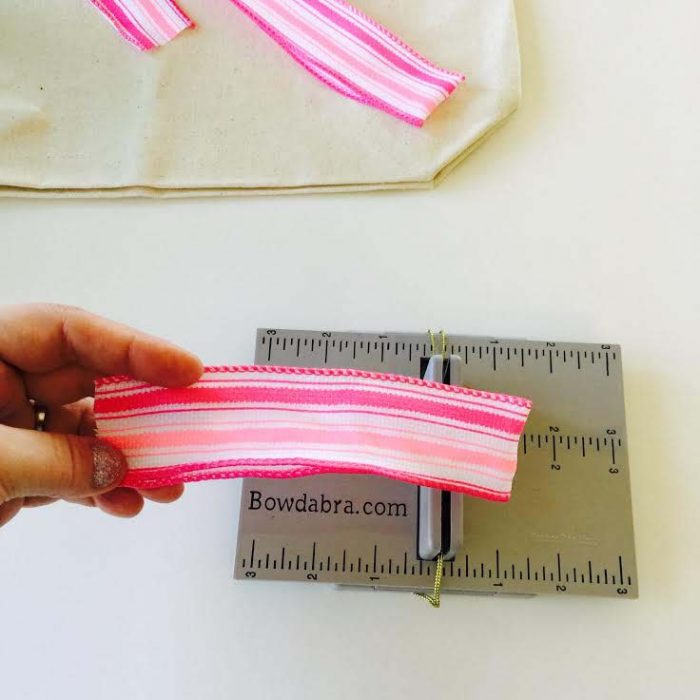
11. Place center point of ribbon upside down inside of the Bowdabra as shown.
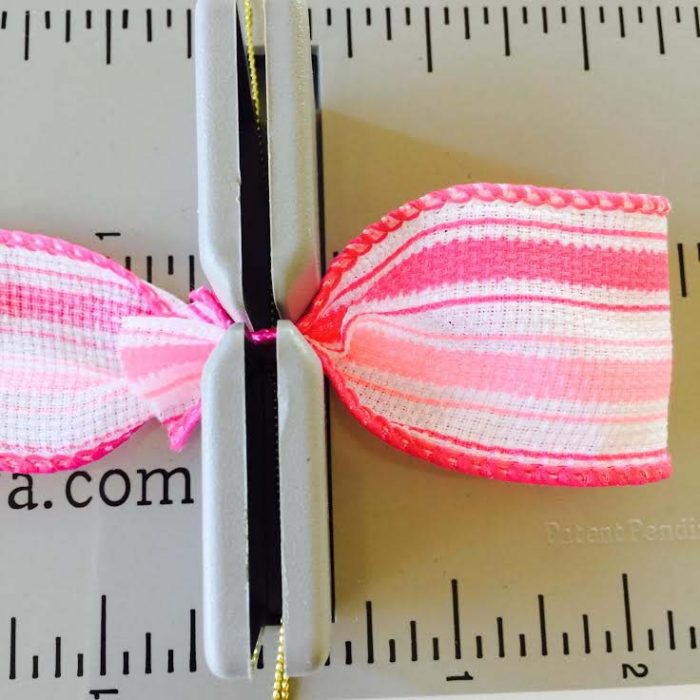
12. Fold ribbon creating a loop and place end inside of the Bowdabra.
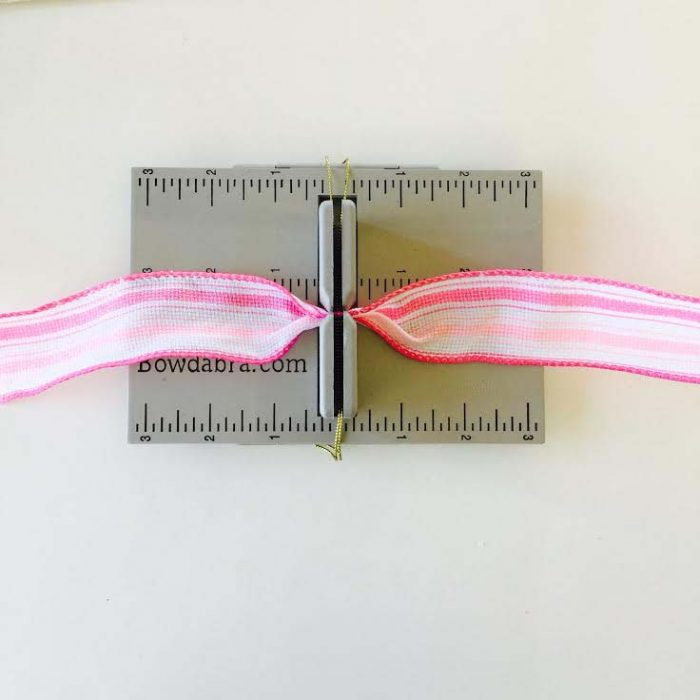
13. Repeat process with the other side of ribbon and use wand to press down.
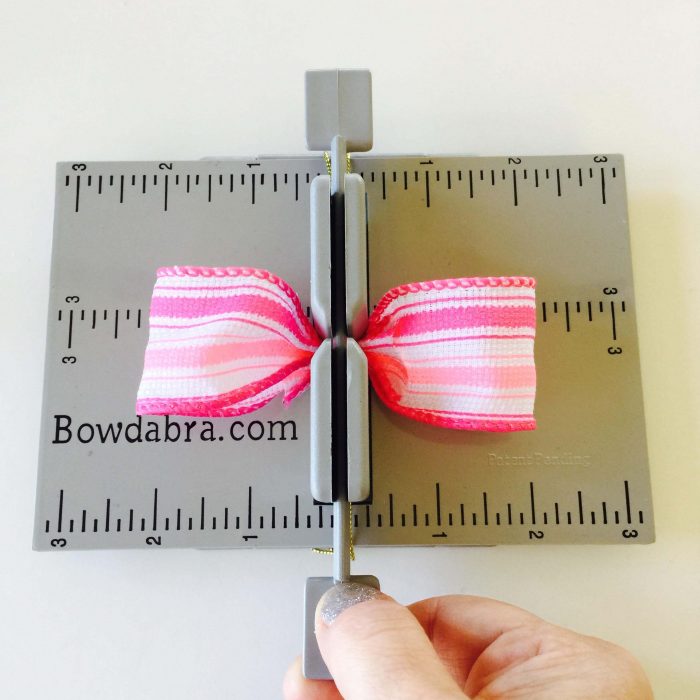
14. Pull both sides of wire up and form a slip knot.
15. Pull tight as you pull bow up and out of Bowdabra.
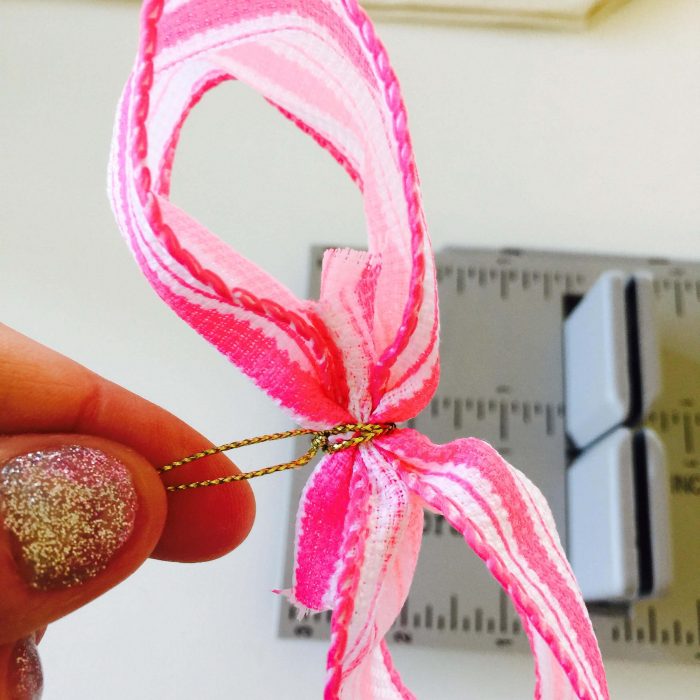
16. Tie a double knot to secure bow.

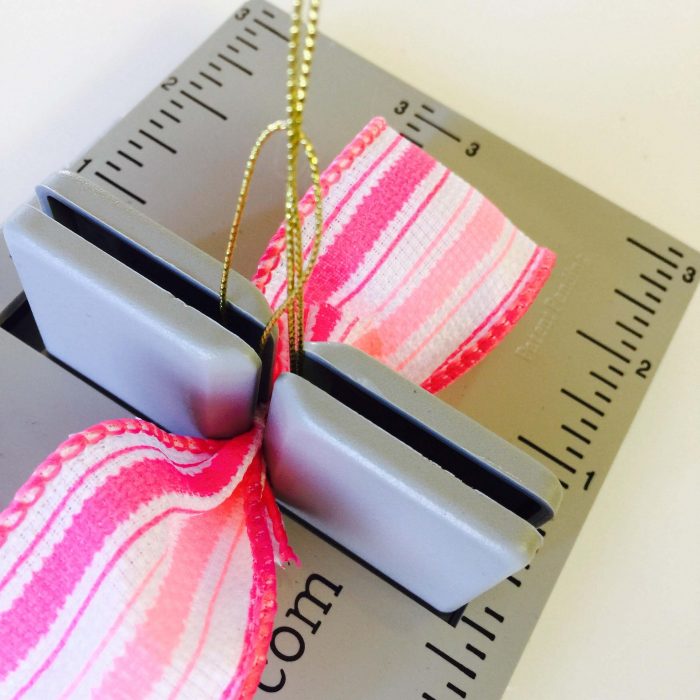
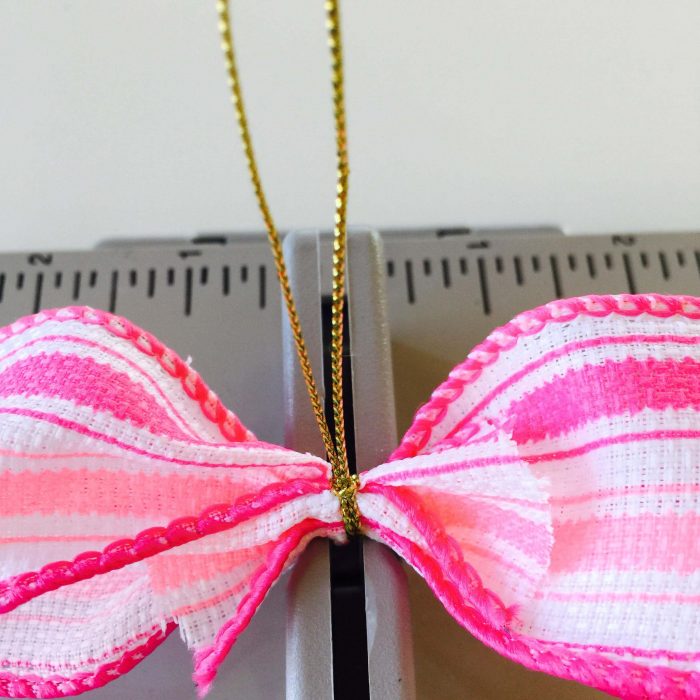
17. Clip off extra Bowdabra wire. Duplicate process to create an additional bow for hair band.
18. Cut (2) 6 inch pieces of ribbon for the bow centers.
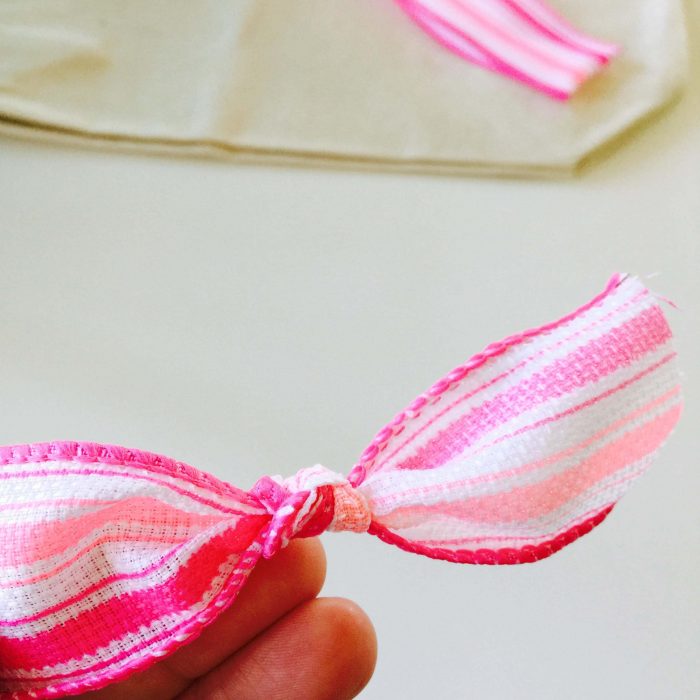
19. Tie a knot in the center of the ribbon.
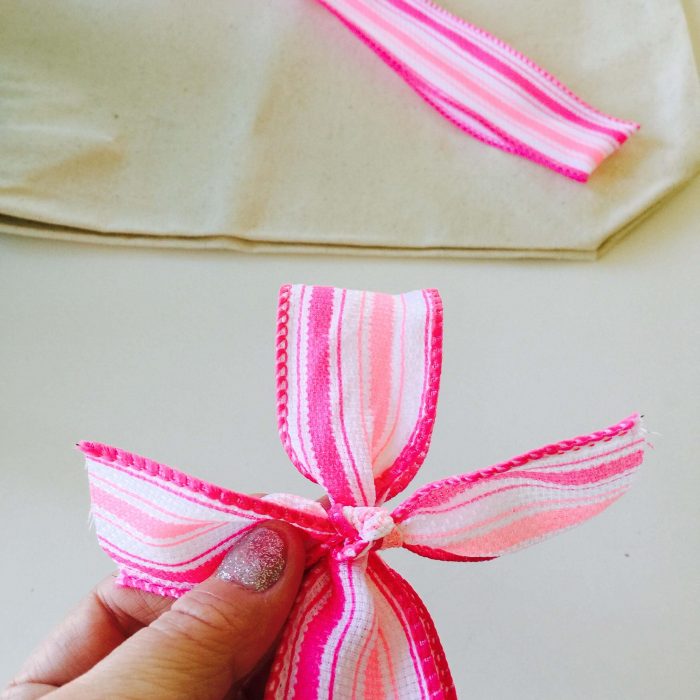
20. Place knot on the top of the center of the bow.
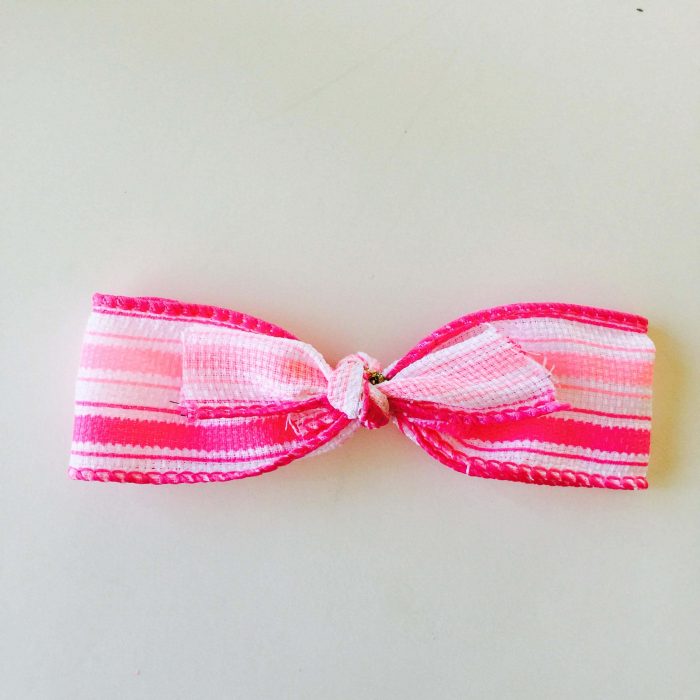
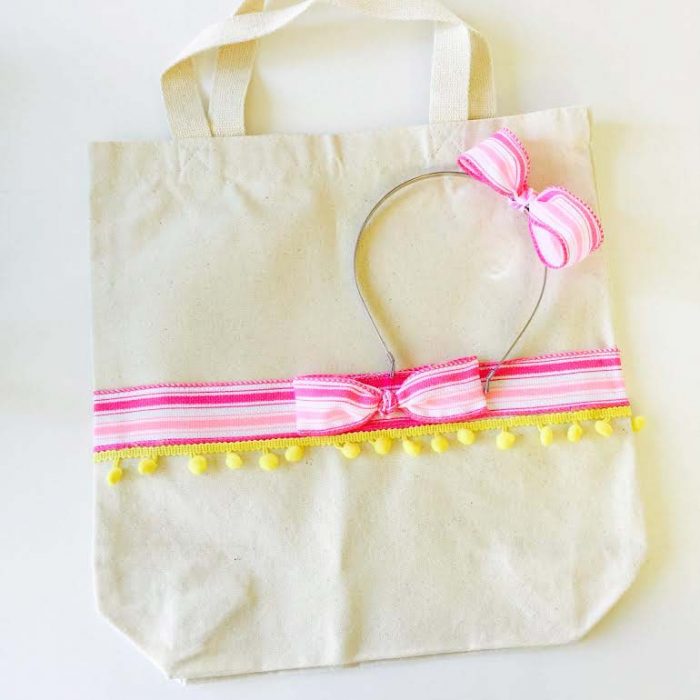
21. Wrap ribbon around the center of the bow and tie in the back. Clip off extra ribbon for tote bow as shown. Keep extra length on the bow center piece for the hair band.
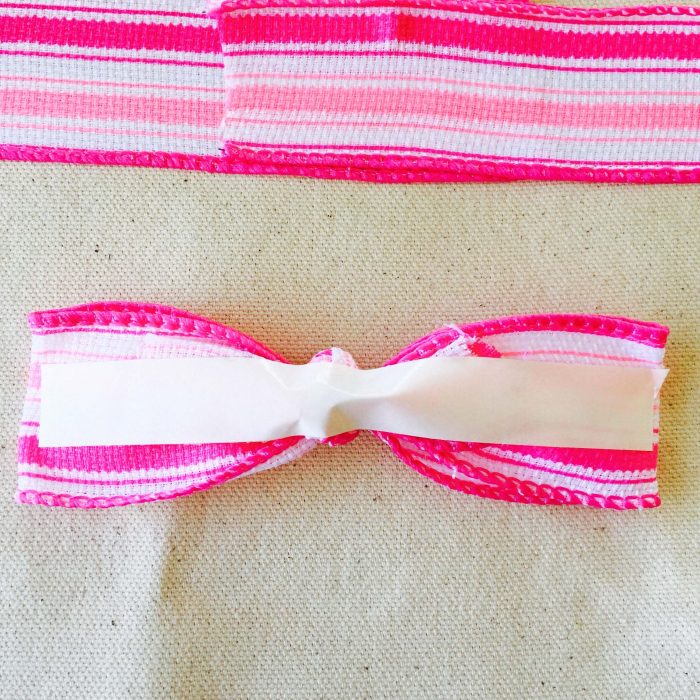
22. Place adhesive fabric tape on the back of the bow for the tote.
23. Peel off tape backing to expose the adhesive.
24. Place bow on top of ribbon to cover where the two ends of the ribbon met.
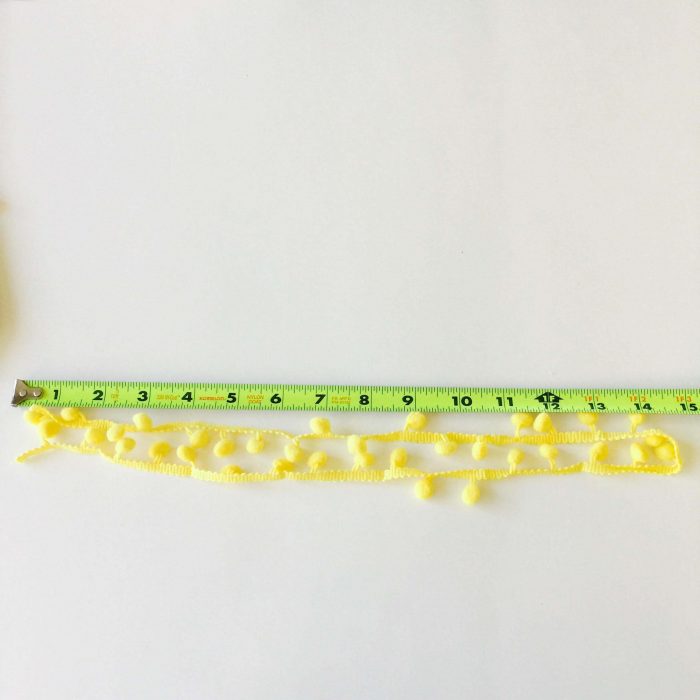
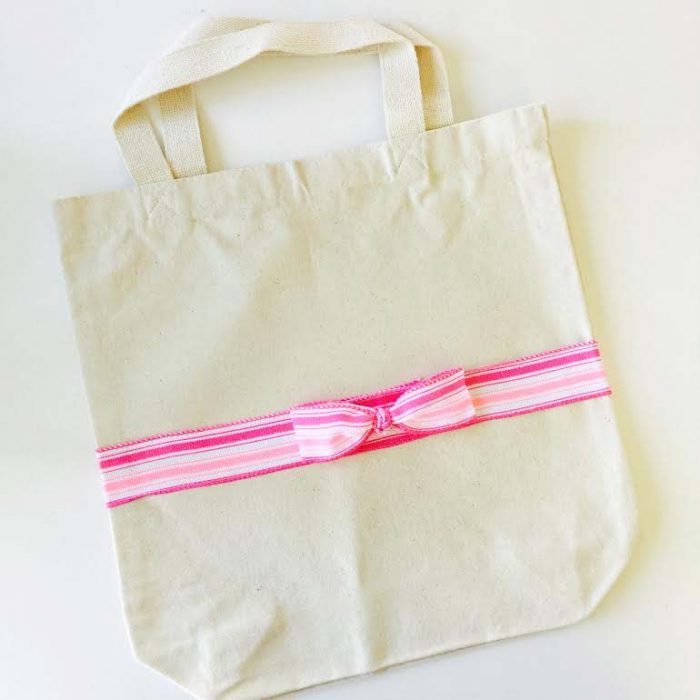
25. For additional embellishment cut a 30 inch piece of ball fringe trim.
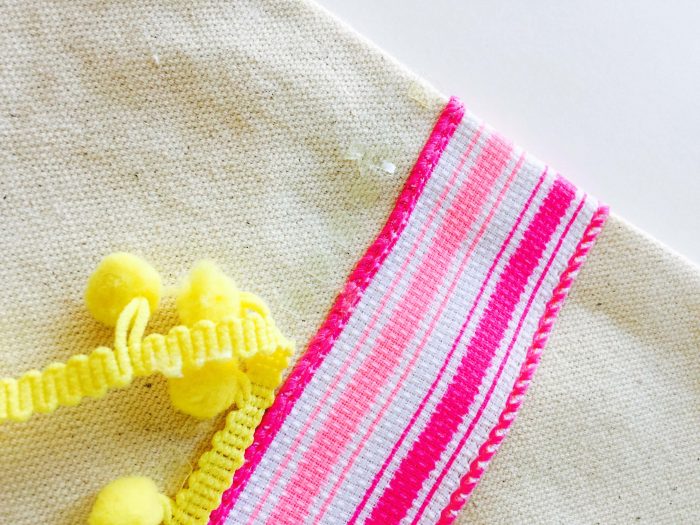

26. Place fabric adhesive on back of ball trim and on tote for extra security.
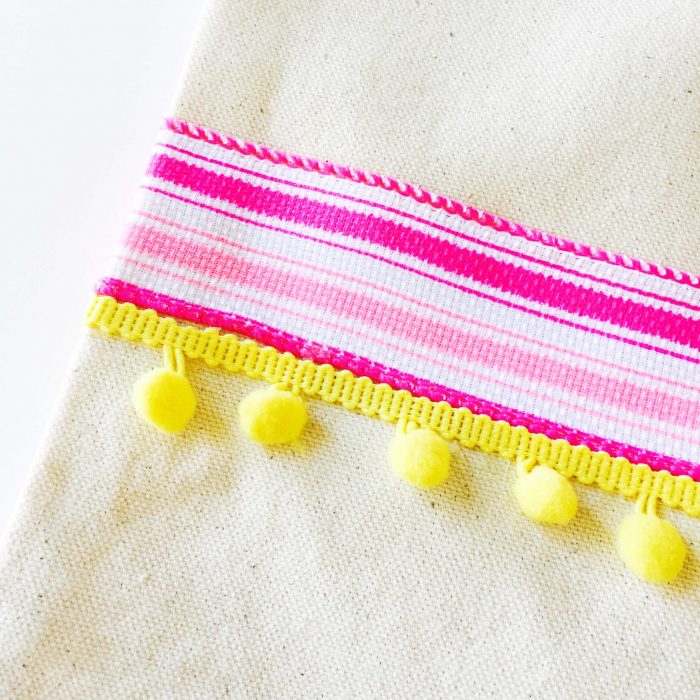
27. Press onto tote securing with pressure.
Decorate your hair band
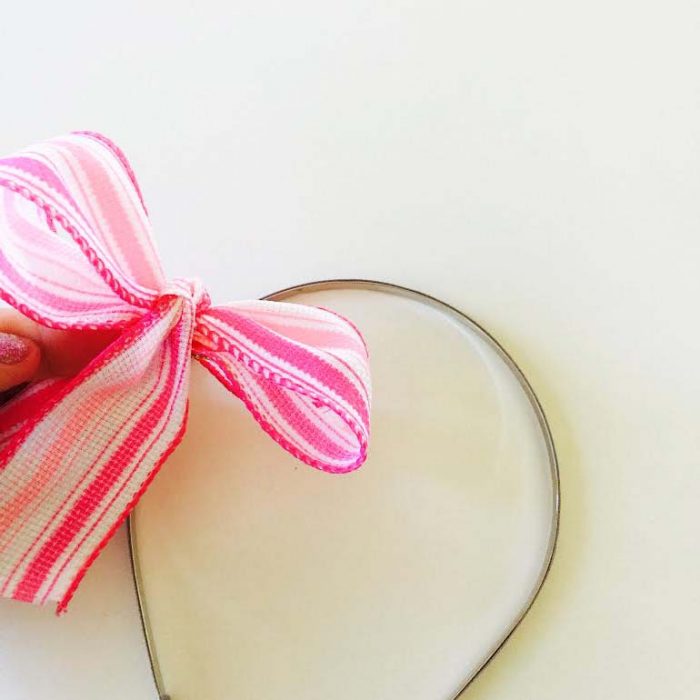
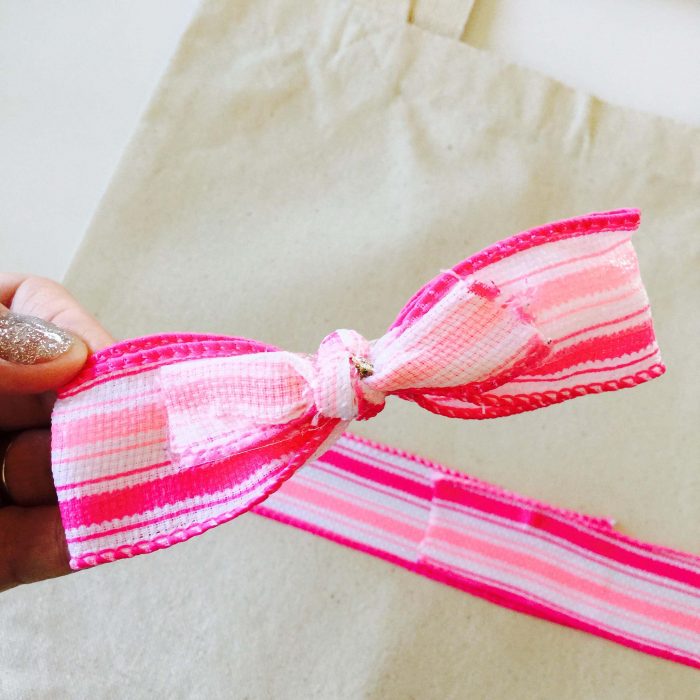
28. Use the additional bow center ribbon to tie bow onto the hair band. Clip off any extra ribbon after secured to hair band.
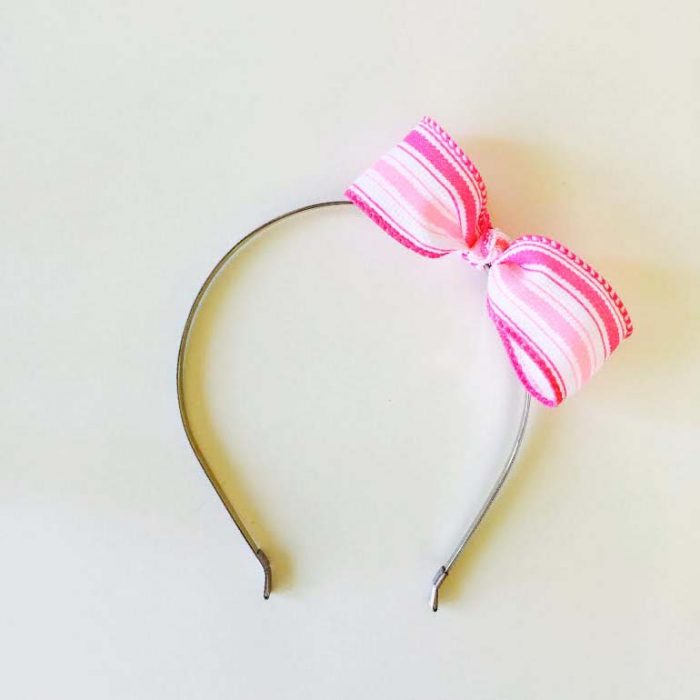
29. Adjust bow loops as shown.
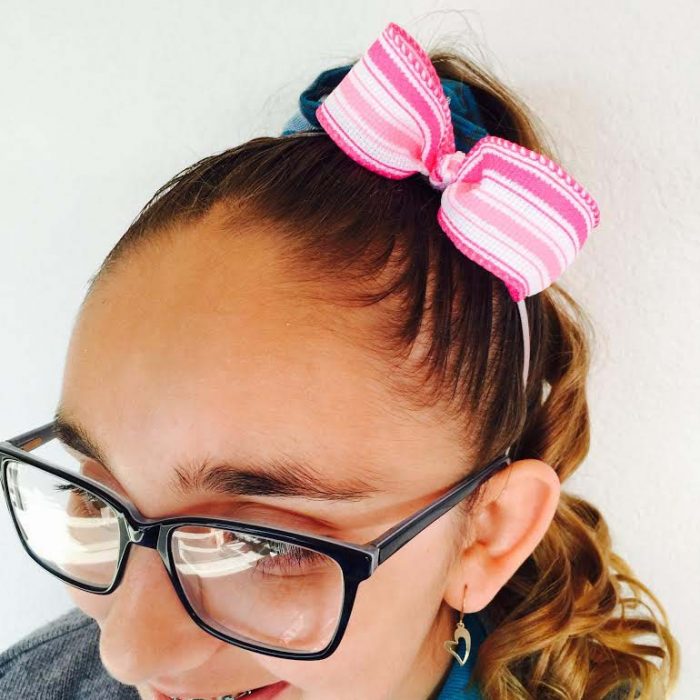
My daughter loves her bow so much she doesn’t want to wait for Easter to wear it! She said it reminds her of a Minnie Mouse bow LOL.
Project complete! I hope this tutorial has given you some ideas on how to create an Easter tote and hair band that you can use throughout the season.