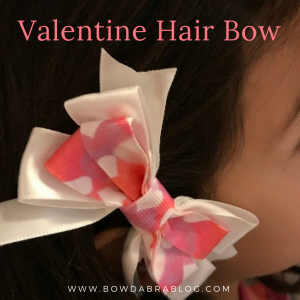
Show your Valentine spirit with a hair bow made specially for the occasion. The Mini Bowdabra® Bow Making & Design Tool makes it easy to create a Valentine hair bow.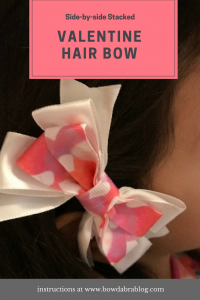

Supplies for the Valentine Hair Bow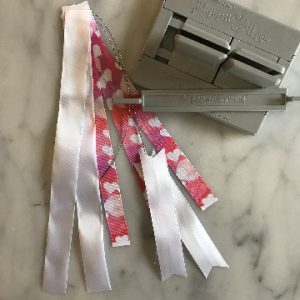

- Mini Bowdabra
- Two 5″ lengths of solid color 1″ satin ribbon
- Two 10″ lengths of solid color 1″ satin ribbon
- Two 8″ lengths of patterned 5/8″ grosgrain ribbon
- One 5″ length of patterned 5/8″ grosgrain ribbon
- Two 18″ lengths of Bowdabra bow wire
- Strong adhesive or hot glue
- Hair clip
Instructions for Making the Valentine Hair Bow
- Cut ribbons to appropriate lengths.
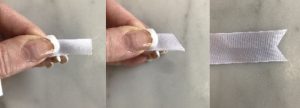
- Cut dovetail ends on the 5″ lengths of satin ribbon by folding the ribbon in half lengthwise and cutting away the tip at an angle. Quickly pass all ribbon ends through a flame to seal the ends.
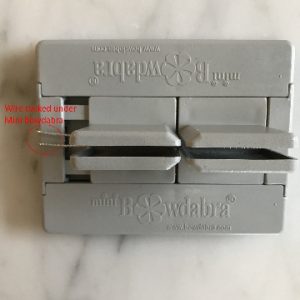
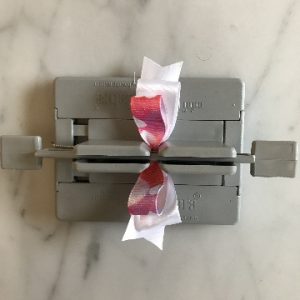
- Fold the Bowdabra bow wire in half and place in the Mini Bowdabra. You can tuck the wire ends under the Mini Bowdabra so they are out of the way.
- Place one of the 5″ lengths of satin ribbon in the Mini Bowdabra.
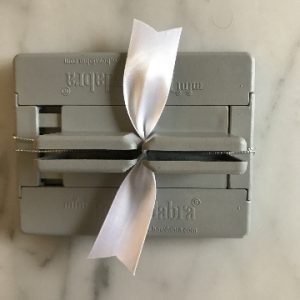
- With the 10″ length of satin ribbon make a two loop bow. Place one end of the ribbon in the Mini Bowdabra. Bring the ribbon up and over the Mini Bowdabra, and put the second end in the Mini Bowdabra. Press the center of the loop into the Mini Bowdabra.
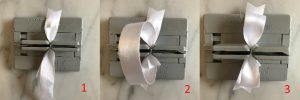
- Repeat Step 5 with one of the 8″ lengths of patterned ribbon.
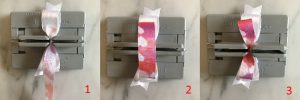
- Compress the ribbons with the Mini Bowdabra wand.
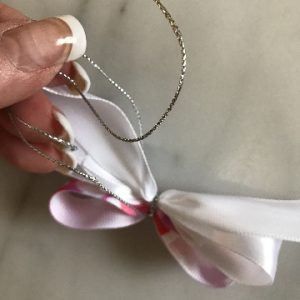
- With the ribbons still in the Bowdabra, pass the ends of the bow wire through the loop, and tighten.
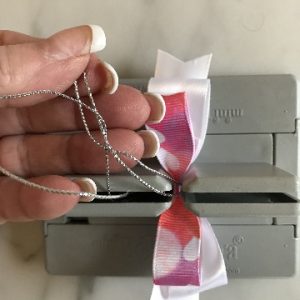
- Tie a secure knot on the reverse side of the bow. Leave the wire ends long.
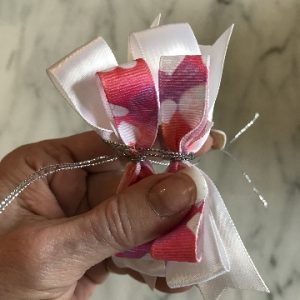
- Make a second bow following Steps 4 through 9.
- Hold the bows side by side, and cross the pairs of wires on top of the bow. Bring the pairs of wire ends to the back side of the bow, and tie with a secure knot.
Finishing your bow
- Put a dab of strong adhesive (I prefer E-6000) on the back of the bow, and attach one end of the 5″ length of patterned ribbon. Clamp in place under the adhesive is dry.
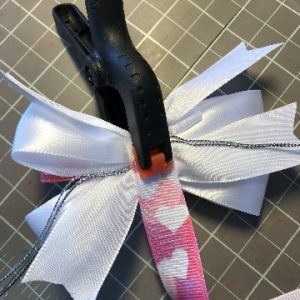
- Lay the open hair clip on the back of the bow. Pass the patterned ribbon through the hair clip, and glue and clamp the second end in place. When the adhesive is dry, trim excess patterned ribbon.
- Enjoy your Valentine Hair Bow!!