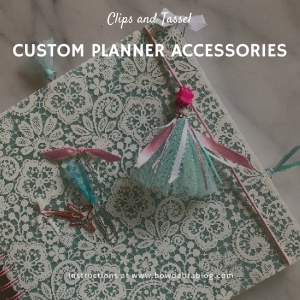
Time to get organized!! Customized planner accessories—a tassel and coordinating clips—makes your planner fun to use.

Supplies for Custom Planner Tassel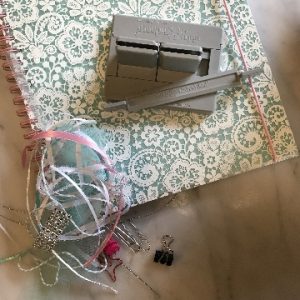

- Planner
- 6″ lengths of scrap ribbon in colors to coordinate with the planner
- 6″ lengths of 3″ tulle in color to coordinate with the planner
- 18″ length of Bowdabra bow wire
- Assorted clips
- 1 mini hair clip
- Liquid adhesive
- Mini Bowdabra Bow Making & Design Tool
Instruction for Making Customized Planner accessories and Tassels
- Cut ribbons and tulle into 6″ lengths. Seal the ribbon ends by passing them quickly through a flame.
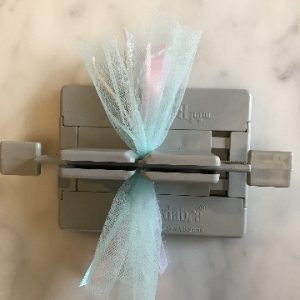
- Fold the Bowdabra bow wire in half and place in the Mini Bowdabra.
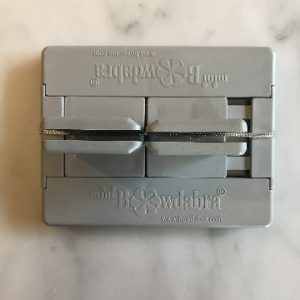
- Tuck the wire ends under the Mini Bowdabra so they are out of the way.
- Stack the assorted ribbons in the Mini Bowdabra.
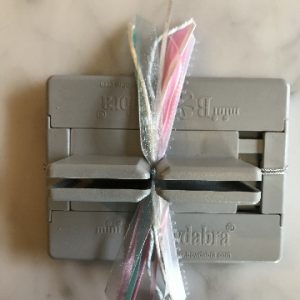
- Add the lengths of tulle in the Mini Bowdabra on top of the ribbons.
- Compress the ribbons with the Mini Bowdabra Wand.
- Pass the wire end through the loop.
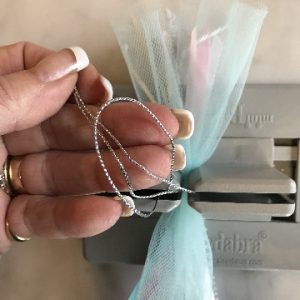
- With tassel still in the Mini Bowdabra, tie a secure knot.
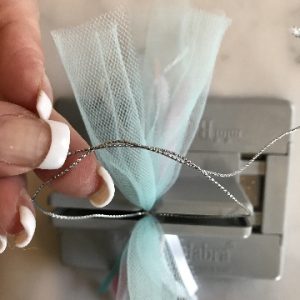
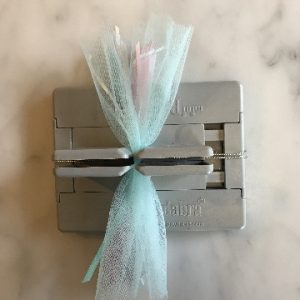
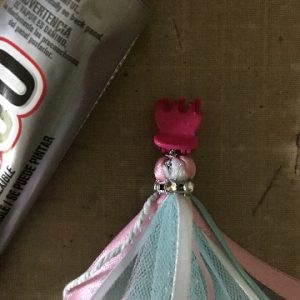
- To form the top of the tassel, wrap one of the bow wires around the top of the ribbons. Before tightening, pass the wire end through the loop. Tighten securely.
- Tie a knot on the top of the tassel.

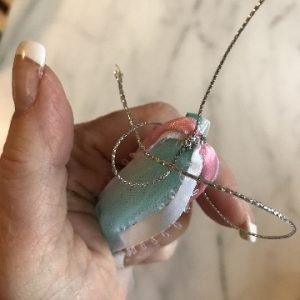
- From the top of the mini hair clip, thread the wire ends to the inside of the clip.
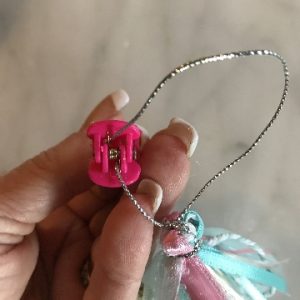
- Tie a knot in the inside of the clip.

- Using a strong adhesive, add ribbon or strand of bling to the top of the tassel.
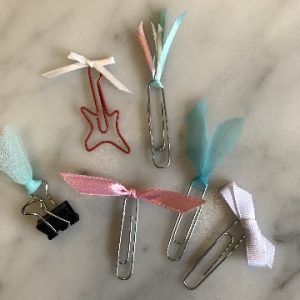
- Use any leftover ribbon and tulle scraps to decorate assorted clips.
- Stay organized with your customized, dressed up, fully coordinated planner!!
Aren’t these the coolest customized planner accessories? And the tassel is so easy to create! Visit Bowdabra blog each week for new craft tutorials and video DIYs!