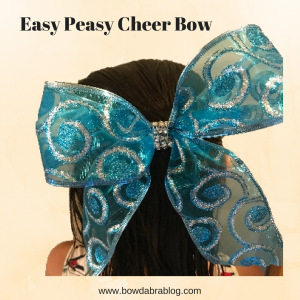
Cheer bows are all the rage right now. These are so-o-o-o easy to make that you’ll soon have an entire wardrobe of these easy peasy cheer bows.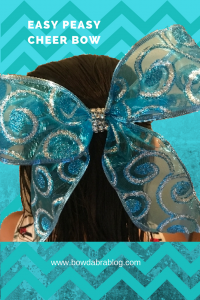

Supplies for Easy Peasy Cheer Bows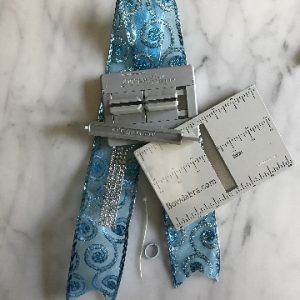

- 30″ length of 2½” ribbon of your choice
- 1 elastic hair tie
- 1 small zip tie
- 3″ length of ½” accent ribbon
- Strong liquid adhesive
Instructions for Easy Peasy Cheer Bows
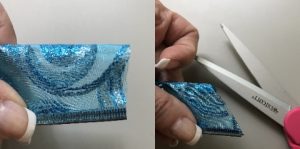
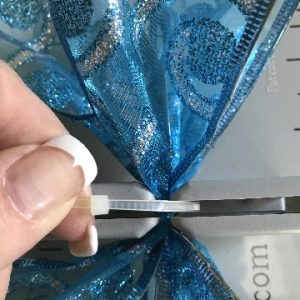
- Dovetail the ends of the 2½” wide ribbon by folding the ribbon in half lengthwise and cutting away the tip at an angle. Quickly pass all ribbon ends through a flame to seal the ends.
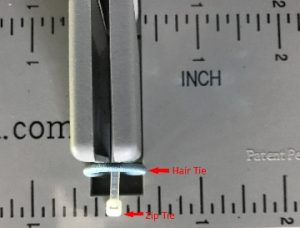
- Position the ruler on the Mini Bowdabra.

- Place the zip tie with the hair tie on it in the Mini Bowdabra.
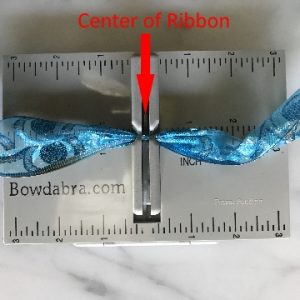
- Place the center of the 30″ length of ribbon in the Mini Bowdabra.
- Make a two-loop fold-and-twist bow with the 30″ length of patterned ribbon. The loops should extend to the full length of Mini Bowdabra Ruler.
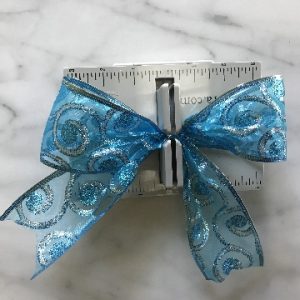
- Compress the ribbon with the Mini Bowdabra Wand.
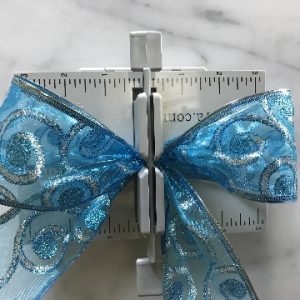
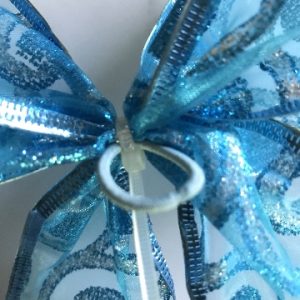
- With the bow still in the Mini Bowdabra, partially tighten the zip tie.
- Remove the cheer bow from the Mini Bowdabra and check the position of the hair tie. It should be on the back side of the bow. Now, completely tighten the zip tie.
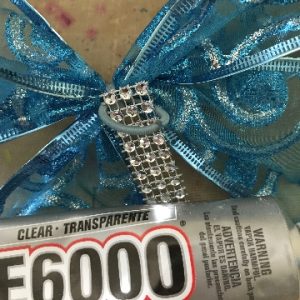
- Working from the back of the cheer bow, use a strong liquid adhesive to glue the accent ribbon in place. When the glue is dry, trim any excess length.
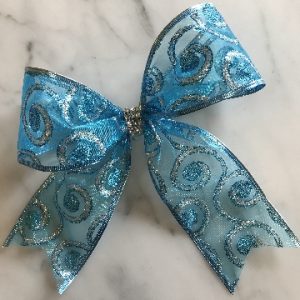
- Fluff the bow.


General tips for cheer bows:
- The width of the ribbon can vary from 2½” up to 4″.
- Overall width of the finished cheer bow should be between 6″ to 8″.
- Add 2″ of length to the ribbon for each inch of overall finished width. For example, a cheer bow with a finished overall width of 7″ would need a 32″ length of ribbon.
- If you prefer longer tails on your cheer bow, add the appropriate length to the ribbon.
- Wired ribbon helps the cheer bow loops maintain their shape without drooping. Unwired ribbons can be starched.