

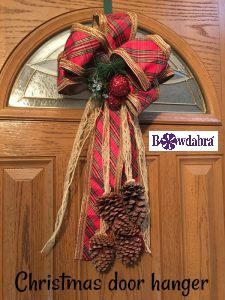
It’s July and Christmas will be here before you know it. Get a head start on your holiday decor with this adorable Christmas door hanger. It’s so easy with the helping hands of the Bowdabra bow maker. So let’s get started…

4″ wide Bowdabra “Katherine Collection” Ribbon
3- 28″ pieces
1-40″ piece
2 1/2″ wide Gold Lace wired Ribbon
2-40″ pieces
Gold Bowdabra wire
Pinecones
Glue Gun
Christmas Pick
First, gather your supplies.
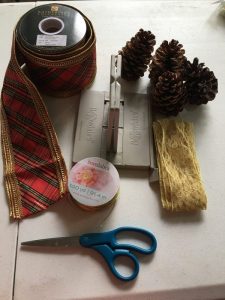
As you can see, it doesn’t take a lot of supplies to make a beautiful Christmas door hanger. Of course, it is even less expensive if you don’t have to purchase a wire frame with which to build a wreath.
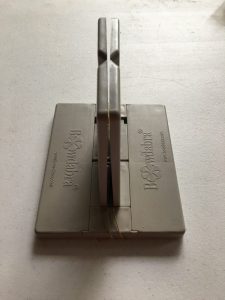
Always start by taking a long piece of wire, folding it in half and putting it into the Bowdabra. Make sure that you fold the ends underneath the Bowdabra to keep them out of the way as you work.
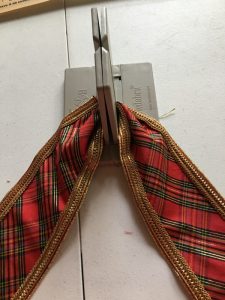
First, cut a 40″ piece of the Katherine Collection ribbon. This particular ribbon is plaid and the other side is gold. It is a gorgeous fabric ribbon with what is called “gimp” trim which is gold. I cut through the gimp trim on either side so that the ribbon wouldn’t become too thick when trying to tie it all together.
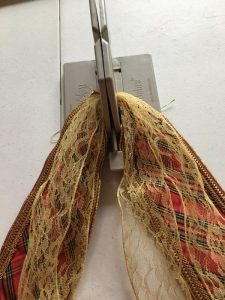
Next, cut two pieces of the 2 1/2″ Gold wired lace, 40″ long and fold in half. Insert the pieces into the Bowdabra. Use your Bowdabra wand to scrunch the ribbon down.
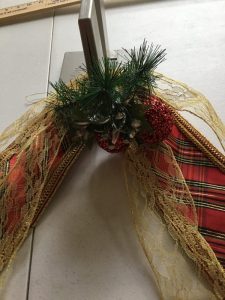
Insert the Christmas pick into the Bowdabra. Fold it so that it fits snug against the ribbon streamers.
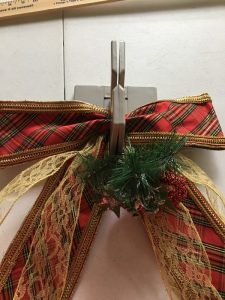
Now, make the bow parts of the hanger. Start by taking one of the 28″ pieces and fold it in half but with the edges overlapping. Cut through the gimp edges in the middle of your fold. Insert it into the Bowdabra. Use the wand to scrunch everything down.
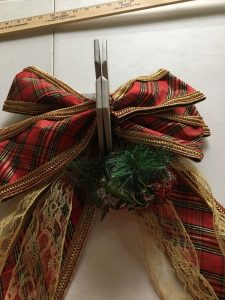
Then, take your next two pieces of 28″ ribbon and do the same thing as the first bow which is in the previous paragraph. Use your wand to scrunch all of the pieces down.
Turn on your Glue Gun to heat it up while you are doing this step.
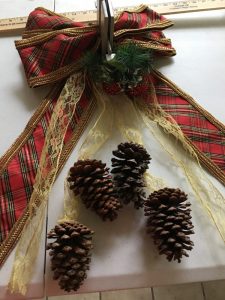
While all of the parts of the hanging are in the Bowdabra, use the wand to scrunch and hold everything down. Leave the wand in the Bowdabra and Hot Glue the Pinecones to opposite two ribbons, with one above the other.

The entire hanger is now in the Bowdabra. Take the two ends of your wire which are under the Bowdabra, place the straight ends through the looped ends and pull tight. Bring the wire around to the backside of the hanger and tie a couple of knots into it. Pull the ends of your streamers down and arrange. Fluff the bow parts of the hanger out and arrange them at the top.
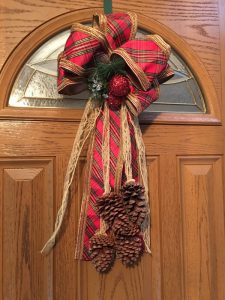
This is what your finished Bowdabra Bow hanger should look like. All set and ready to decorate the front door for Christmas! Go on over to the Bowdabra store at https://www.bowdabra.com. Check out all the beautiful ribbon and accessories that they have for you.
Wasn’t that fun and so easy? We’d love to hear your comments and if you make a Christmas door hanger like this one be sure and add it to our Bowdabra fan gallery on Facebook!


