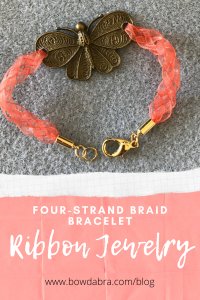
Everyone’s familiar with the three-strand braid, but the four-strand ribbon braid adds a new dimension to your ribbon projects. Here we’re going to make a bracelet to introduce you to the technique. Then, you can incorporate a four-strand braid in other projects.
Four-Strand Ribbon Braid Bracelet

These are the supplies that you’ll need: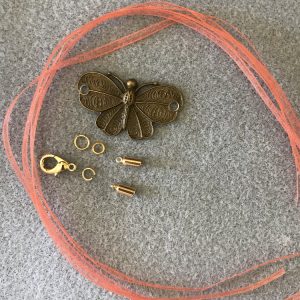

- Four 12″ lengths 1/8″ organdy ribbon
- Center charm
- Jewelry findings
- E6000 adhesive
- Sewing thread
- Pick or floral pin
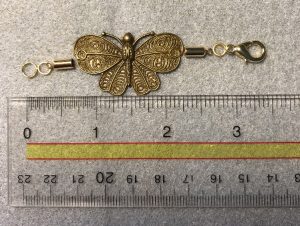
Let’s take a closer look at some of these supplies. First, the center charm. It needs to have openings on each side to accommodate the ribbons. And, you can always make your own from wooden blanks by drilling the necessary holes.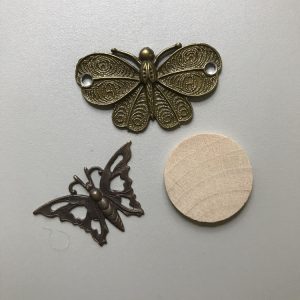
Next, the jewelry findings. These are available at most craft and hobby stores.
- jump rings
- lobster claw clasp—my personal favorite, but other styles are available
- barrel end caps

Here’s How to Make the Four-Strand Braid Bracelet:
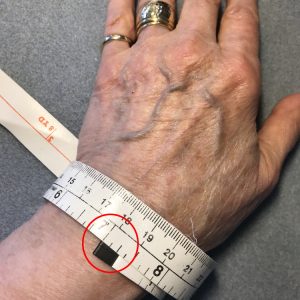
- Measure the wrist circumference, allowing for the amount of ease desired in the finished bracelet. This is the length of the finished bracelet.
- Measure the total length of the charm and findings.
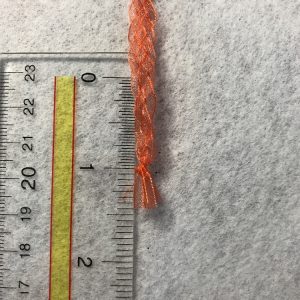
- Subtract the length of the charms and findings from the desired finished length. Divide that number by two. This gives you the length of braid that you’ll need—one length on each side of the charm. For my bracelet, I needed ~1¾” braid on each side.
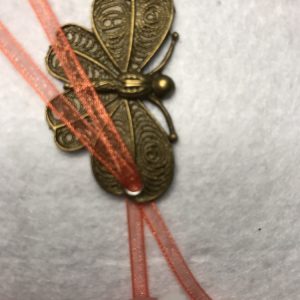
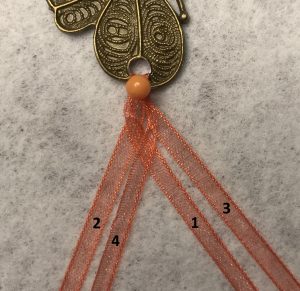
- Thread two lengths of the 12″ organdy ribbon through one of the charm holes. Depending on the length of braid that you need, you may need to adjust this 12″ length.
- I find to easiest to work on a piece of foam so I can use pins to anchor the charm and support the braid as it progresses.
Make the braid
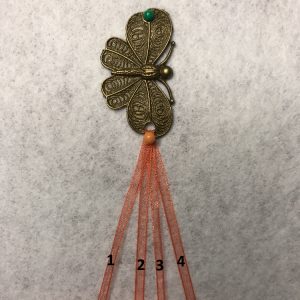
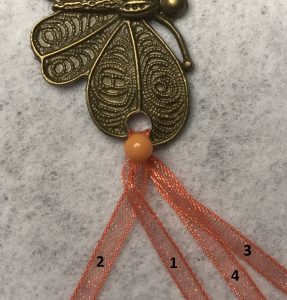
- To begin the four-stand braid, we’re going to number the ribbons one to four starting with the leftmost ribbon.
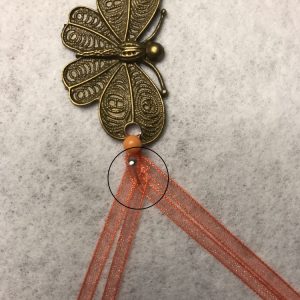
- There are two movements to the braid. The first movement is to move ribbon 1 over ribbon 2 and ribbon 3 over ribbon 4.
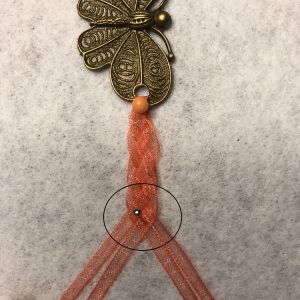
- The second movement of the braid is to move ribbon 4 over ribbon 1.
- It is helpful to place a support pin where ribbon 4 crosses over ribbon 1.
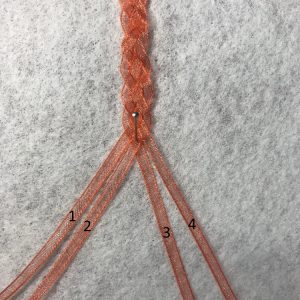
- Renumber the ribbons one to four starting with the leftmost ribbon. Then, repeat Steps 7 and 8 for the desired length of the braid, moving the support pin down as the work progresses. You want to “lay” the ribbons in place, rather than tugging them. They should touch, but not be stretched and distorted.
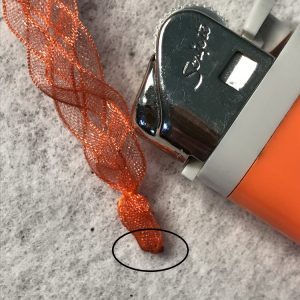
- At the end of the braid, tie one loop in center ribbons—2 and 3. Then, tie one loop with ribbons 3 and 1, and one loop with ribbons 2 and 4.
- With a length of sewing thread, tie a knot just above the half knots you tied in Step 11.

- Trim the ribbon ends to ~½”.
Finishing your braided ribbon bracelet
- Repeat Steps 4 through 13 for the braid on the other side of the charm.
- Optional: I find that fusing the ends makes it easier to insert the ribbons into the barrel end caps. Here’s how I do it: 1. Grasp a tidy stack of the ribbon ends to close the knots on the waste side with tweezers or pliers. 2. Hold the ribbon ends in a flame until they fuse together. Let cool before touching.
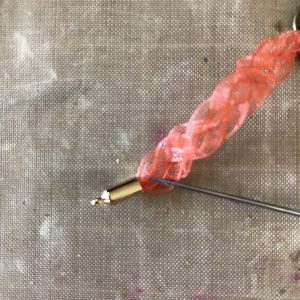
- Partially fill a barrel end cap with E6000. Using a pick or floral pin, push the ribbon ends into the cap. Set aside to dry.
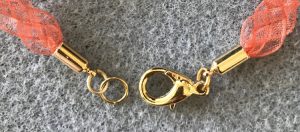
- Add the jewelry findings.


Be sure to visit the Bowdabra blog for more amazing DIYs like the ribbon braid bracelet. And each week Bowdabra will host a Facebook live each Monday at 4:00 p.m. PST, 5:00 p.m. MST, 6:00 P.M. CST, and 7:00 p.m. EST.