This baby headband can be made for any age baby—just adjust the length of the band to correspond with the baby’s head circumference. Here’s a chart that shows average head sizes from birth to three years.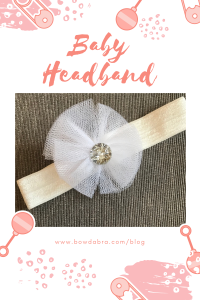

Here’s what you’ll need to make the Baby Headband: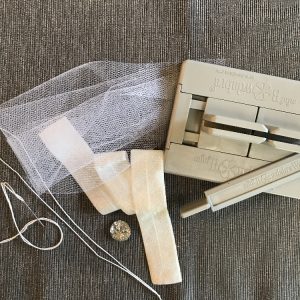

- 15″ length of fold-over braid (to fit a 3 month old baby)
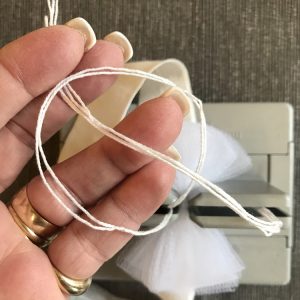
- Two 15″ lengths of strong thread, i.e., crochet cotton
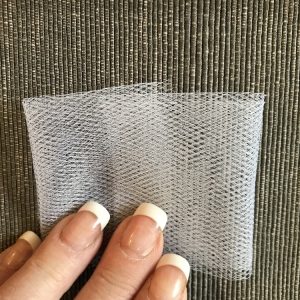
- Three pieces 9″ x 7″ tulle
- Button for embellishment
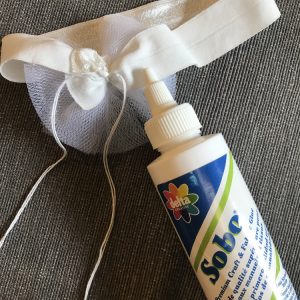
- Fabric glue
- Needle
- Mini Bowdabra
Instructions
Special notes: The bow wire that is generally used with the Mini Bowdabra has been replaced with thread so there’s no danger of scratching the baby’s tender skin. Sewing the button embellishment in place is safer than gluing. The fold-over braid is a better choice than regular elastic for the band because it is smoother and the stretch softer.
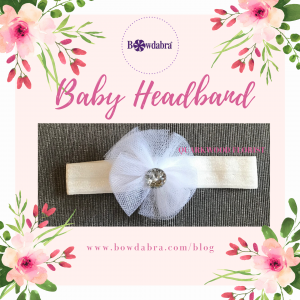
Adorable baby headband
- Pass the ends of the fold-over braid quickly through a flame to seal the ends.
- Fold the lengths of crochet cotton in half, and put in the Mini Bowdabra.
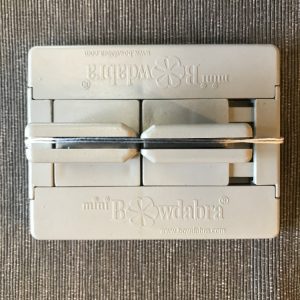
- Put one end of the fold-over braid in the Mini Bowdabra.
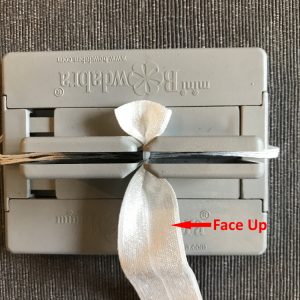
- Bring the other end of the braid up and over the center post, and put it in the Mini Bowdabra on top of the first end. Set aside for now.
- Lay one of the tulle pieces on the table so the width is 9″ and the height 7″. Fold the top and bottom edges to the center.
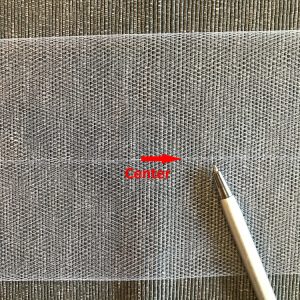
- Next, fold the bottom edge to the top.

- Then, fold the right and left ends to the center, overlapping by ½” to ¾”. Temporarily, weight the folded piece so it retains its folds. Set aside.
- Repeat Steps 5, 6, and 7 for the remaining pieces of tulle.
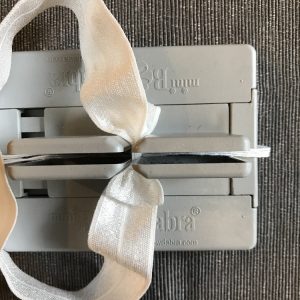
- Add the folded tulle pieces, one on top of the other, with the overlapping area in the center of the Mini Bowdabra. Compress with the wand.
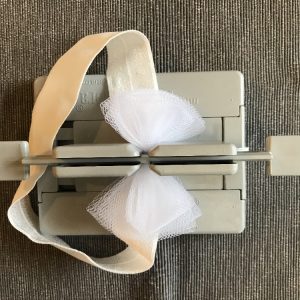
- With the braid and tulle still in the Mini Bowdabra, pass the thread ends through the loop and tighten. Tie a knot on the reverse side. Leave the ends uncut for now.
- Fluff the bow and arrange the individual loops.
- Thread a needle with one of the thread ends, and sew on the button embellishment.

- Secure the thread on the back side of the headband. Seal the knot with a dot of fabric glue. Trim thread ends when the glue is dry.