How does an egg carton become a worm, you ask. Follow along with me, and your young artist can create their own wiggly, jiggly worm.
Supplies for your egg carton worm:
- Egg carton, either foam or paper mache
- Permanent markers (like Sharpie, Bic or Crayola permanent markers)
- Acrylic paints
- Pipe cleaners
- White glue
- Googly eyes (optional)
- Any assorted embellishments of your choice (optional)
Let’s get started:
- Cut the egg carton into sections.

- You want your worm strips to look something like this.
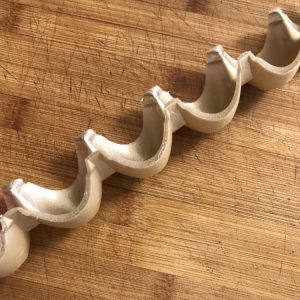
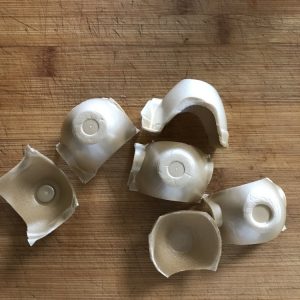
- For the youngest artists, this is their worm, and it’s ready for them to decorate. For the older child, cut each egg cup section apart so they can make an articulated worm.
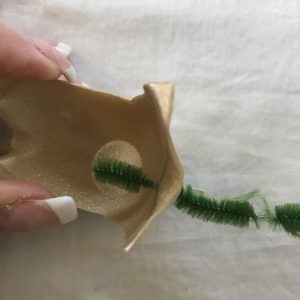
- Cut pipe cleaner stems into 2½” to 3″ pieces. Connect the segments with these short pieces of pipe cleaner. If you’re using a foam egg carton, the pipe cleaner easily pierces the foam. If you’re using a paper mache carton, you will need to pierce a hole or make a small slit with a craft knife or skewer.
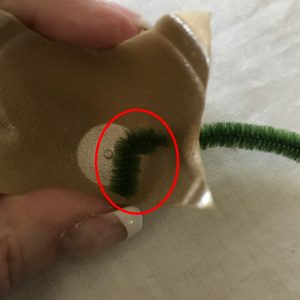
- On the inside of the egg cup/worm segment, fold the pipe cleaner to form a small hook. Continue connecting the worm segments.
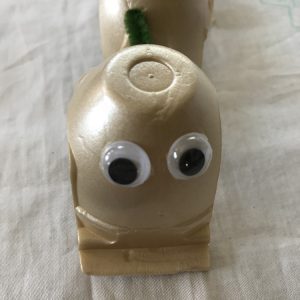
- Add the eyes. Either draw them or glue on googly eyes.
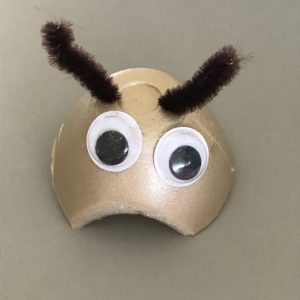
- Add the antennae. The simplest ones are just a piece of pipe cleaner pierced into the egg carton.
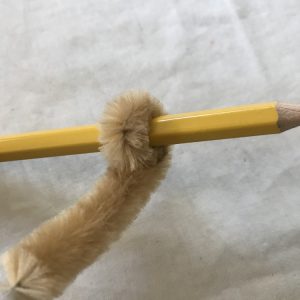
- You can form a more elaborate antennae by coiling one end of a 4″ piece of pipe cleaner around a pencil before inserting into the egg carton.

 |
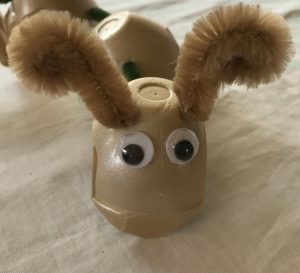 |


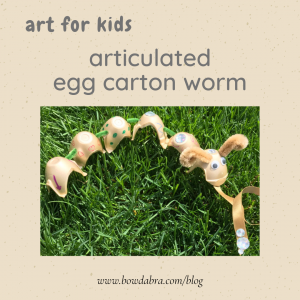
- Now, turn your artist loose to complete the decorations on their worm. Ours worm definitely needed some bling, but not sure of the reason for the leash :)
Visit The Bowdabra blog each Friday for another great quick and easy kid’s craft