Yes, you can paint with shaving cream!! Each piece of art that you create is a OOAK—one of a kind. There’s never a failure.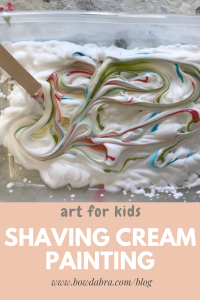

Supplies for Painting with Shaving Cream

- Protective cover for work surface
- Container for the shaving cream
- Shaving cream (foam kind, NOT gel type)
- Paper or cardstock
- Paints (acrylics, tempera, liquid watercolors)
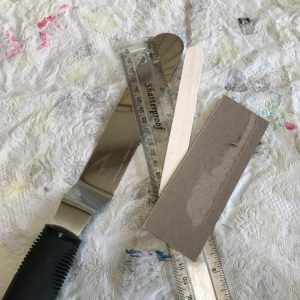
- Straight edge scraper (see suggestions below)
Let the fun begin!
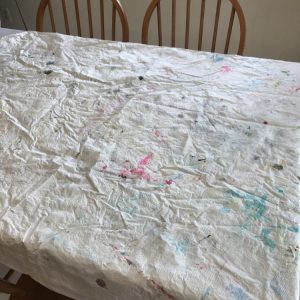
- Cover your work surface. I use a flannel-backed vinyl tablecloth. This has been one of the best art investments I’ve ever made. Got it when my boys were little, and it’s now on its second generation of young artists. It can even go in the washing machine if things really get messy.
- Your container for the shaving cream can be just about anything that can accommodate your paper. A sheet pan, cake pan, plastic food container—even a paper plate will work.
- You’ll need a scraper to remove the excess shaving cream. Anything with a straight edge will work. A craft stick, spatula, ruler, or piece of a cereal box will get the job done. For the youngest artist, this is probably a step for an older child or an adult.
How to create shaving cream art
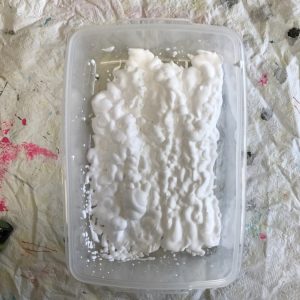
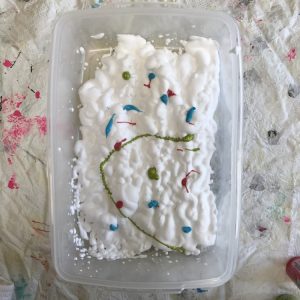
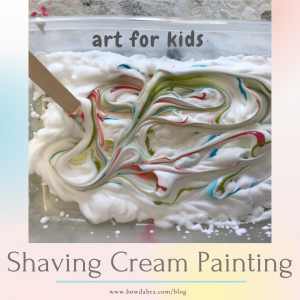
- Add a layer of shaving cream to the bottom of your container. Just enough to cover the bottom.
- Dot and drizzle with paints of your choice. I used acrylic paints.
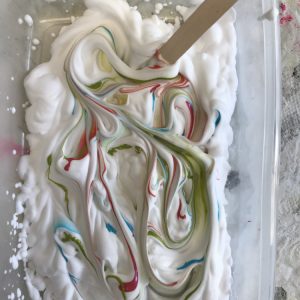
- Gently swirl the paint into the shaving cream. Just a couple passes to distribute the color, but not so much that the colors begin to blend into one shade.
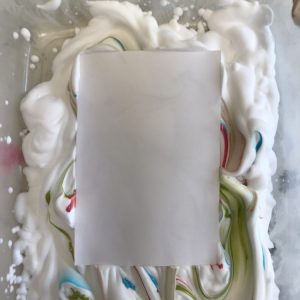
- Lay a piece of paper on top of the shaving cream, and gently press.
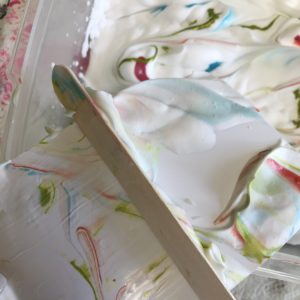
- Lift the paper from the shaving cream. Use your straight edge scraper to remove excess shaving cream. Add the scrapings back into the shaving cream container.
Finishing your shaving cream art
- Set your artwork aside to dry.
- You can make another print right away, or you can add more/different colors. If your shaving cream is getting saturated with paint, add another layer of shaving cream right on top, but when you swirl the colors, only swirl through this top layer. Of course, you can rinse the container at any point.
- Enjoy your art. If you find that the paper has curled, it can be pressed on the wrong side with a warm iron.
Want more ideas for kid’s arts and crafts? Please visit the Bowdabra blog and you will find hundreds of amazing tutorials and DIY videos. Be sure to like us on Facebook too!