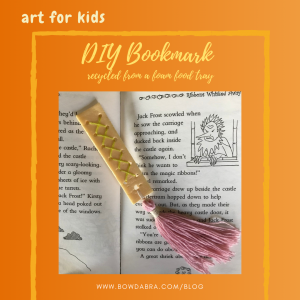
Let’s make a bookmark out of that foam food tray your ground meat came on!! Kill three birds with one stone—teach kids about reuse and recycling, stimulate their art and creativity, and, just maybe, encourage reading. Let’s get started.

Gather these supplies:
- Foam food tray
- Embroidery floss or string
- Needle
- Paper punch
- Cross Stitch Pattern Template
- White glue
Make the Bookmark:
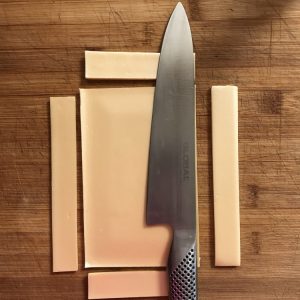
- Cut the sides from a clean food tray. Hang on to the flat bottom piece—we’ll use it in a later project. Cut the side pieces to about 3″ x 1″.
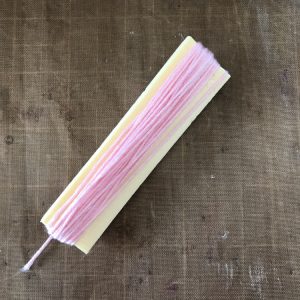
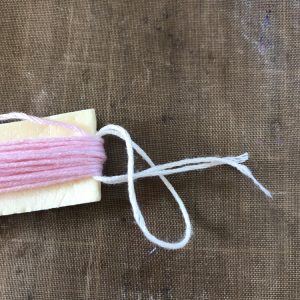
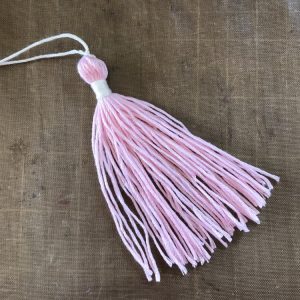
- Let’s begin with the tassel for the bookmark. Wrap about six yards of floss or lightweight string lengthwise around one of the pieces.
Make the tassel
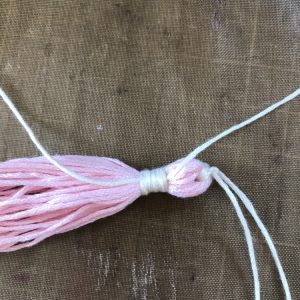
- Add floss for the tie. I’m using a contracting color here so it shows up better in the photos, but you could use the same color. Fold an eight inch length of floss in half and slide under floss wraps. Slide it to the top of the tassel.
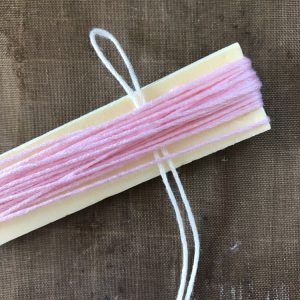
- Pass the ends through the loop and tighten. Pass the ends of the tie through the loops on the bookmark—one end from right to left and the other end from left to right. Tie a secure knot, but don’t cut the floss.
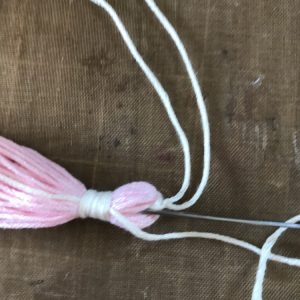
- Now we’re going to make the head of the tassel. Use a length of floss about 18″ long. Form a loop near the top of the tassel.
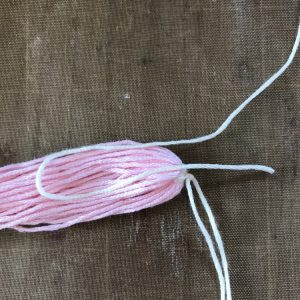
- Hold the loop securely in place with one hand. Starting at the top of the tassel tightly wrap the long end of the floss around the tassel, working your way toward the loop. Be sure to wrap over the short end of the wrapping cord as you go.
-
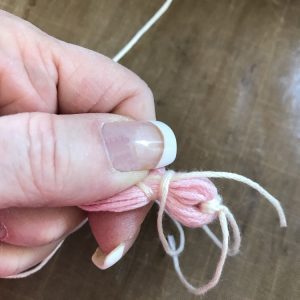
When you’ve wrapped about 3/8″ pass the long end of the floss that you’ve been wrapping around the tassel through the loop you’ve been holding.
Finishing the tassel - Gently, but firmly, pull the tail of the short end until the loop almost peeks out from under the wraps near the top. The long end of the floss is trapped under the wrapping.
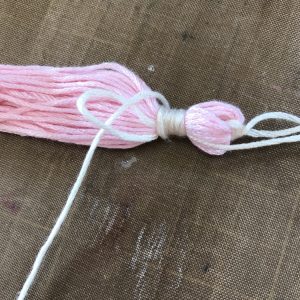
- Do not cut the short end of the floss!! Thread it through a needle and bury it in the tassel.
- If you used a contrasting color for the wrap, trim the long end of the wrapping floss close to the wrap. If you used the same color for the wrap and the tassel, this tail will blend with the tassel and does not need to be trimmed.
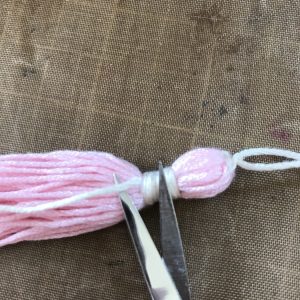
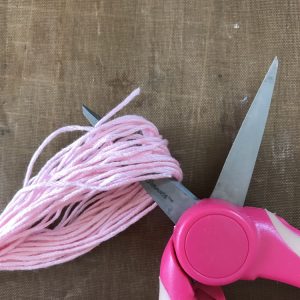
- Cut the tassel loops at the bottom.
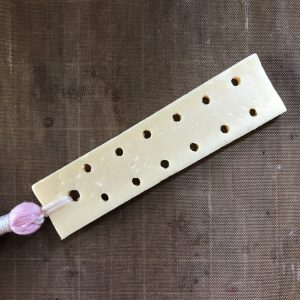
- Pierce a hole in the center bottom of the bookmark and tie the finished tassel in place.
Add the cross stitching to the bookmark
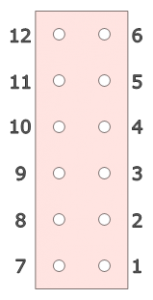
- Using the cross stitch pattern template as a guide pierce a row of holes on each side of the bookmark.
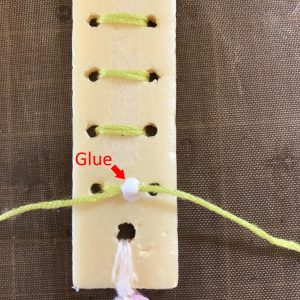
- Thread a needle with floss. Leaving a four-inch tail, bring the needle from the back up through hole 7. Go down from the top into hole 2. Remember to hold onto the tail you began with. Next, bring the needle up at 8, and back down at three. Continue up at 9 and down at four. Up at 10 and down at 5. Up at 11 and down at 6. Now, working back down the bookmark, bring the needle up at 12 and down at 5; up at 11 and down at 4. Continue this pattern until the end when you go down from the top into hole 1.
- Turn the bookmark over and tie a secure knot with the end of the floss and the tail you began with. Add a drop of glue on the knot for extra security. Wait until the glue dries to trim the ends close to the glued knot.
- Success!! Now, go pick up a good book and try out the bookmark.


Visit the Bowdabra blog to find more great kid’s crafts like this bookmark from a foam food tray. Please like Bowdabra on Facebook!