DIY Bows can set off any gift or wreath or door hanger or literally ANYTHING. They add that little extra oomph to your project. Fashioning your own accessories or package adornments can be fun with ribbon bows. But so many people have no idea how to make them. Today we’re going to share how to make DIY bows and a wreath in some super easy ways.
Get all of your ribbons together! And get ready to try your hand for DIY bows and a simple wreath. Watch Nick from Nick’s Seasonal Décor on Bowdabra Facebook Live, with funky and traditional bows, and a Bow wreath, teaching us the process from scratch!
Funky Bow (Starts at 1:50)
Materials required:
- 100-yard Bowdabra bow wire
- Large Bowdabra
- 1 ½ Watermelon color ribbon roll

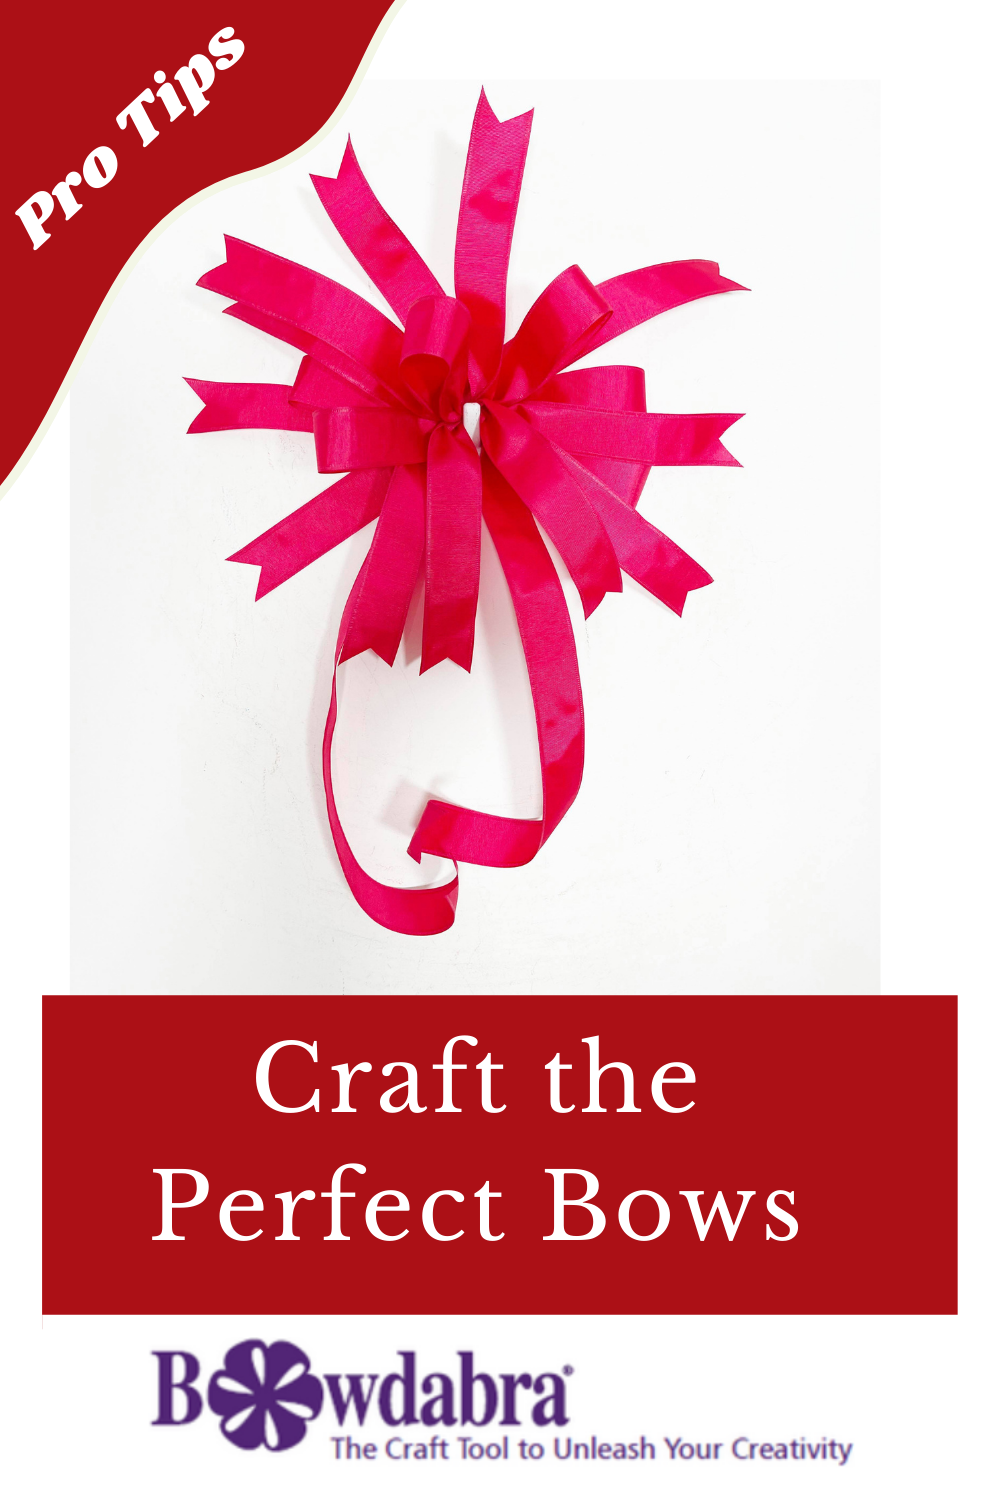
DIY Funky Bow
Process:
- Nick folds the bow wire in half and tucks it underneath the Bowdabra.
- After cutting off the tails (20” on either side) from the Watermelon color ribbon roll, he places them right into the Bowdabra.
- He creates one loop with two tails on either end, cuts it off, and places it right into the Bowdabra.
- Using the same process, he creates 6 loops right into the Bowdabra.
- He secures the bow with several wire knots in the back and finishes off by fluffing the loops and cutting the dovetail pattern on the tail ends.
Traditional Bow (Starts at 8:58)
Materials required:
- 100-yard Bowdabra bow wire
- Large Bowdabra
- 1 ½ Watermelon color ribbon roll
Process:
- Nick folds the bow wire in half and tucks it underneath the Bowdabra.
- After cutting off the tails from the Watermelon color ribbon roll, he places them right into the Bowdabra.
- He creates 10 loops (4 ½ -5”) on the Bowdabra to give it a traditional bow design.
- He secures the bow with several wire knots in the back and finishes off by fluffing the loops and cutting the dovetail pattern on the tail ends.
Watermelon Red Ribbon Bow (Starts at 12:14)
Materials required:
- 100-yard Bowdabra bow wire
- Large Bowdabra
- 1 ½ Watermelon color ribbon roll
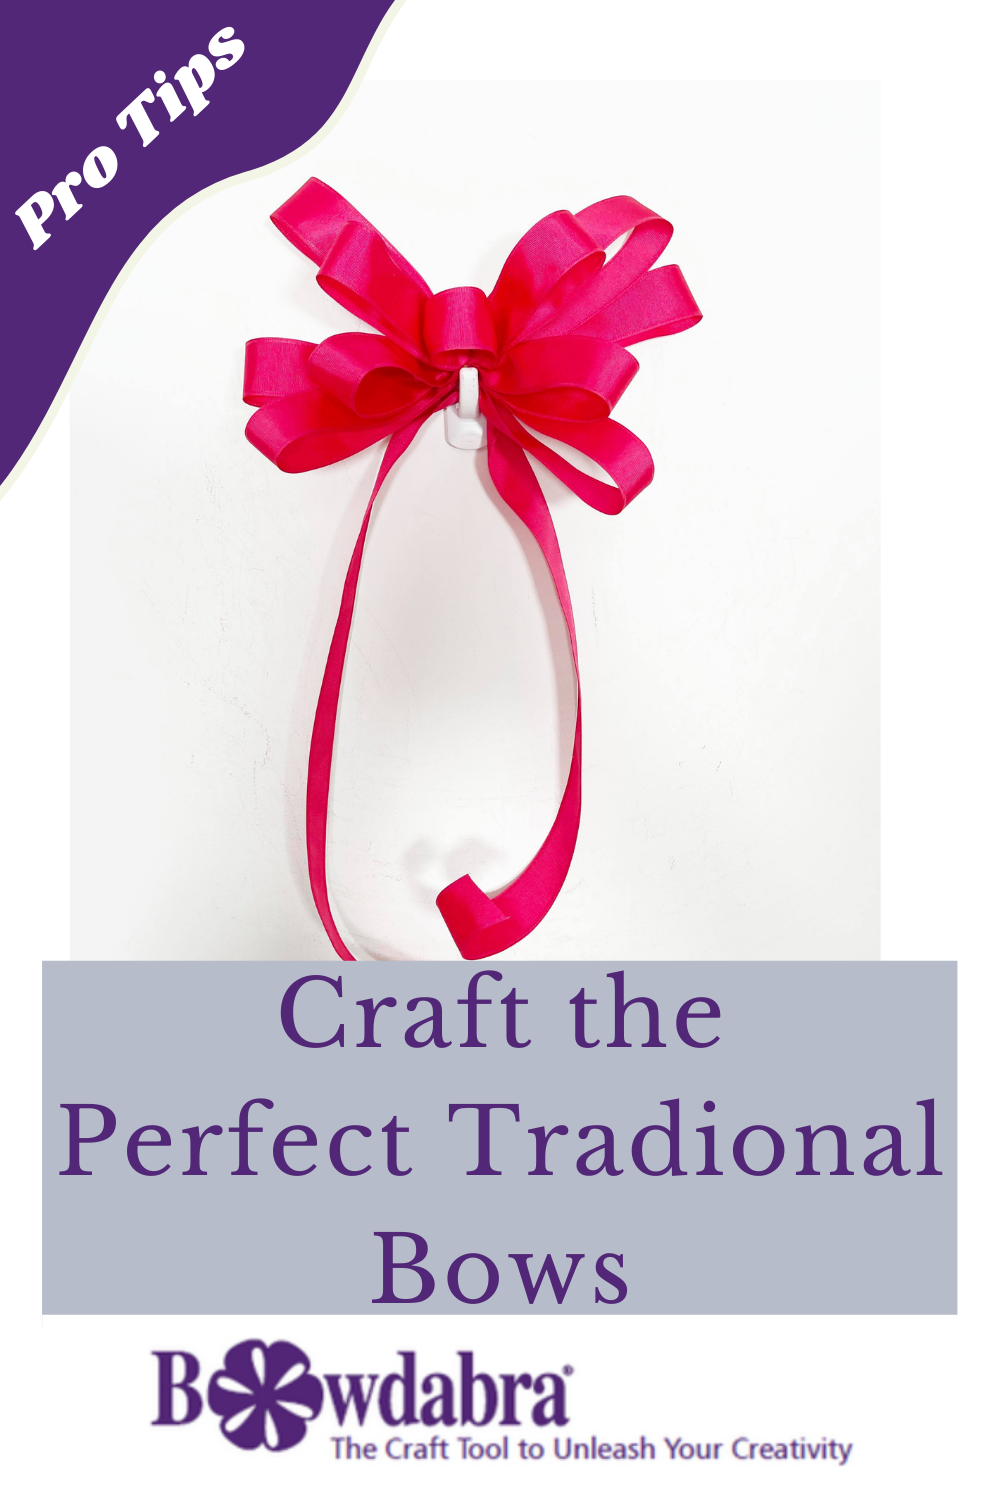
Traditional Bow
Process:
- Nick folds the bow wire in half and tucks it underneath the Bowdabra.
- After cutting off the tails from the Watermelon color ribbon roll, he places them right into the Bowdabra.
- He creates 3 big loops (4 ½ -5”) on either side of the Bowdabra.
- Next, he creates 2 slightly smaller loops (2 ½ -3”) on either side of the Bowdabra and 1 button loop.
- He secures the bow with several wire knots in the back and finishes off by fluffing the loops and cutting the dovetail pattern on the tail ends.
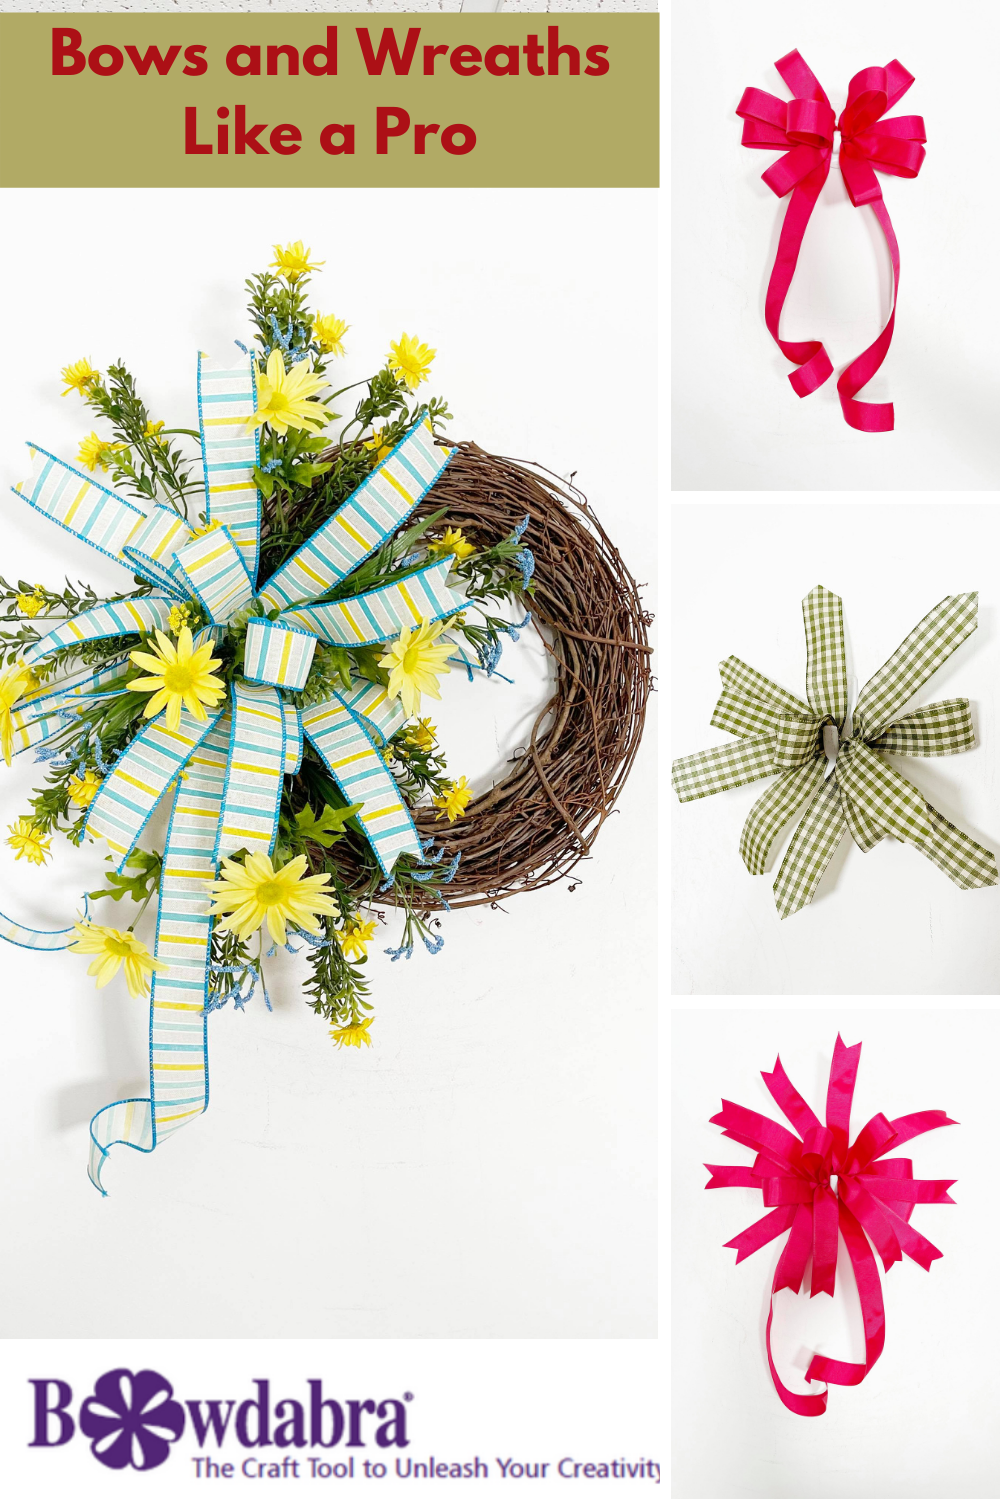
Simple DIY Bow Wreath (Starts at 15:38)
Materials required:
- 100-yard Bowdabra bow wire
- Large Bowdabra
- White-Blue-Yellow chequered ribbon roll
- Hot glue
- Grapevine wreath
- Yellow and blue flower decorative picks
- Bunch of Yellow Daisy Flower pick stem
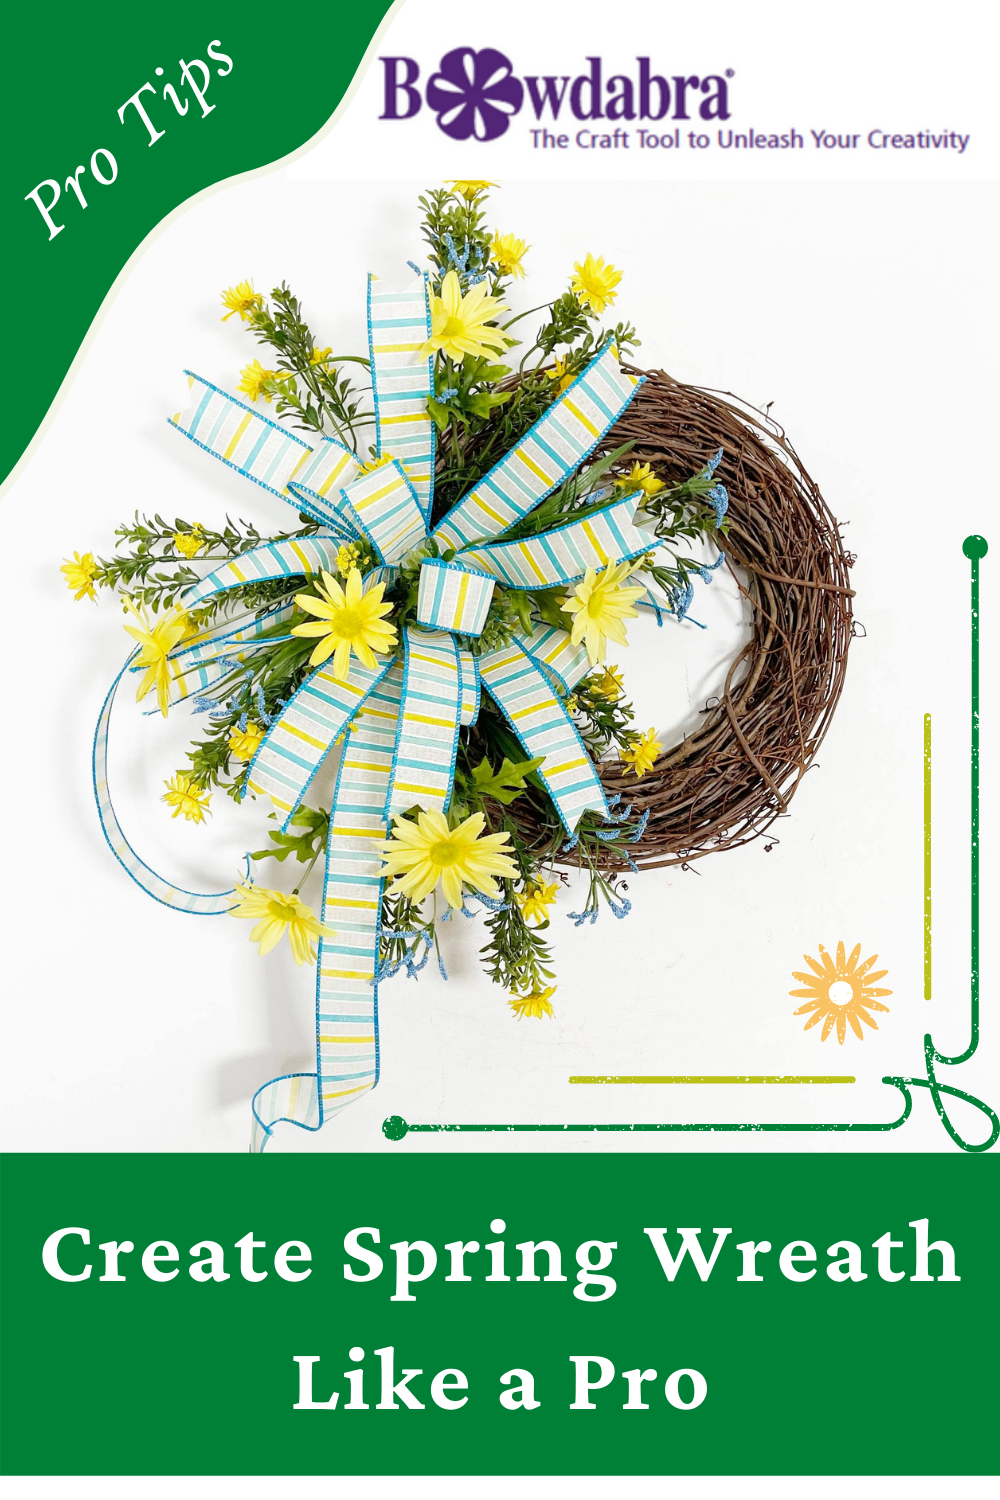
DIY Bow Wreath
Process:
- Nick folds the bow wire in half and tucks it underneath the Bowdabra.
- After cutting off the tails from the White-Blue-Yellow chequered ribbon roll, he places them right into the Bowdabra.
- He creates one loop with the ribbon (3 ½ “ loop and tails about 6”-8”), cuts it off, and places it right into the Bowdabra.
- Again, he creates one loop with the pink ribbon, cuts it off, and places it right into the Bowdabra.
- He repeats the process four times with the ribbon and creates a total of 5 loops on the Bowdabra.
- He secures the bow with several wire knots in the back and finishes off by fluffing the loops and cutting the dovetail pattern on the tail ends.
- In the end, he sticks the bow securely to the wreath and adds some yellow and blue flower decorative picks with the hot glue. Also, he adds few Yellow Daisy Flower pick stems!
Mini Bow (Starts at 25:34)
Materials required:
- 100-yard Bowdabra bow wire
- Mini Bowdabra
- Green Gingham Ribbon Roll
Process:
- Nick folds the bow wire in half and tucks it underneath the Bowdabra.
- After cutting off the tails from the green gingham ribbon roll, he places them right into the Bowdabra.
- Using the same ribbon, he creates 6 loops on the Bowdabra and 1 button loop.
- To secure the bow, he brings the wire from one side to another and puts a slip knot.
- He finishes off by fluffing all the loops and cutting the dovetail pattern on all the tail ends.
Mini Funky Bow (Starts at 27:48)
Materials required:
- 100-yard Bowdabra bow wire
- Mini Bowdabra
- Green Gingham Ribbon Roll
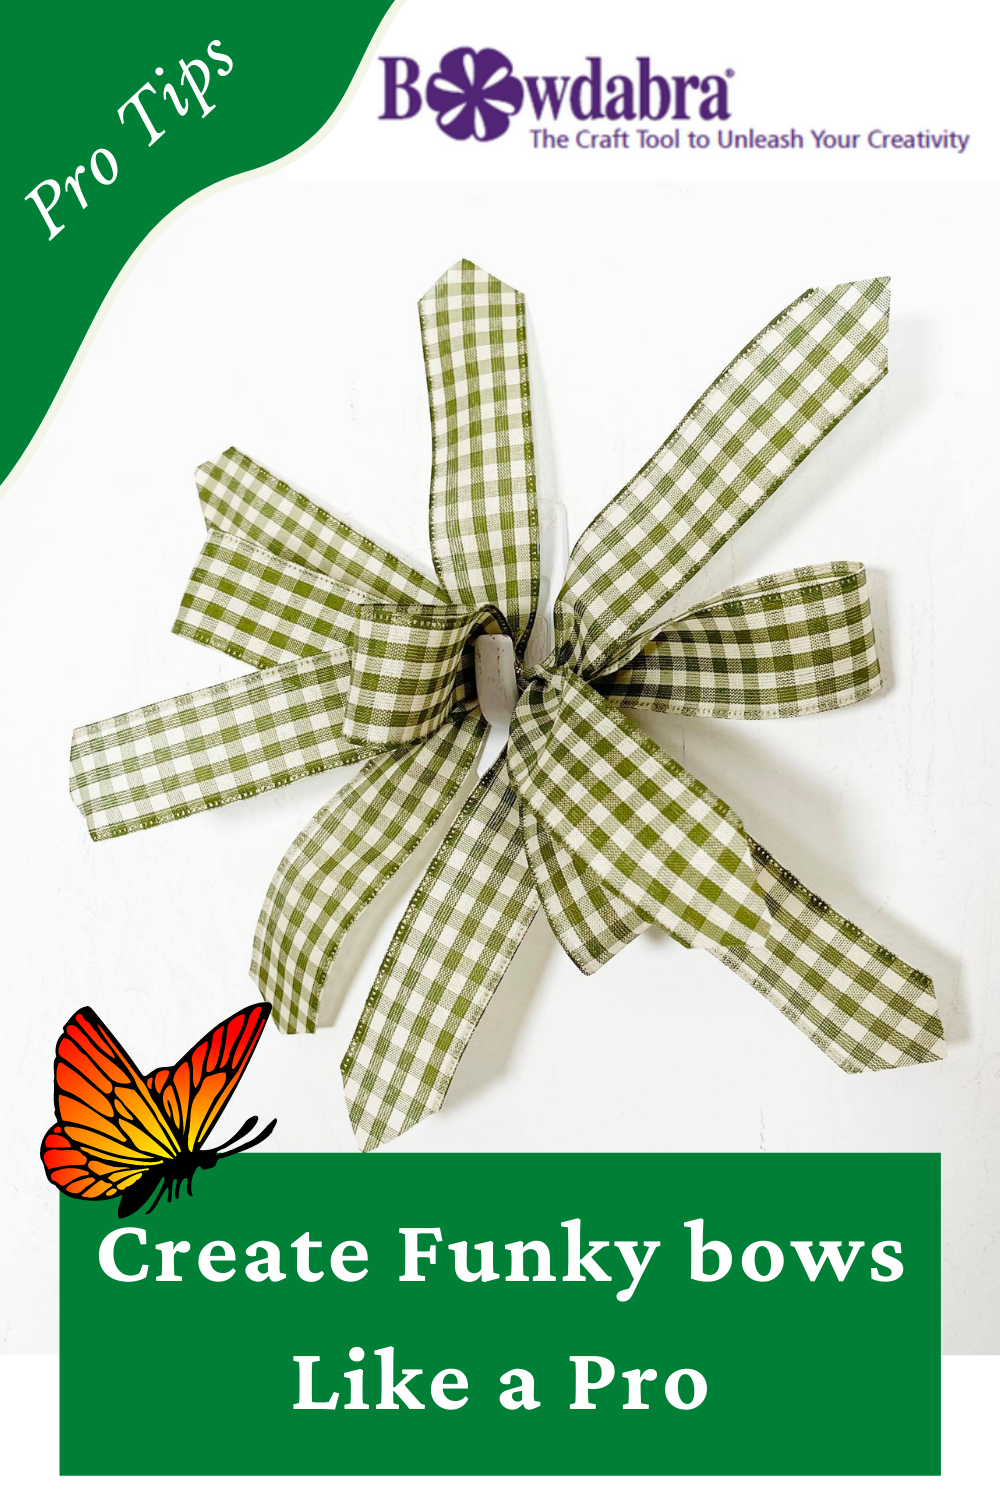
Mini Funky Bow
Process:
- Nick folds the bow wire in half and tucks it underneath the Bowdabra.
- He creates one loop with the green gingham ribbon (2 ½ “-3” loop and tails about 3”-6”), cuts it off, and places it right into the Bowdabra.
- He repeats the process 3 times with the ribbon and creates a total of 4 loops on the Bowdabra.
- Finally, he secures the bow with several wire knots in the back and finishes off by fluffing the loops and cutting the dovetail pattern on the tail ends.
And You’re done! Aren’t these DIY bow crafts look gorgeous? Create your own bows and wreath today to decorate your homes and those of your loved ones this holiday season.
DIY Bows And A Wreath The Super Easy Way
Please join us on Mondays at 4:00 p.m. PST, 5:00 p.m. MST, 6:00 p.m. CST, and 7:00 p.m. EST each week for another fun Facebook live.
Did you miss any Facebook lives? You can find DIY decor bows and more at the Bowdabra blog!