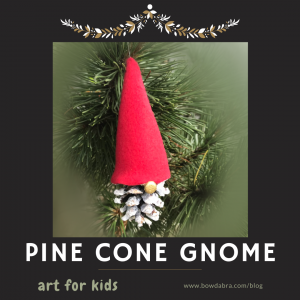
Holiday gnomes come in all shapes and sizes, and are easy to make using pine cones and a few basic art supplies.

These are the supplies you’ll need:
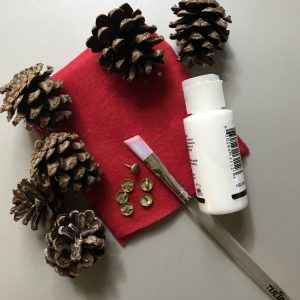

- Pine cones
- Red felt, fabric, or paper for the hat
- Buttons, brads, or beads for the nose
- White acrylic paint
- Paint brush scissors
- White glue or hot glue
- Gnome Hat Template
Let’s get started making the Pine Cone Gnome:
- If you are collecting your own pine cones, you might want to put them in the freezer overnight to kill any beasties they may be harboring.
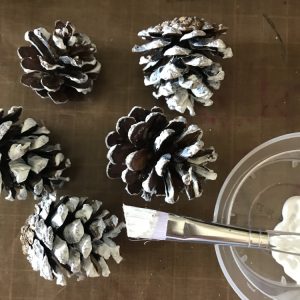
- Paint the pine cones white. Set aside to dry.
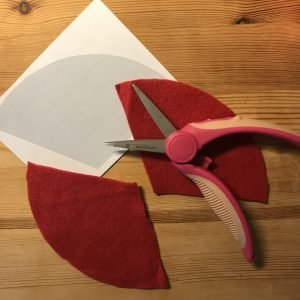
- Print the gnome hat template. I included two sizes. Select the one that most closely fits your pine cones. Use the template to cut out your gnome hats.
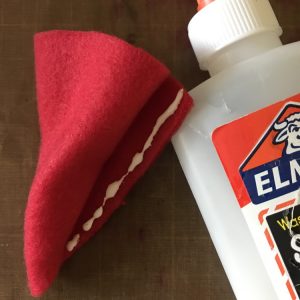
- Form the hat into a cone shape, and glue the seam.
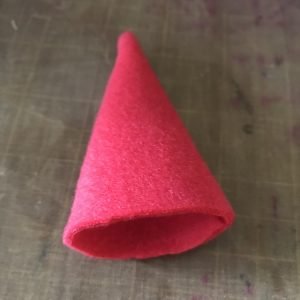
- This is what the finished gnome hat will look like.
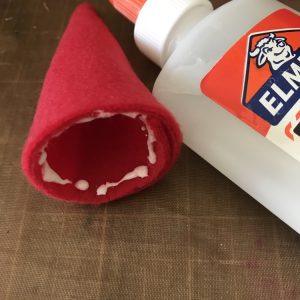
- Run a bead of glue around the inside rim of the hat.
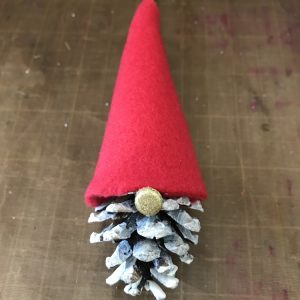
- Glue the hat to the pine cone.

- Glue the nose in place right so it just peeks out from under the rim of the hat.
- If you’re going to hang the pine cone gnome, use a needle to sew a length of thread to the peak of the hat.