Hello, friends! Let’s make a Bowdabra gift bag bow!

It’s Nancy here with a new project share for Bowdabra!
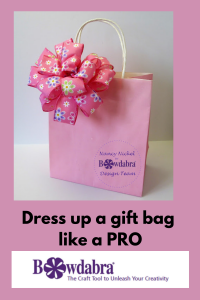
Today, I’m showing you how to dress up a plain gift bag,
using some pretty ribbon and the Bowdabra!
Here’s my gift bag bow:


Here is how I made it:
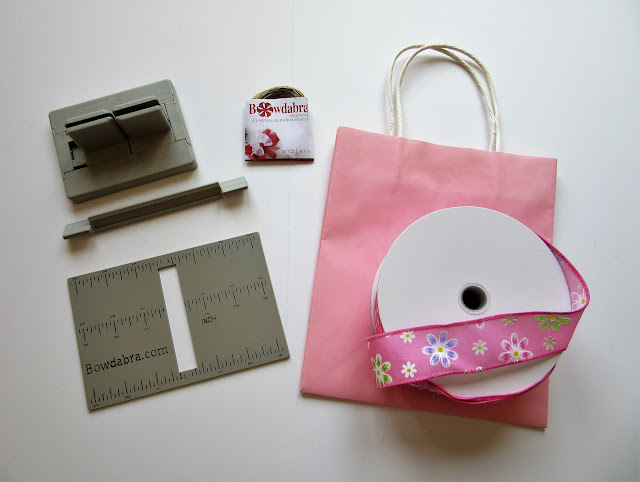

Supplies Used:
Plain Pink Gift Bag;
Scissors.

Instructions:
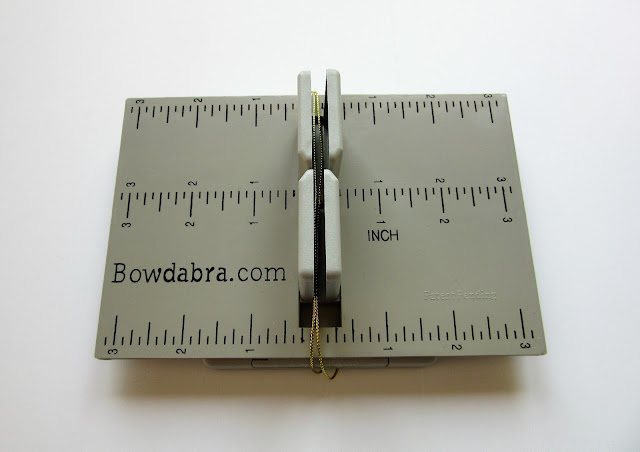
1. First, place the ruler tool over the Mini Bowdabra.
2. Cut a piece of the Bowdabra wire approximately 18″ long. Fold in half. Insert into the Bowdabra tool, as shown in the photo. Tuck the extra length under the base of the tool.

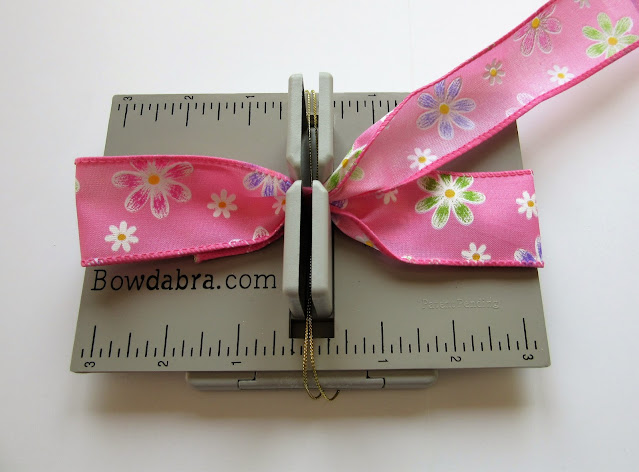
3. Next, lay the pretty wired ribbon into the Bowdabra, right side down. Measure out a 3″ loop, give the ribbon a twist, and insert it into the tool. Form another 3″ loop on the other side.

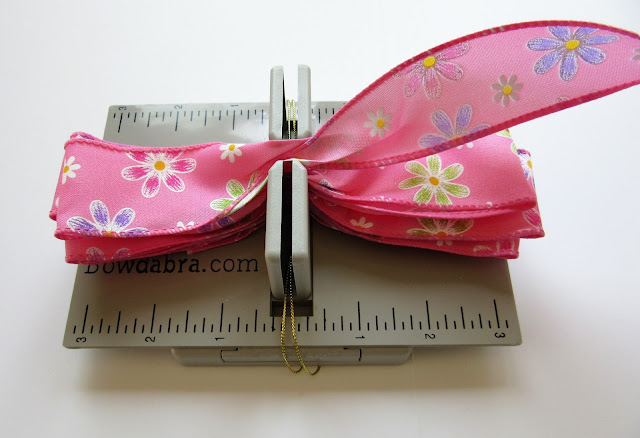
4. Continue to form 3″ loops, twisting in the center, until you have three loops on each side.

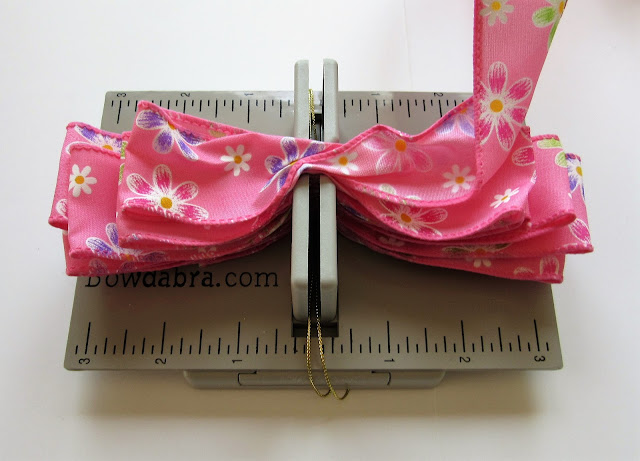
5. Now make two additional loops, on each side, that measure 2 1/2″.

6. Finally, make one more loop that measures 1 1/2″, give the ribbon a twist, and insert it into the tool.
7. Trim the ribbon off at 1 1/2″ on the other side, as shown in the photo.
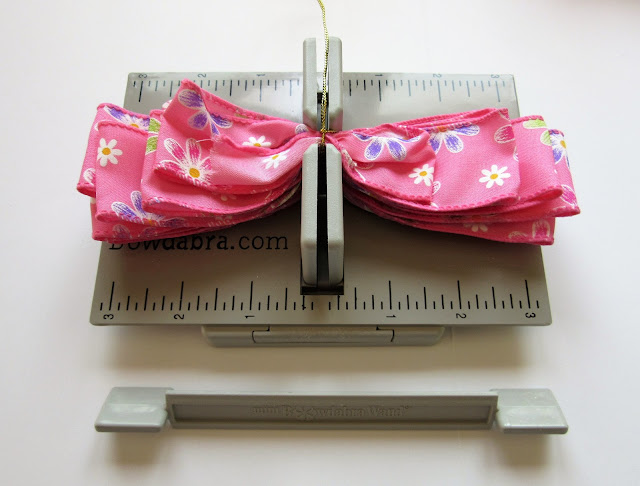
8. Use the Bowdabra wand to scrunch the ribbon down.
9. Pull the wire up from under the base and insert the ends through the loop.
10. Hold the ribbon down securely with one hand and pull the wire up tightly with the other.

11. Tie the wire securely around the ribbon.
12. Fluff and arrange each loop, until you have the shape you want, tucking the cut end under the center loop.
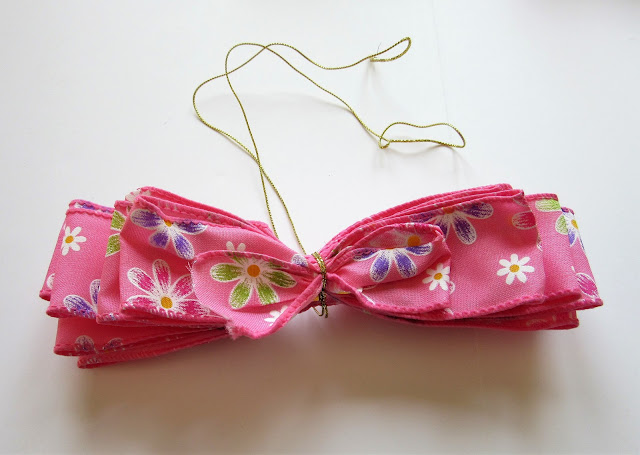
Finishing your bow

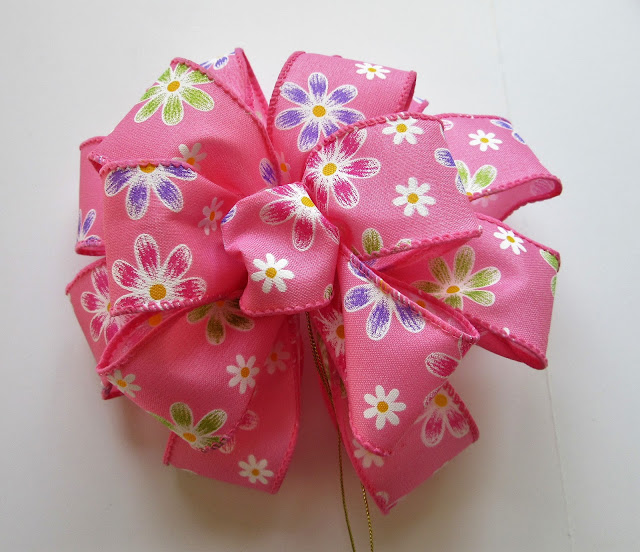
Here’s the finished bow!
Isn’t that lovely? The ribbon is so pretty!
I used the wire to attach the bow to the handle of my gift bag.
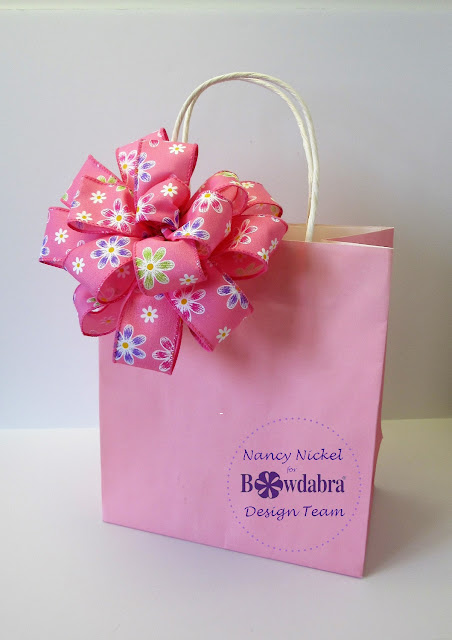
There you have it…a lovely presentation!
Now you just have to add your gift and some tissue paper.
A pretty gift bag bow, made with the Bowdabra, really dresses up a plain bag.
A pretty gift bag bow, made with the Bowdabra, really dresses up a plain bag.
* * * * *
Thanks so much for stopping by today!
I’ll be back next month with another fun bow project!
* * * * *