Making fall wreath bows doesn’t have to be hard or expensive! Today Bowdabra is going to show 4 easy ways to create stunning fall wreath bows out of ribbon. Keep scrolling down for step-by-step bow instructions and a complete video tutorial.
Watch Nick from Nick’s Seasonal Décor on Bowdabra Facebook Live, with DIY Fall funky and traditional bows and a wreath. Follow the tutorial and create DIY inexpensive designer fall wreath bows. Tune in to learn the process from scratch!

DIY Funky Bow (Starts At 2:20)
Materials Required:
- 100-Yard Bowdabra Bow Wire
- Large Bowdabra
- Orange Burlap Ribbon Roll
- Green Burlap Ribbon Roll

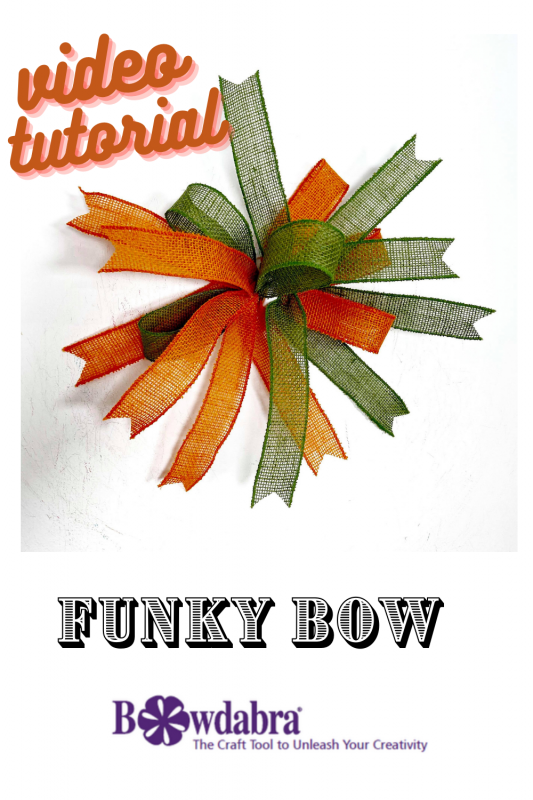
DIY Funky Bow
Process:
- Nick folds the bow wire in half and tucks it underneath the Bowdabra.
- Using the orange burlap ribbon roll, he creates one loop (3”), cuts it off, and places it right into the Bowdabra.
- Using the green burlap ribbon roll, he creates one loop (3”), cuts it off, and places it right into the Bowdabra.
- In the same fashion, he creates 4 more loops using both the ribbons alternatively.
- He secures the bow with several wire knots in the back and finishes off by fluffing the loops and cutting the dovetail pattern on the tail ends.
DIY Fall Wreath (Starts At 14:20)
Materials Required:
- 100-Yard Bowdabra Bow Wire
- Large Bowdabra
- Plaid Checked Ribbon Roll
- Hot Glue
- 18” Grapevine Wreath
- Artificial Berries, Sunflower Decorative Picks
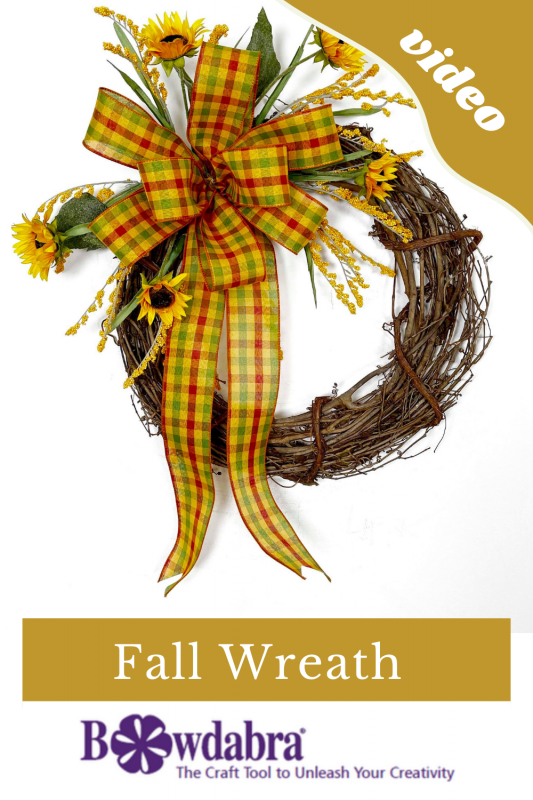
DIY Fall Wreath
Process:
- Nick folds the bow wire in half and tucks it underneath the Bowdabra.
- After cutting off the long tails from the Plaid Checked ribbon roll, he places them right into the Bowdabra.
- He takes the ribbon, flips it inside out, places it on the Bowdabra, and creates 8 loops (3” -4”).
- Next, he pulls the bow wire from one end to the other and ties the bow.
- He finishes off by fluffing all the loops and cutting the dovetail pattern on the tail ends.
- In the end, he sticks the bow securely to the wreath and adds some berries and sunflower decorative picks with hot glue.
Easy Mini Bow (Starts at 24:18)
Materials required:
- 100-yard Bowdabra bow wire
- Mini Bowdabra
- Maroon Ribbon Roll
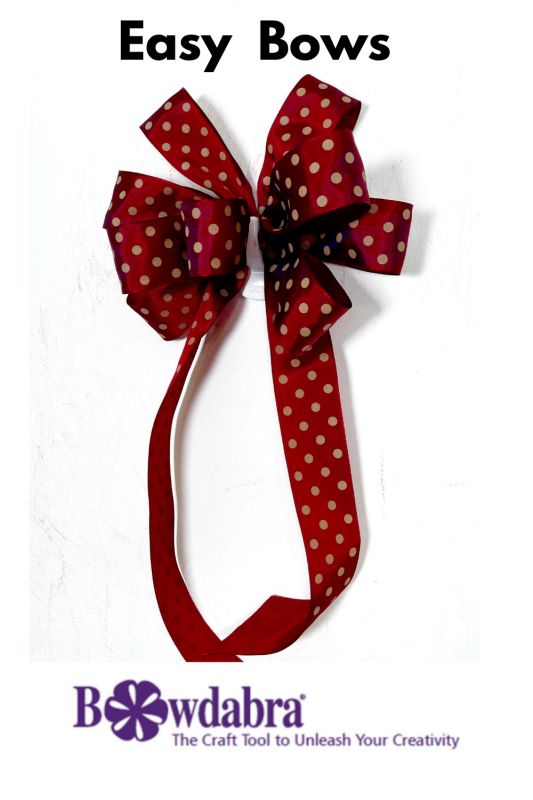
Easy Mini Bow
Process:
- Nick folds the bow wire in half and tucks it underneath the Bowdabra.
- After cutting off the tails from the maroon ribbon roll, he places them right into the Bowdabra.
- He creates 9 loops on the Bowdabra.
- He secures the bow with several wire knots in the back and finishes off by fluffing the loops and cutting the tail ends at an angle.
3-2-1 Mini Bow (Starts at 28:05)
Materials required:
- 100-yard Bowdabra bow wire
- Mini Bowdabra
- Yellow Ribbon Roll
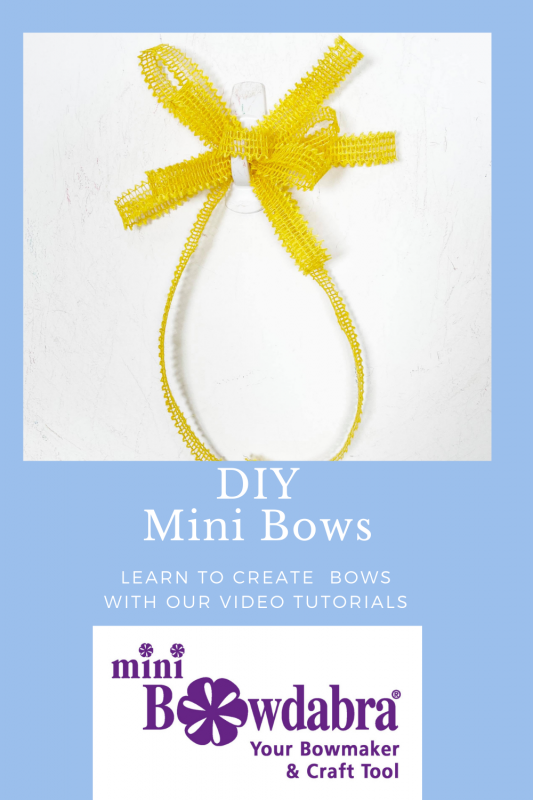
DIY 3-2-1 Mini Bow
Process:
- Nick folds the bow wire in half and tucks it underneath the Bowdabra.
- After cutting off the tails from the yellow ribbon roll, he places them right into the Bowdabra.
- He takes the ribbon, flips it inside out, places it on the Bowdabra, and creates 3 big loops on either side of the Bowdabra.
- Using the same ribbon, he creates 2 smaller loops on either side of the Bowdabra and 1 button loop.
- He secures the bow with several wire knots in the back and finishes off by fluffing the loops.
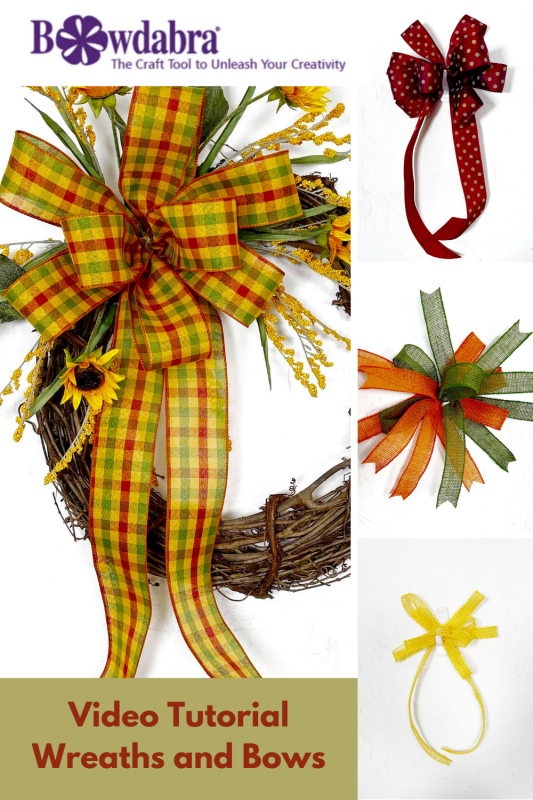
DIY Inexpensive Fall Wreath Bows – Bowdabra Tutorial
Please join us on Mondays at 4:00 p.m. PST, 5:00 p.m. MST, 6:00 p.m. CST, and 7:00 p.m. EST each week for another fun Facebook live.
Did you miss any Facebook lives? You can find DIY decor bows and more at the Bowdabra blog!