Combine ribbons and fun fibers to make this bracelet. It makes a beautiful fashion accessory!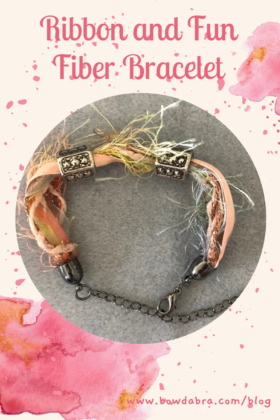

Here are the supplies that you’ll need: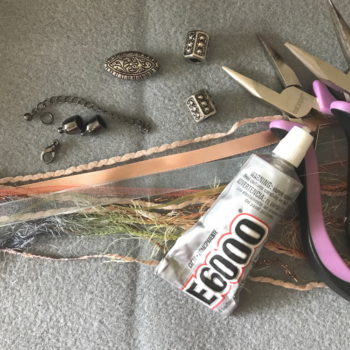

- 9″ length ¼” satin ribbon
- 9″ length ¼” organza ribbon
- Two 9″ lengths 1/8″ organza ribbon
- Four to six 9″ lengths fun fibers
- Focal bead/s with large holes
- Two ball caps
- Two jump rings
- One lobster claw fastener
- 2½” length chain (optional)
- Jewelry pliers
- Painter’s tape or Scotch tape
- E6000 adhesive
Let’s get started making the Ribbon and Fun Fibers Bracelet:
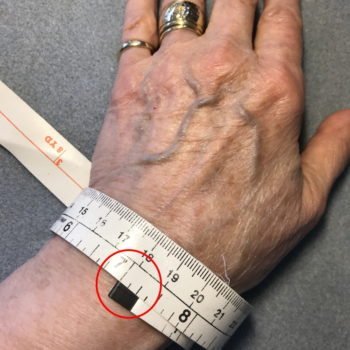
- Loosely measure the wrist circumference. This should be how tight or loose you want the finished bracelet.
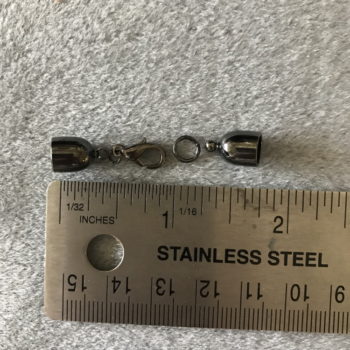
- Lay the jewelry findings in a row—ball cap, jump ring, lobster clasp, jump ring, ball cap. Measure the length of the findings.
- Subtract the measurement of the findings from the wrist circumference measurement. Then, add ½”. This is the length you’ll cut the ribbons and fibers.
- Bundle the ribbons and fibers. Tightly wrap one end with tape about ¾” to 1″ from the end.

- Trim the bundle to the depth of the ball cap.
- Fill the ball cap with E6000 adhesive. Push/twist the bundled and taped fibers into the ball cap until the cap meets the tape. You may need to use an awl or toothpick to get them snugly into the ball cap. Set the bracelet aside until the glue dries. Drying may take longer than normal since the adhesive is enclosed in the ball cap with little air circulation.
- Repeat bundling and taping the opposite end of the ribbons/fibers. Trim the bundle to the depth of the ball cap.
- With the tape, form a pointed end covering the bundle—think the end of a shoelace. This makes threading the focal bead/s easier. Now, thread the bead/s onto the bundle. You can thread one central bead or two or three smaller focal beads.
- Here you can see what the bracelet looks like at this stage—one ball cap glued in place and two focal beads threaded onto the ribbon/fiber bundle.

- Remove the tape that you formed into a point. Fill the second ball cap with E6000 and glue in place. Again, set aside to dry.
- Carefully remove the tape at each end securing the ribbon/fibers bundles.
Add the Jewelry findings
- Now, it’s time to add the jewelry findings. Refer to the instructions below for opening and closing the jump rings. Add the lobster clasp to one of the ball caps with a jump ring. Add a jump ring to the other ball cap. Optionally, you can use a jump ring to add a short length of chain to this ball cap. This length of chain gives extra length to the bracelet, if necessary.
How to open and close jump rings:
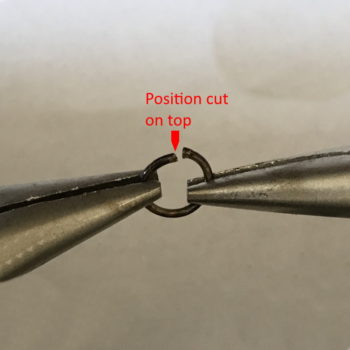
- Use a pair of jewelry pliers, one in each hand. Hold the jump ring in the pliers with the opening on top.
- Twist the pliers in opposite directions—one side away from you; one side toward you.
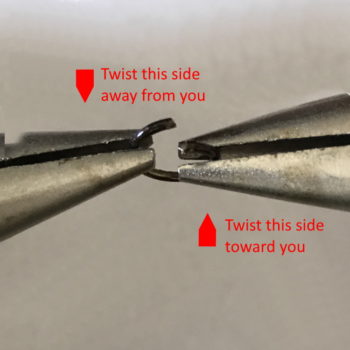
- To close the jump ring, hold the pliers and jump ring as pictured above and twist the pliers to close the ring.

