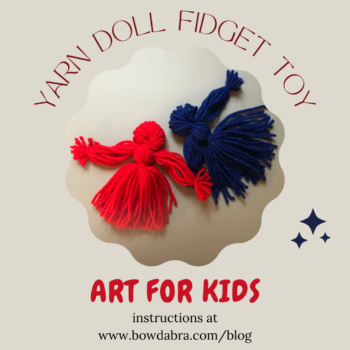
You only need three things to make these yarn doll fidget toys!! But, what are fidget toys, anyway?? Typically, fidgets are made to be manipulated or held in the hands. They come in many shapes and materials. They help decrease stress and anxiety, and provide an outlet for anxious, restless, or nervous behaviors.
Fidget toys/tools are often incorporated in the classroom to help children focus and improve learning. They can also help to calm an anxious student.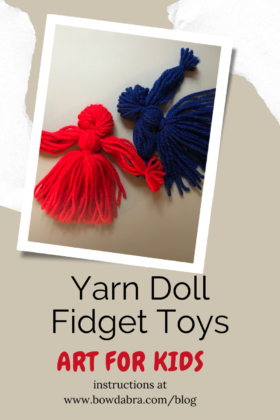

Here are the three things that you’ll need to make a yarn doll fidget:
- Yarn
- Stiff cardboard (cereal box, corrugated box, etc.)
- Scissors
Now, let’s make a doll:
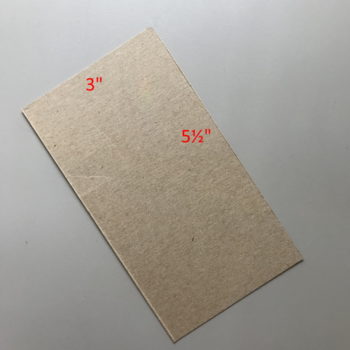
- Cut a piece of cardboard 3″ x 5½”. If you’re using a cereal box, either cut two pieces and glue or tape them together, or cut a piece 3″ x 11″ and fold in half. The double thickness gives the necessary strength to the piece so it won’t bend.
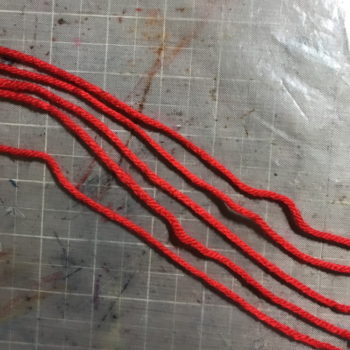
- Cut five 18″ lengths of yarn. Use the same yarn that you’ll use for the doll. These will all be folded in half for added strength. Set these aside, but keep them handy.
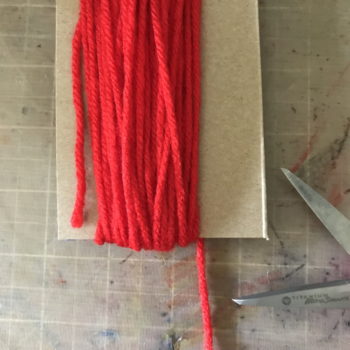
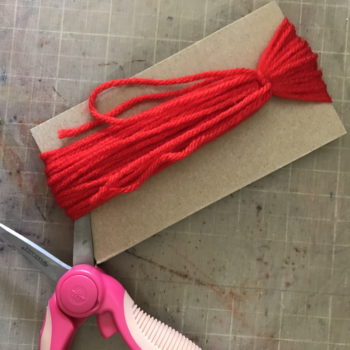
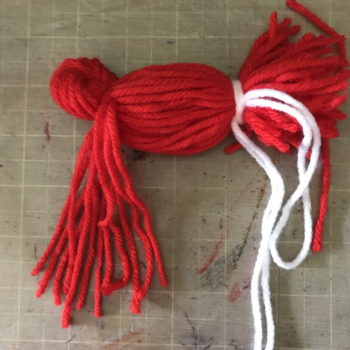
- Begin wrapping the yarn around the cardboard. Wrap snugly, but don’t stretch the yarn. You’ll need about 40 to 50 wraps for your doll.
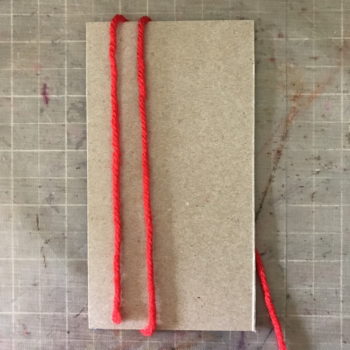
- You want the beginning wrap and end wrap to be at the same end of the cardboard.
- Now, grab one of the 18″ lengths of yarn. Fold it in half, and slide it under the wrapped bundle about 1″ or so from the top.
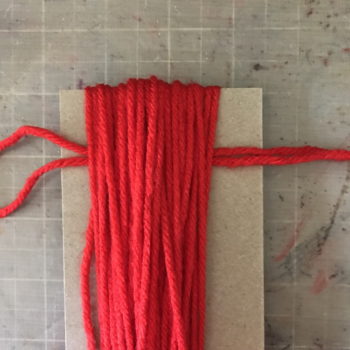
- Tie the bundle tightly with a secure knot. Leave the tails long. They’ll just become part of the doll.
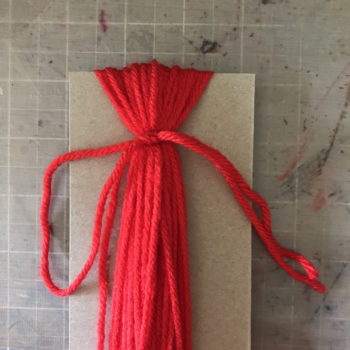
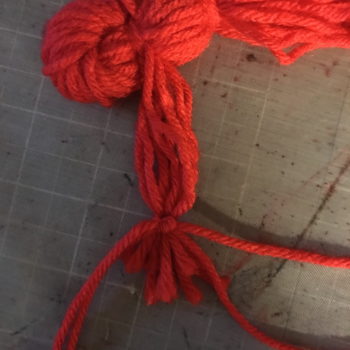
- Cut the bottom loops of the wrapped bundle.
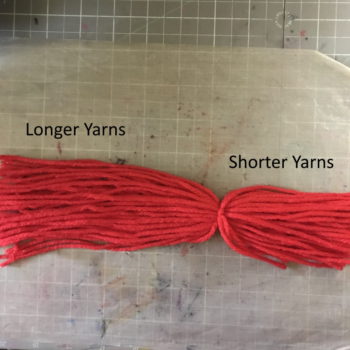
- Lay the yarn bundle flat. You’ll have one section that is longer than the other.
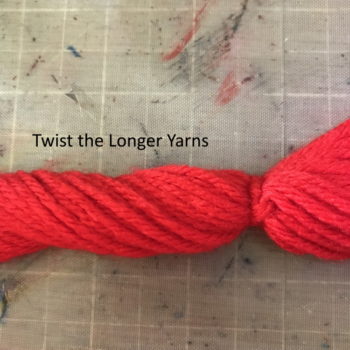
- Twist the section of longer yarns. This will begin to form the doll’s head.
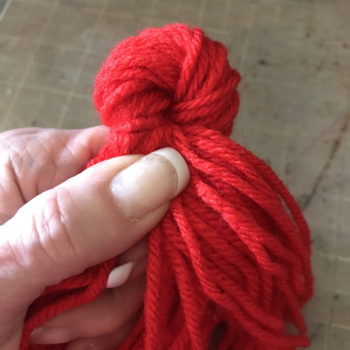
- While maintaining that twist, fold the yarn bundle in half. Use one of the 18″ lengths to tie the head in place right on top of the place you tied in Step 6.
Make the arms
- Segment the yarns for an arm. I used 12 strands of yarn. I also loosely tied the large bundle together with a contracting yarn to keep it out of the way. You could use a string, rubber bind, or binder clip.
- At the end of the arm, use one of the 18″ lengths, folded in half, to tie the arm strands.
- Trim the yarn at the end of the arm.
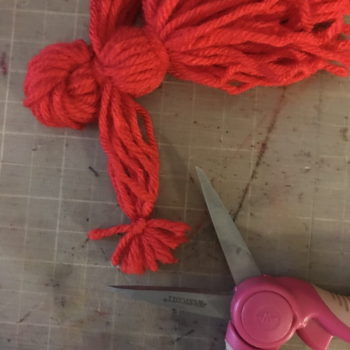
- Repeat Steps 11-14 for the other arm.
- Now, take a look at your dolly and decide which is the front. Lay the doll face down and use the last 18″ length of yarn to tie the bundle together about an inch or so below the arms to form the waist.
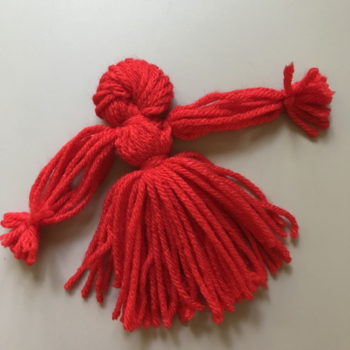
- Trim the bottom edge, if necessary.

Enjoy your back-to-school yarn doll fidget!