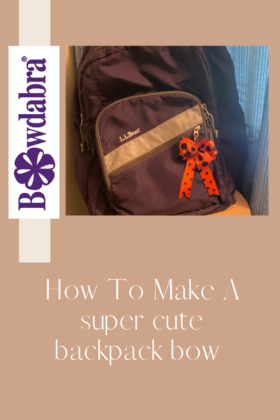
This super cute fall backpack bow is a great way to celebrate fall with some extra bling on your backpack. Whether it’s for a short trip, or back to school you can make this bow in any color you want to fit your personal taste and mood. A carbines attachment makes it easy to change it whenever you want!
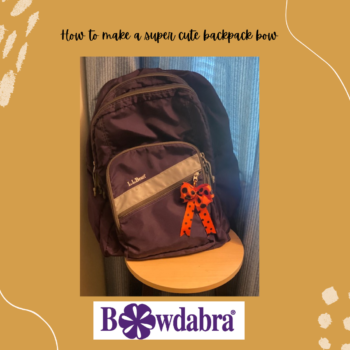

How to make a fall backpack bow with Bowdabra
Materials:
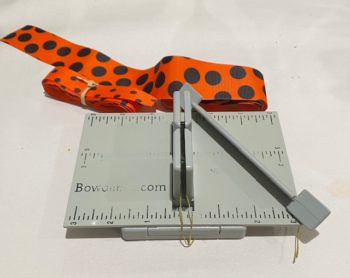
- 10 inches of orange polka dot ribbon 7/8″ wide
- 16 inches of orange polka dot ribbon 1 1/2″ wide
- orange carbiner
- Bowdabra
- Bowdabra bow wire
- Backpack
Instructions:
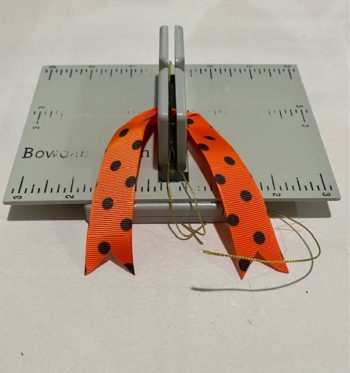
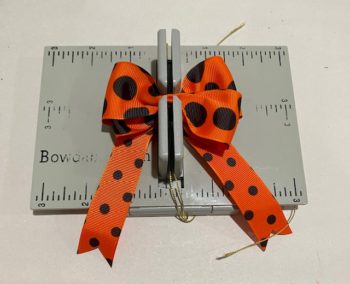
First, cut a piece of Bowdabra bow wire, fold it in half and lay it in the Bowdabra.

Next, insert the 10” piece of polka dot ribbon in the Bowdabra with the end hanging down. Dovetail the ends and seal them with a lighter.

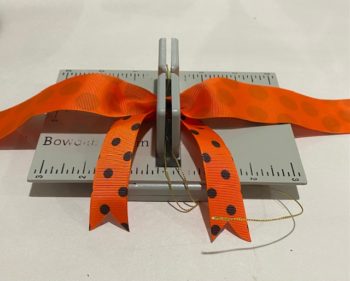
Now, fold in half longer piece of ribbon to find the center and then insert into the Bowdabra.
Next, make a boutique style ribbon with the longer piece of ribbon. Find the center and place it right side of the ribbon down into the Bowdabra. Next, take one end of the ribbon bring it over and scrunch that right side down into the bowdabra. Then, bring the other end over the first loop which forms a sort of X shape and lay that in the Bowdabra. Now, push the lower ribbon in first, then push the top one and you have a boutique bow. Scrunch everything down with the Bowdabra wand.

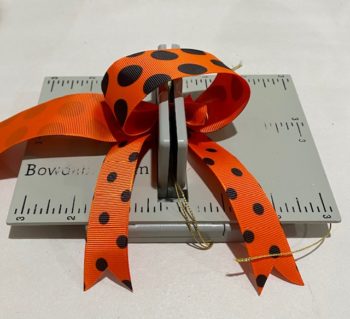


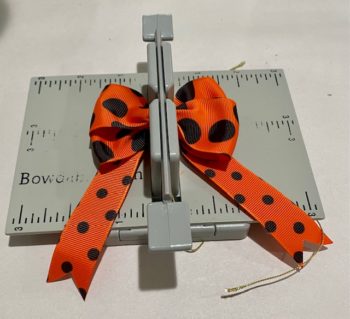
Now scrunch everything down with the Bowdabra wand. Then, insert the loose wires through the loop and pull tight while the bow is still in the Bowdabra. Then, remove the bow from the Bowdabra, separate the ends, turn to the back and tie a knot. Tie a double knot for extra security.
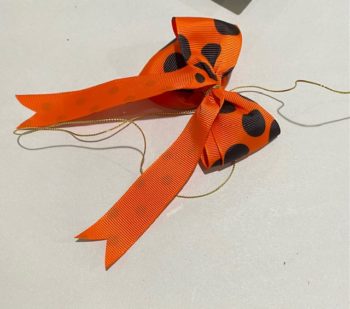

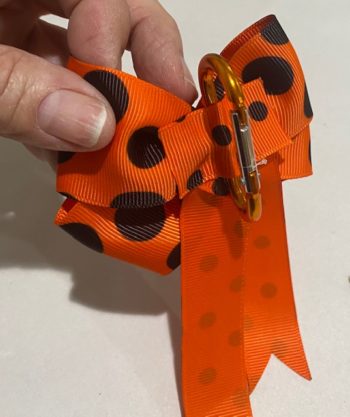
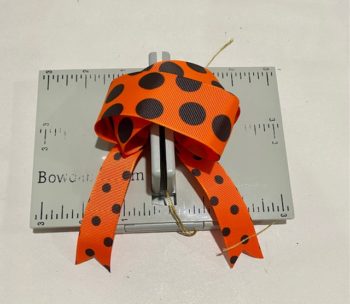
Attach the carbiner tying a know with the excess bow wire. Use some hot glue as well if desired. Attach to a backpack for a bit of fall bling.