Spider web decorations are a Halloween staple. Here’s a different spin on the classic round web decoration. Sometimes your decorating calls for just a portion of the web. Follow this tutorial for a perfect corner spider web.

You can use plain copy paper for a spider web, but waxed paper and parchment paper give great results. Another super option—especially for a really big web—is a trash bag. I’m using parchment paper to make this corner spider web.
Let’s make a corner spider web:
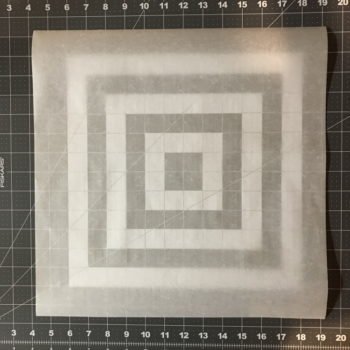
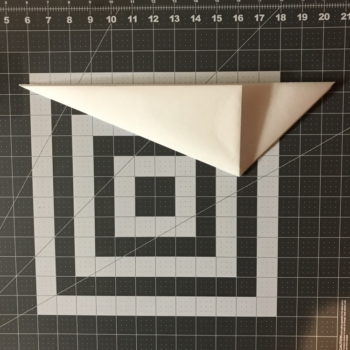
- You need to begin with a square. Any size, but I’m using a 15″ square. Lay your square on a flat surface.
- Make your first fold. Bring the lower right corner to the top left corner. Press the fold line in place.
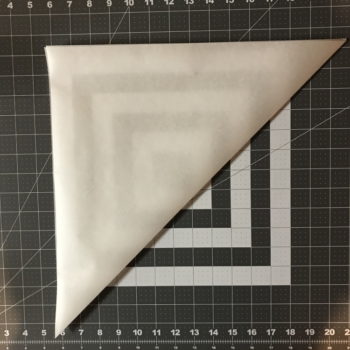
- For the second fold, bring the lower left corner to the top right corner. Again, press the fold line.
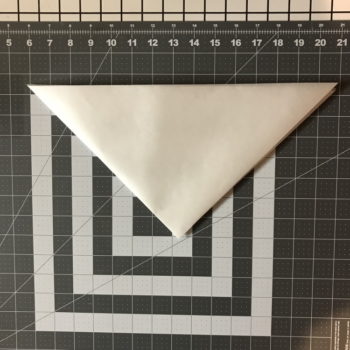
- For the last fold, bring the bottom center point to the top. You will have a triangle of excess paper on the right side of your folded paper.
- Cut away the excess triangle.
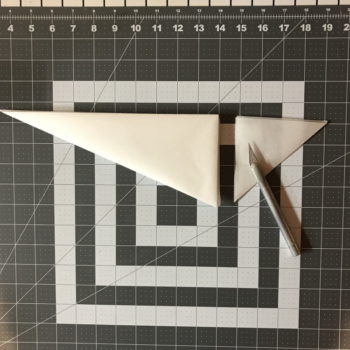
- Rotate the folded paper 90° counterclockwise.
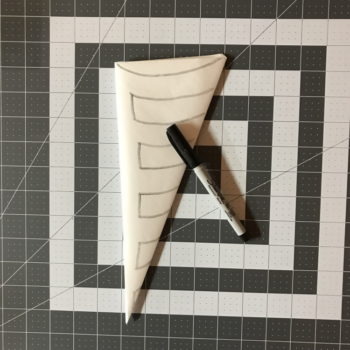
- Sketch the web lines with a pencil, pen, or marker following this diagram.

- Cut away the top arc.
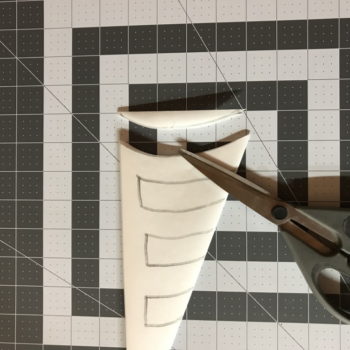
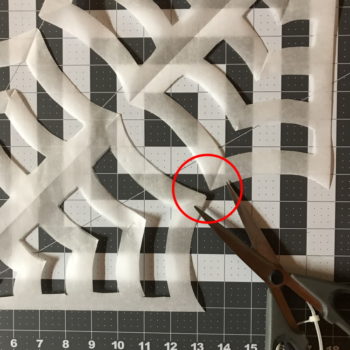
- Cut out the web lines.
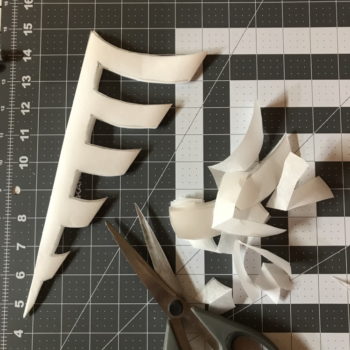
- Carefully unfold the corner spider webs. You’ll have two!!

- If you didn’t cut through all the layers in Step 8, just snip the joins to separate the two webs.
- Use your corner spider webs to create the spookiest ever Halloween decorations.


Please visit the Bowdabra blog every Friday for another amazing kid’s craft or art project that the whole family will enjoy! And follow Bowdabra on Facebook too!