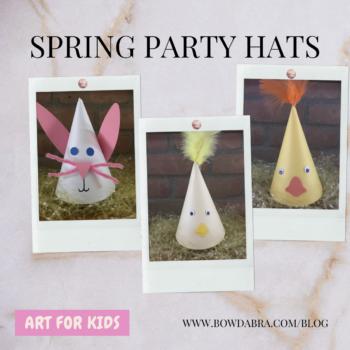
Kids can create their own spring party hat to celebrate a special occasion. 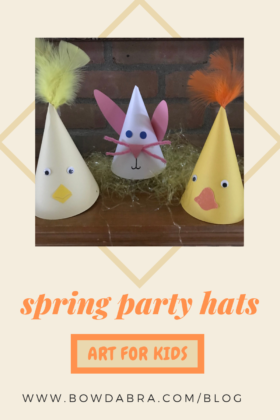

Here’s the supplies that you’ll need:
- Party Hat Template
- Facial Features Template for Bunny, Chick, and Duck
- Cardstock—white for the bunny; light yellow for the chick; deep yellow for the duck; pink for bunny’s inner ears
- One pipe cleaner for bunny
- Googly eyes for chick and duck
- Black marker for bunny’s mouth
- Feathers—yellow for the chick; orange for the duck
- Double-sided tape or Scotch tape
- White glue
- Elastic cord and ribbon for a tie
Let’s make a Spring Party Hat:
I’m making the bunny party hat, but the process is basically the same for the chick and the duck.
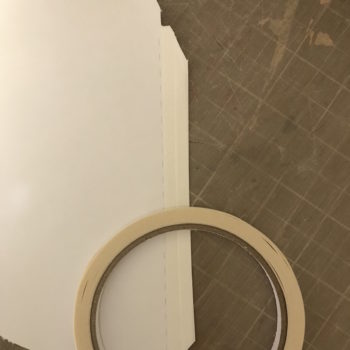
- Use the Party Hat Template to cut out a hat. Use the Facial Features Template and cut out the appropriate features.
- Add double-sided tape to the tab on the hat, but don’t expose the top adhesive just yet.
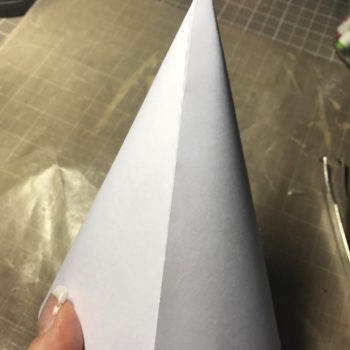
- Roll the hat into a tight cone. This helps to shape the flat cardstock into a party hat shape.
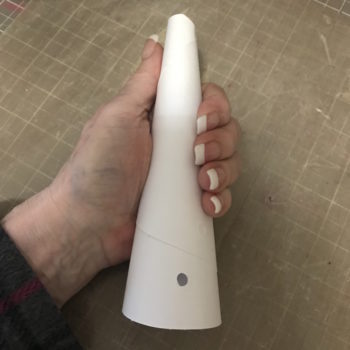
- Expose the top adhesive and glue the tab to the inside of the hat. Inserting a pen into the point of the hat can give you something solid to press against, if necessary. You can reinforce the seam with Scotch tape, as well.
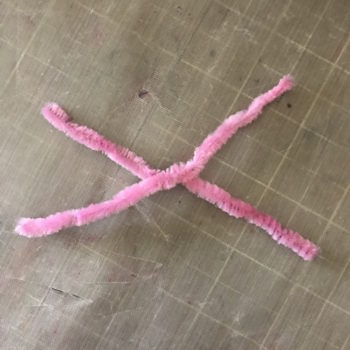
- Now let’s add the facial features. (For the chick and duck glue googly eyes and beak/bill in place. Glue feathers into the hole at the top of the hat.) For the bunny we’ll need to make the whiskers. Cut the pipe cleaner in half, then twist the two pieces together in the center.
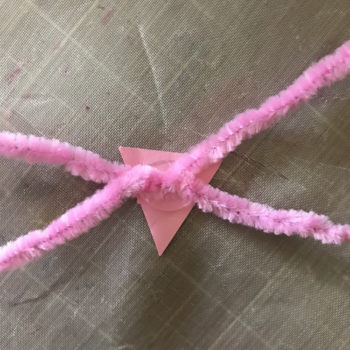
- Glue the whiskers to the back of the nose.
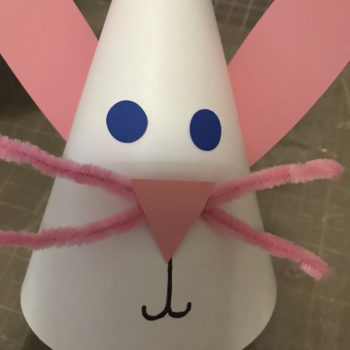
- Glue the ears on the back of the hat. Glue the eyes and nose/whiskers to the front of the hat. Use a black marker to draw the mouth.
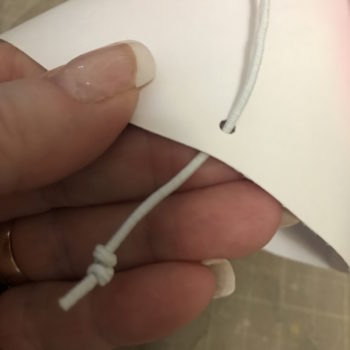
- Add an elastic cord or ribbon tie to the holes on each side of the hat.
- Now you’re ready to celebrate a spring special occasion.