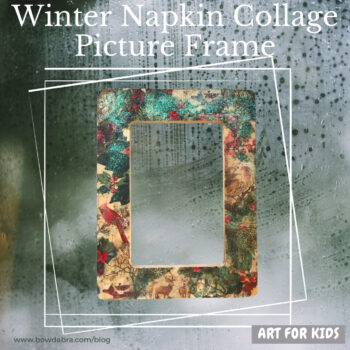
Use napkin collage technique to make a no-fail winter picture frame. 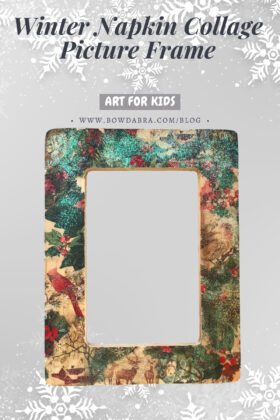

These are the supplies that you’ll need: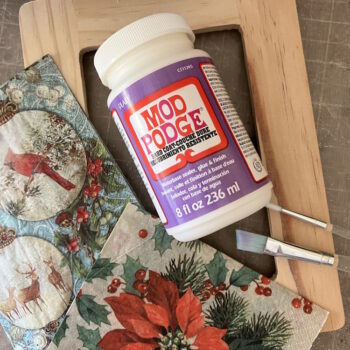

- Unfinished picture frame
- Winter-themed paper napkins or finger towels
- Flat artist’s paintbrush
- Small round artist’s paintbrush
- ModPodge
- Water
- Ultrafine glitter (optional)
- Acrylic paint (optional)
Let’s make a napkin collage picture frame:
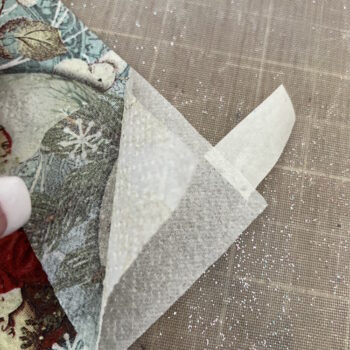
- First, you need to prepare your napkins. Printed paper napkins are usually three—sometimes two—layers. You only want the topmost layer—the one that is printed. To separate the layers place a small tab of masking or painter’s tape on the top of a corner and another tab of tape on the bottom layer.
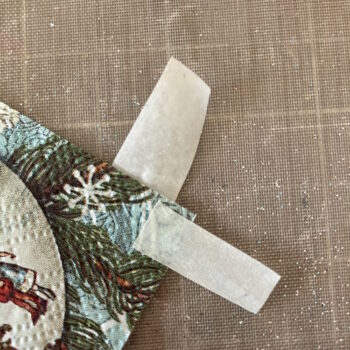
- Use the tape tabs to gently pull the layers apart. You’re only going to use the top layer.
- Dilute a small quantity of ModPodge with water, about 2 parts ModPodge and 1 part water. For my 6½” x 8½” frame, I used about 1 tablespoon of ModPodge.
- Lay the napkin on a water-safe surface, and using the small round brush outline a motif with water.
- Tear the motif along the water line creating a jagged, wispy edge. It is important to use this tearing method to create the wispy edges so the motifs blend into one another. Keep the motifs small—no larger than 2″. Don’t even think about using scissors to cut out motifs. The hard, straight lines scissors leave defeat the whole collage effect.

Add the ModPodge - Firstly, use the flat brush to coat a small area of the frame where you want your motif to go with the diluted ModPodge.
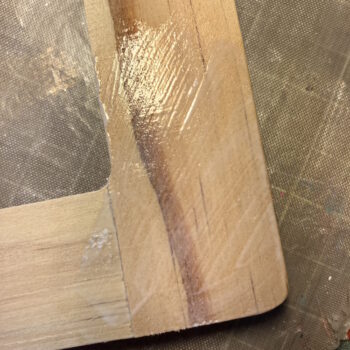
- Again, dip the brush in the diluted ModPodge, and lay the flat side of the brush on the motif to transfer it to the frame and place it in position.
- Next, use the tips of the brush to smooth the napkin motif. Most importantly, don’t overwork the motif. Any tiny bumps and creases add to the character of the finished piece.
- Repeat Steps 4 through 7 to cover the frame with napkin motifs. The motifs will overlap, blending one into another. I like to leave small areas of the frame exposed, but this is your art, so if you prefer to completely cover the frame, then, by all means, do so.
Furthermore, don’t forget the sides of the frame. Let motifs from the top drape over the edge onto the side, then fill in with small napkin pieces to complete the sides.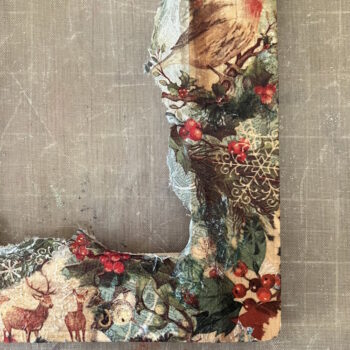
- I like to leave ragged edges of the napkin along the inner edges of the frame. When the frame is dry it is easy to cut these away using a craft knife, leaving a clean finished edge.
Alternatively, you can collage these inner edges if that is your preference.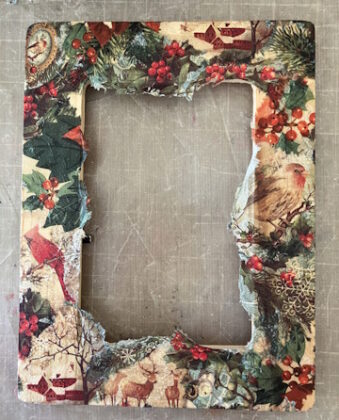
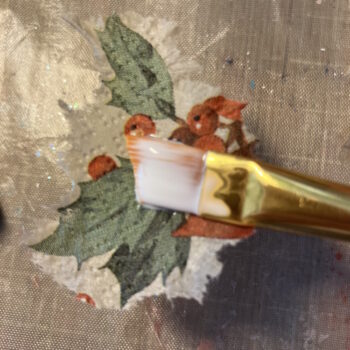
- When you’ve finished the napkin collage work, paint the entire napkin collaged part of the frame with a coat of diluted ModPodge.
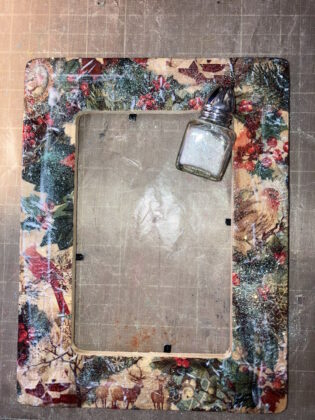
- Optional addition: While the finish coat is still wet, you can sprinkle the frame with ultrafine glitter. I use a salt shaker to dust the frame with the glitter.
- Next, set the frame aside to dry.
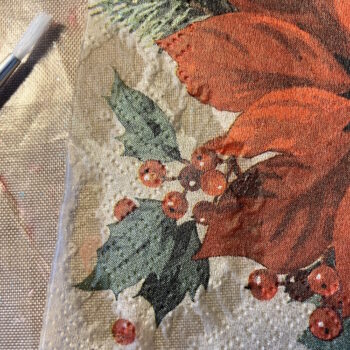
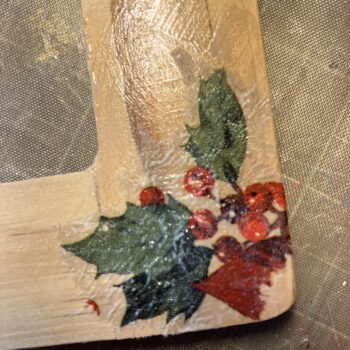
- Optional addition: Lastly use a very small round brush to overpaint selected features. I’ve done three different groups of berries. This is meant to be a subtle add-on—a case where less is more.


Finally, enjoy your winter napkin collage picture frame!