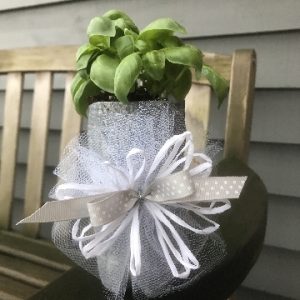
This self-watering planter is made from a recycled water bottle. Add a coordinating bow, and it’s ready to present as an Easter or Mother’s Day gift.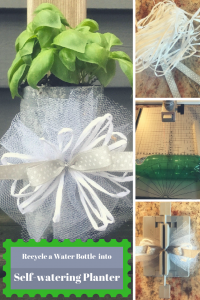

Supplies for Bow and Self-watering Planter
For the bow:
- Mini Bowdabra
- 15″ Bowdabra bow wire
- 12″ x 8″ length tulle
- 6″ length ½” grosgrain ribbon (for the bow’s tail)
- 9″ length ½ grosgrain ribbon (for the bow’s loops)
- 6′ paper raffia ribbon from May Arts
- Proxxon Thermocut (optional)

For the planter:
- One empty plastic water bottle with a tapered neck
- 10″ length cotton kitchen twine
- Hot glue and glue gun
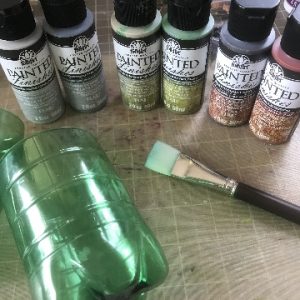
- FolkArt Painted Finishes by Plaid Enterprises
- Proxxon Thermocut (optional)
Instructions for Making the Self-watering Planter
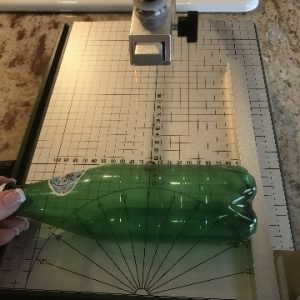
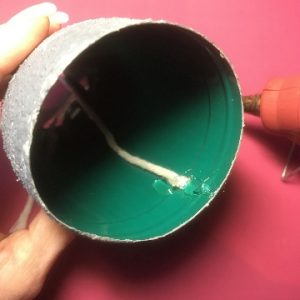
- Use the Proxxon Thermocut to cut the neck and top off the plastic water bottle. Alternatively, use a craft knife to cut the bottle. You can see a video tutorial of cutting the plastic bottle with the Thermocut on the Tiny Tool Time blog.
- Paint the exterior of the both sections of the bottle with FolkArt Painted Finishes. Painted Finishes comes in a variety of finishes including rust, moss, and concrete. I selected the concrete finish for this project.
- When the paint is dry, use a dab of low temp hot glue to attach the kitchen twine to the inside of the top section of the planter. This twine will be the wick that waters the plant.
- Plant your plant in this top section of the planter. Add water to the bottom section. Set the top section into the bottom section.
Instructions for Making the Bow
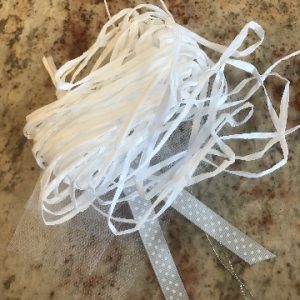
- Cut grosgrain ribbons and tulle to the appropriate lengths using the Proxxon Thermocut which cuts the ribbon and seals the ends in one step. Alternatively, you can use scissors, then pass the ribbon ends through a flame to seal the ends. Cut the paper raffia to the appropriate length using scissors.
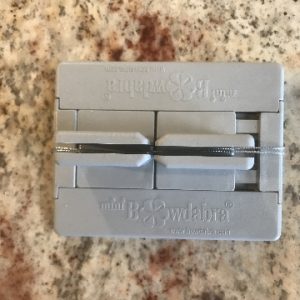
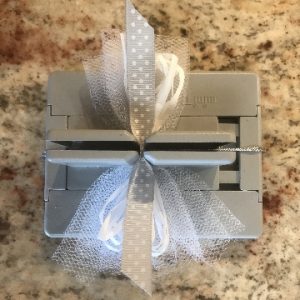
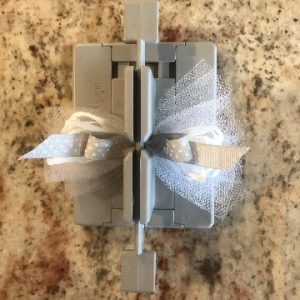
- Insert the bow wire into the Mini Bowdabra. Fold the wire in half, and tuck the ends under the Mini Bowdabra.
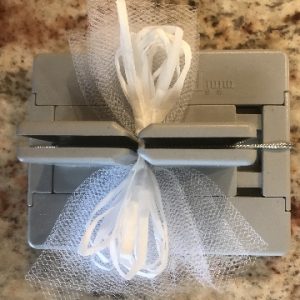
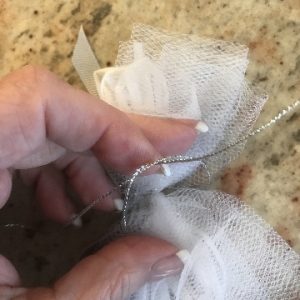
- Fold the tulle in half lengthwise, and scrunch into the Mini Bowdabra, followed by the paper raffia ribbon. Make loops with the raffia, first on one side of the Mini Bowdabra then the other.
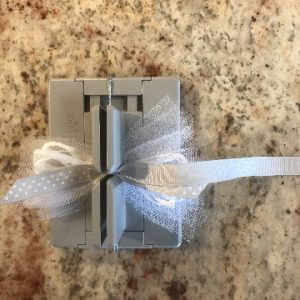
- Next, lay the 6″ piece of grosgrain ribbon in the Mini Bowdabra with the right side up.
- The loops of the 9″ length of grosgrain ribbon are made in three steps. First, lay one end of the ribbon face down in the Mini Bowdabra.
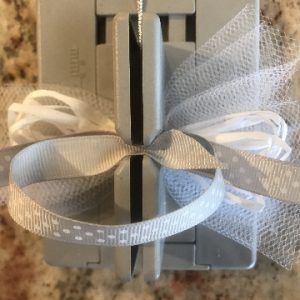
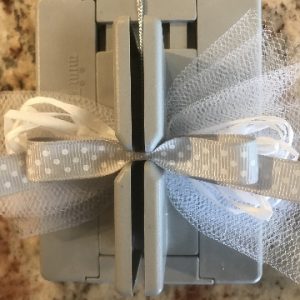
- When all the ribbons are in place, use the Mini Bowdabra wand to compress them into the Mini Bowdabra.
- Secure the bow with the bow wire. Bring the ends of the wire through the loop, and tighten.
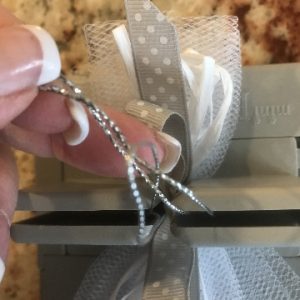
- Then, bring the wire ends to the back of the bow, and tie a knot.
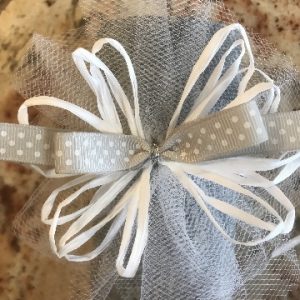
- Fluff the bow, and admire your work!!
- Attach the bow to the water reservoir of the planter using a dab of low temp hot glue.