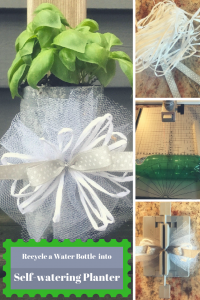
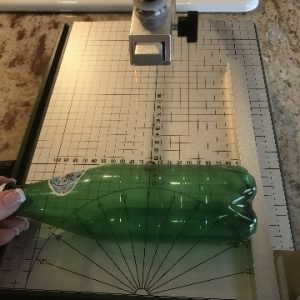
Use the Proxxon Thermocut to cut the neck and top off the plastic water bottle. Alternatively, use a craft knife to cut the bottle. You can see a video tutorial of cutting the plastic bottle with the Thermocut on the Tiny Tool Time blog.
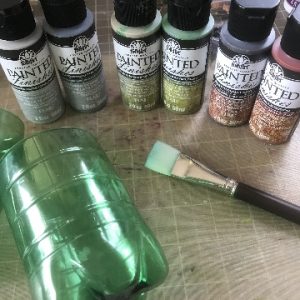
Paint the exterior of the both sections of the bottle with FolkArt Painted Finishes. Painted Finishes comes in a variety of finishes including rust, moss, and concrete. I selected the concrete finish for this project.
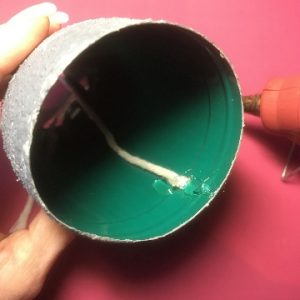
When the paint is dry, use a dab of low temp hot glue to attach the kitchen twine to the inside of the top section of the planter. This twine will be the wick that waters the plant.
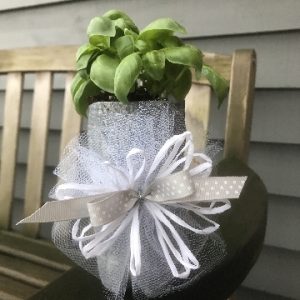
Plant your plant in this top section of the planter. Add water to the bottom section. Set the top section into the bottom section.
Instructions for Making the Bow
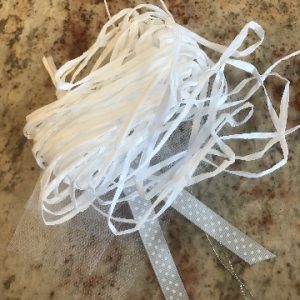
Cut grosgrain ribbons and tulle to the appropriate lengths using the Proxxon Thermocut which cuts the ribbon and seals the ends in one step. Alternatively, you can use scissors, then pass the ribbon ends through a flame to seal the ends. Cut the paper raffia to the appropriate length using scissors.
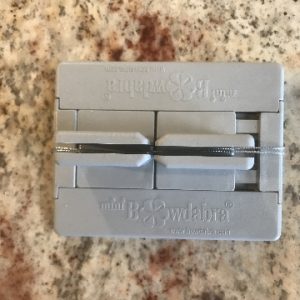
Insert the bow wire into the Mini Bowdabra. Fold the wire in half, and tuck the ends under the Mini Bowdabra.
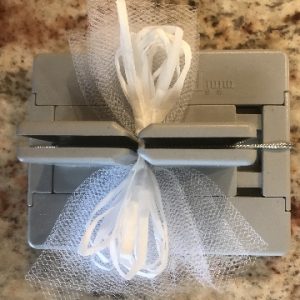
Fold the tulle in half lengthwise, and scrunch into the Mini Bowdabra, followed by the paper raffia ribbon. Make loops with the raffia, first on one side of the Mini Bowdabra then the other.
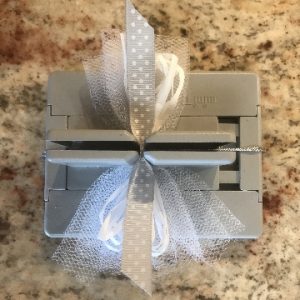
Next, lay the 6″ piece of grosgrain ribbon in the Mini Bowdabra with the right side up.
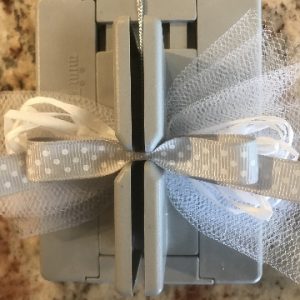
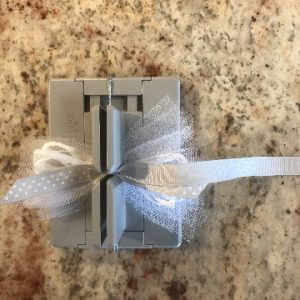
The loops of the 9″ length of grosgrain ribbon are made in three steps. First, lay one end of the ribbon face down in the Mini Bowdabra.Next, bring the ribbon up and over the top of the Mini Bowdabra, and tuck the other end, also right side down into the Bowdabra.To form the two loops of the bow, press the center of the loop into the Mini Bowdabra.
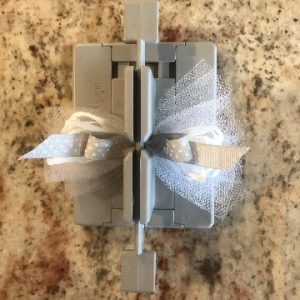
When all the ribbons are in place, use the Mini Bowdabra wand to compress them into the Mini Bowdabra.
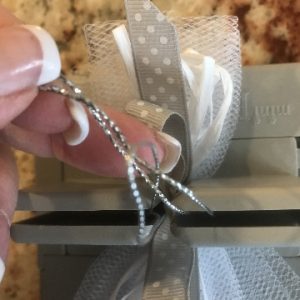
Secure the bow with the bow wire. Bring the ends of the wire through the loop, and tighten.
Then, bring the wire ends to the back of the bow, and tie a knot.
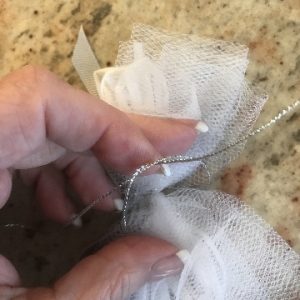
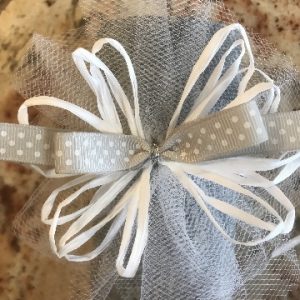
Fluff the bow, and admire your work!!
Attach the bow to the water reservoir of the planter using a dab of low temp hot glue.
This website uses cookies to improve your experience while you navigate through the website. Out of these, the cookies that are categorized as necessary are stored on your browser as they are essential for the working of basic functionalities of the website. We also use third-party cookies that help us analyze and understand how you use this website. These cookies will be stored in your browser only with your consent. You also have the option to opt-out of these cookies. But opting out of some of these cookies may affect your browsing experience.
Necessary cookies are absolutely essential for the website to function properly. These cookies ensure basic functionalities and security features of the website, anonymously.
Cookie
Duration
Description
cookielawinfo-checkbox-analytics
11 months
This cookie is set by GDPR Cookie Consent plugin. The cookie is used to store the user consent for the cookies in the category "Analytics".
cookielawinfo-checkbox-functional
11 months
The cookie is set by GDPR cookie consent to record the user consent for the cookies in the category "Functional".
cookielawinfo-checkbox-necessary
11 months
This cookie is set by GDPR Cookie Consent plugin. The cookies is used to store the user consent for the cookies in the category "Necessary".
cookielawinfo-checkbox-others
11 months
This cookie is set by GDPR Cookie Consent plugin. The cookie is used to store the user consent for the cookies in the category "Other.
cookielawinfo-checkbox-performance
11 months
This cookie is set by GDPR Cookie Consent plugin. The cookie is used to store the user consent for the cookies in the category "Performance".
viewed_cookie_policy
11 months
The cookie is set by the GDPR Cookie Consent plugin and is used to store whether or not user has consented to the use of cookies. It does not store any personal data.
Functional cookies help to perform certain functionalities like sharing the content of the website on social media platforms, collect feedbacks, and other third-party features.
Performance cookies are used to understand and analyze the key performance indexes of the website which helps in delivering a better user experience for the visitors.
Analytical cookies are used to understand how visitors interact with the website. These cookies help provide information on metrics the number of visitors, bounce rate, traffic source, etc.
Advertisement cookies are used to provide visitors with relevant ads and marketing campaigns. These cookies track visitors across websites and collect information to provide customized ads.


 Next, bring the ribbon up and over the top of the Mini Bowdabra, and tuck the other end, also right side down into the Bowdabra.
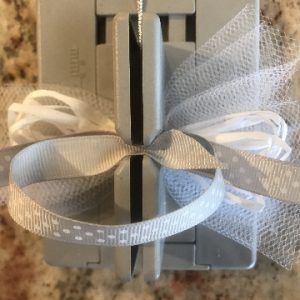 To form the two loops of the bow, press the center of the loop into the Mini Bowdabra.