Do you want to celebrate Halloween but can’t wear an entire costume? Why not make this fun Halloween spider hairband and you are guaranteed smiles aplenty.
The Halloween spider hairband is so easy to make with the help of Bowdabra bow maker so you will want to make few for gifts as well. Wouldn’t it be great to give as a favor at a Halloween party? Kids, as well as adults, will just love this little spider!
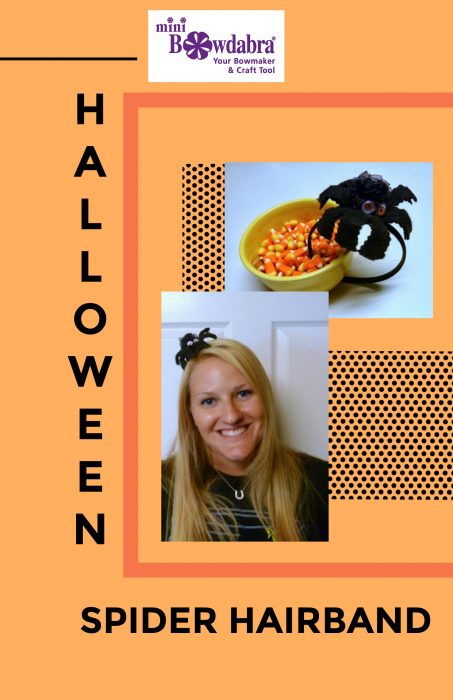

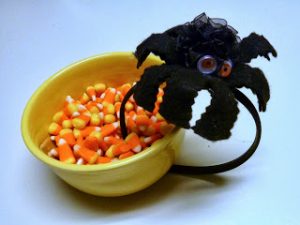
Halloween spider hairband
Materials:
- Black hairband
- 18 inches 1 ½” sheer black ribbon
- 18 inches Bowdabra bow wire
- Black stiffened felt
- Black felt (regular)
- Chenille stems, black
- Glue gun and glue sticks
- Mini Bowdabra bow maker
- Two Halloween wiggle eyes
- Compass with white pencil (To write on black felt)
- Scissors
- Pinking shears
Instructions:
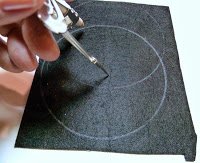
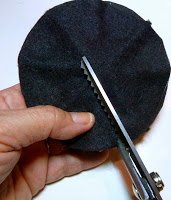
- First, use the compass and white colored pencil to mark 2 ½” diameter circles on both the stiffened black felt and the regular felt. Then, cut out.


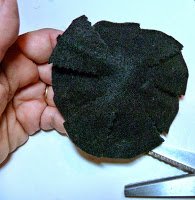
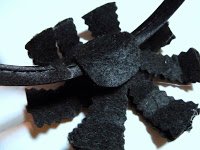
- Next, cut the black chenille stems into four 4 ½” pieces. Use the glue gun to attach them to the stiffened felt circle spoke style all around. Glue the regular felt circle on top to cover and press down.
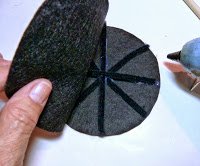

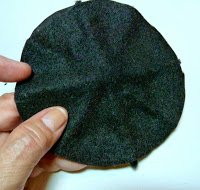

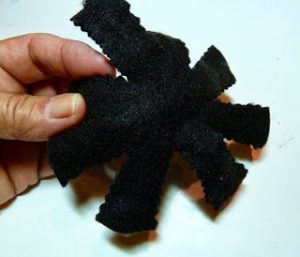
- To make the legs– use the pinking shears to cut down the center of each section all around for a total of 8 sections. After you have cut the leg sections trim them to long rectangles following the lines of the chenille stems.


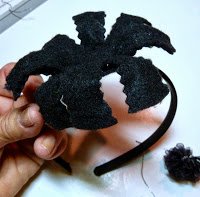
- Now, glue the Felt legs/body onto the hair band. Bend the legs as desired. Cut a piece of black felt into a 2-inch circle and glue to the underside of the hair band.


Make the spider’s head
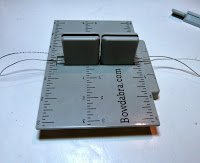
- To finish, make the Bowdabra bow spider head. Cut an 18-inch piece of Bowdabra bow wire fold in half and place in the Bowdabra bow maker. You will have a loop at one end and two pieces of wire at the other end.
- Cut an 18-inch piece of 2 ½” wide sheer ribbon and insert directly into the Mini Bow maker from the top. The ribbon piles up like an accordion. Scrunch the ribbon until you reach the end.
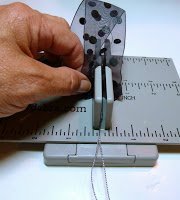

- Use the wand to push down the ribbon tightly.
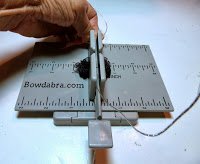

- Thread the two loose ends through the loop end of the bow wire and pull tightly. Remove from the Bowmaker, tie a knot on the back and fluff the bow into a rosette shape.


- Finally, use the glue gun to attach the Bowdabra rosette to the center of the spider on the hair band. Glue two Halloween wiggle eyes on the front of the rosette at the base. Then bend the legs as desired.

Today’s project is by Bowdabra designer, Crystal from Make it easy crafts. Be sure and stop by her blog and say hello! We hope you enjoyed this quick and easy Halloween project and check out some of the other Halloween projects like this cute pumpkin votive
SaveSave