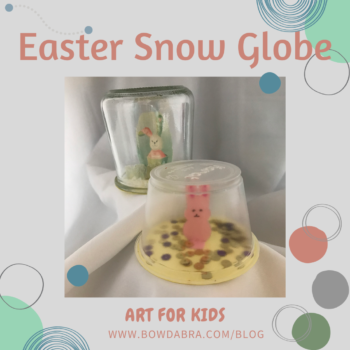
Who isn’t fascinated with a snow globe? You can make this adorable Easter Snow Globe from a recycled food container. But, we’re going to use different shakers for the “snow.”

Here are the supplies that you’ll need:
- Clean, used food container—I used pudding and yogurt containers, but any clear container will work; look for single serve containers. (Hint: if there is any writing on the container, it generally comes off with nail polish remover.)
- Cardstock
- White glue
- Scissors
- Shakers—confetti, sequins, seed beads, etc.
- Patterns for Easter Snow Globe inserts
Let’s make you Easter Snow Globe:
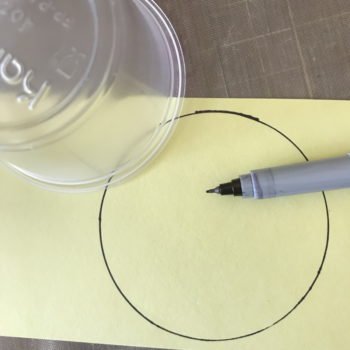
- Trace the top of your container on cardstock.
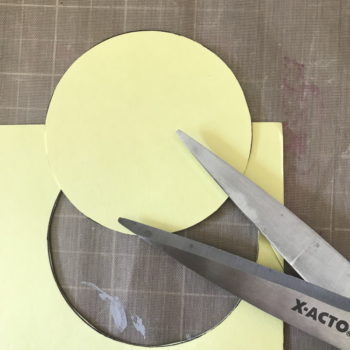
- Cut out the traced shape.
- Print the Patterns for Easter Snow Globe inserts. There are several options for you to choose. Some are pre-printed, but there are also blanks that you can decorate yourself.
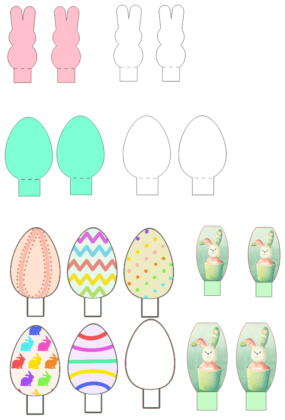
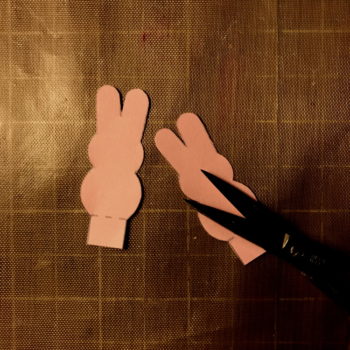
- Cut out two matching inserts.
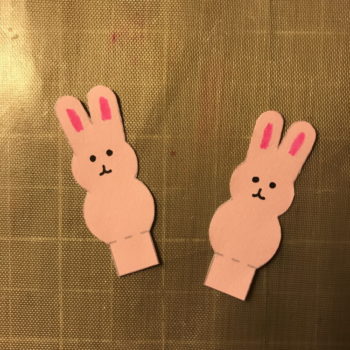
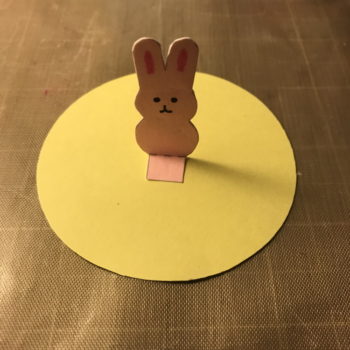
- Depending upon the inserts that you chose, draw facial features on both inserts.
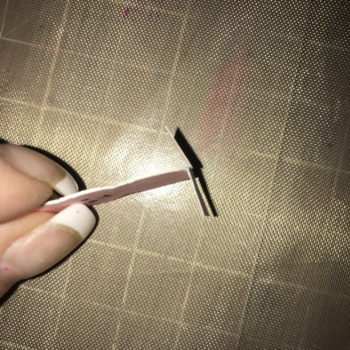
- Glue the bodies together, put do NOT glue the bottom tabs.

- Fold the tabs outward.
- Add a dot of glue to the bottom of each tab and glue the insert to the center of the cardstock top you cut out in Step 2.
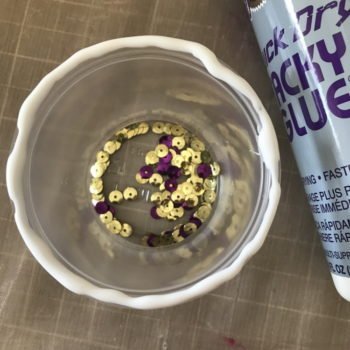
- Add your shakers to the food container. Seed beads, microbeads, and sequins all make good shakers. You can make your own confetti by cutting tiny pieces of colored paper or using a hole punch to create confetti.

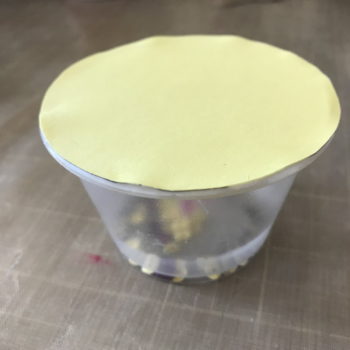
- Add a bead of glue along the top rim of the container.
- Glue the cardstock top on the container. Resist the temptation to turn the container over or shake it. If you do, your shaker material may stick to the glue holding the top in place. Set the snow globe aside to dry.
- Now that your Easter snow globe is dry, you can shake it, shake it, shake it.