

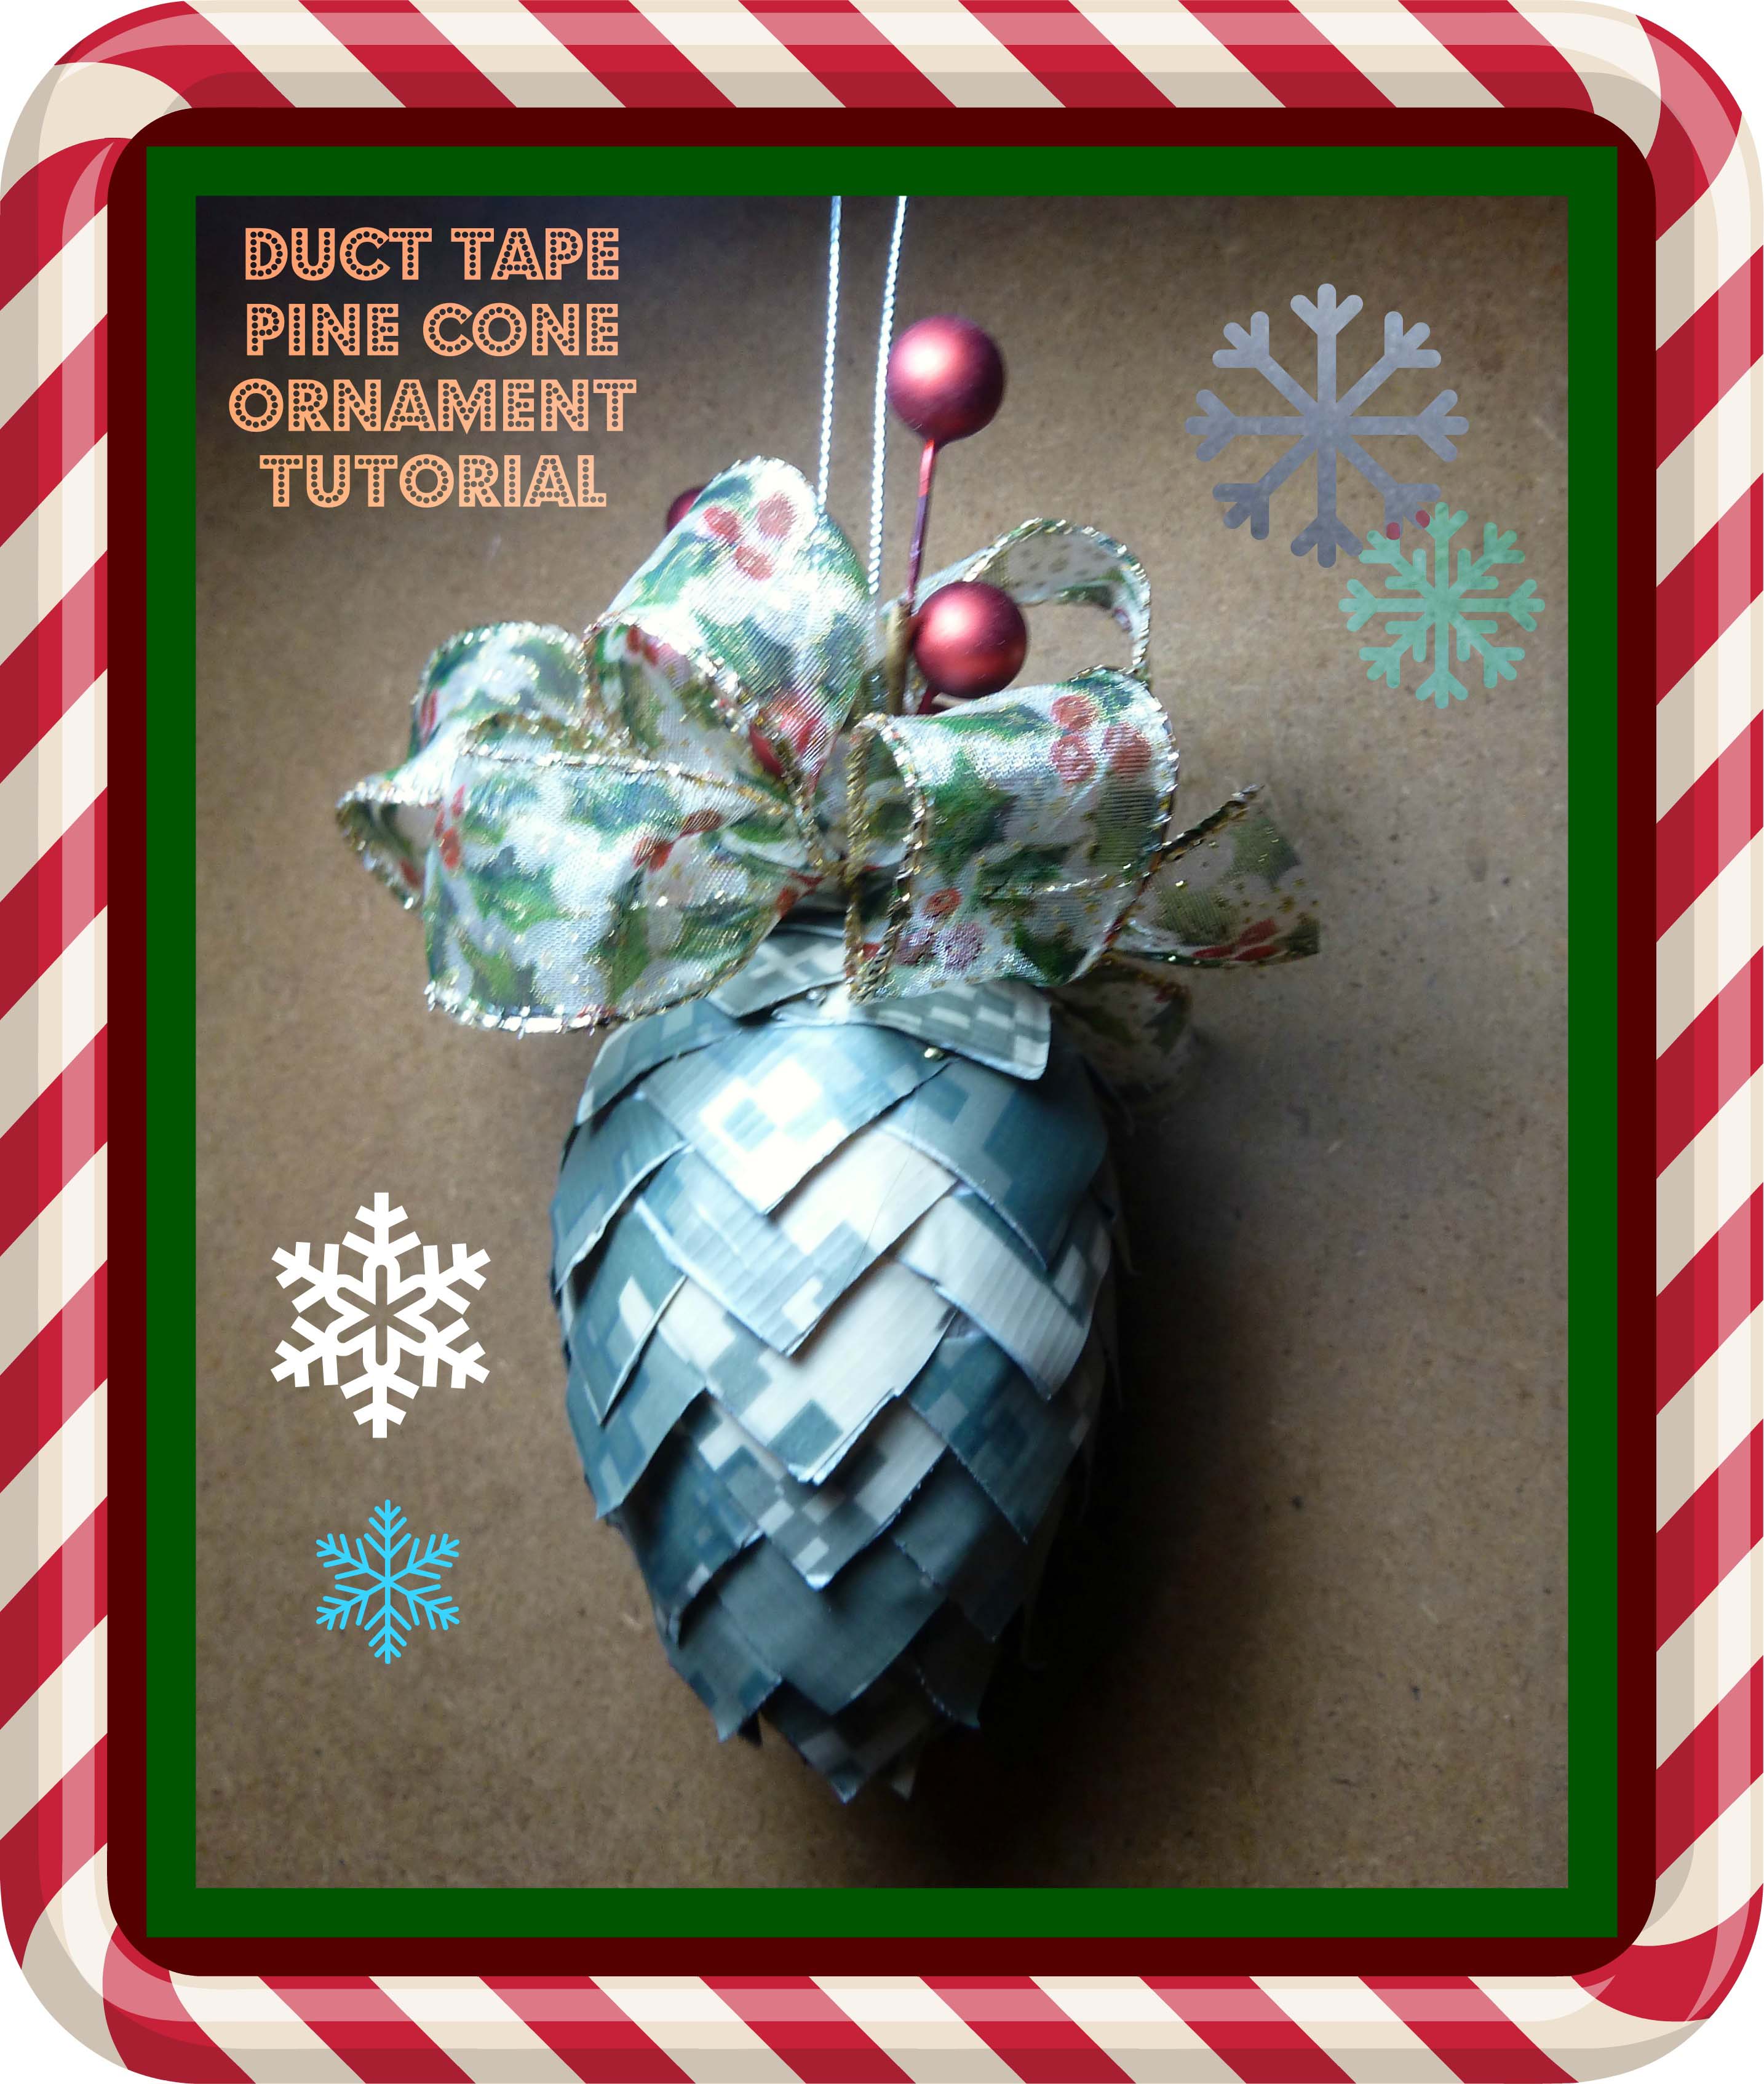
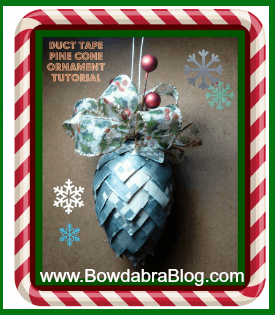
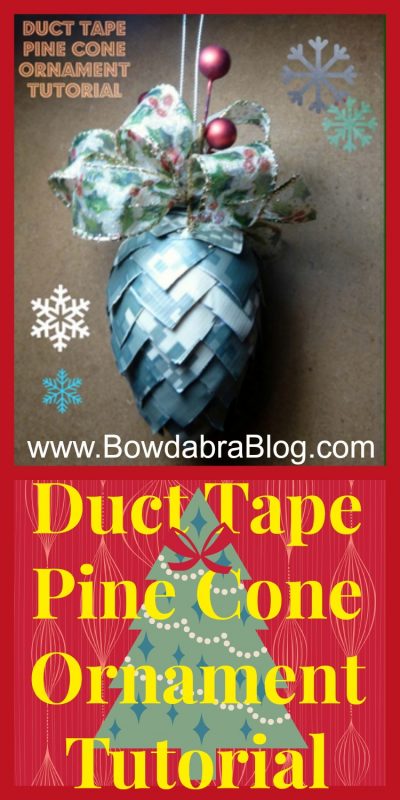
You may have seen pinecone ornaments before but you probably haven’t seen them upgraded to for the 21st century. Instead  of ribbon to make the pinecone petals I’ve used colored duct tape. In addition, you can buy smooth Styrofoam so that the pins stay in much tighter. Finish the pinecone with a Bowdabra ribbon bow and some holly berries and hang on your tree. It’s sure to become a favorite heirloom ornament for years to come!
You will need:
For Bowdabra bow your will need:
Instructions:
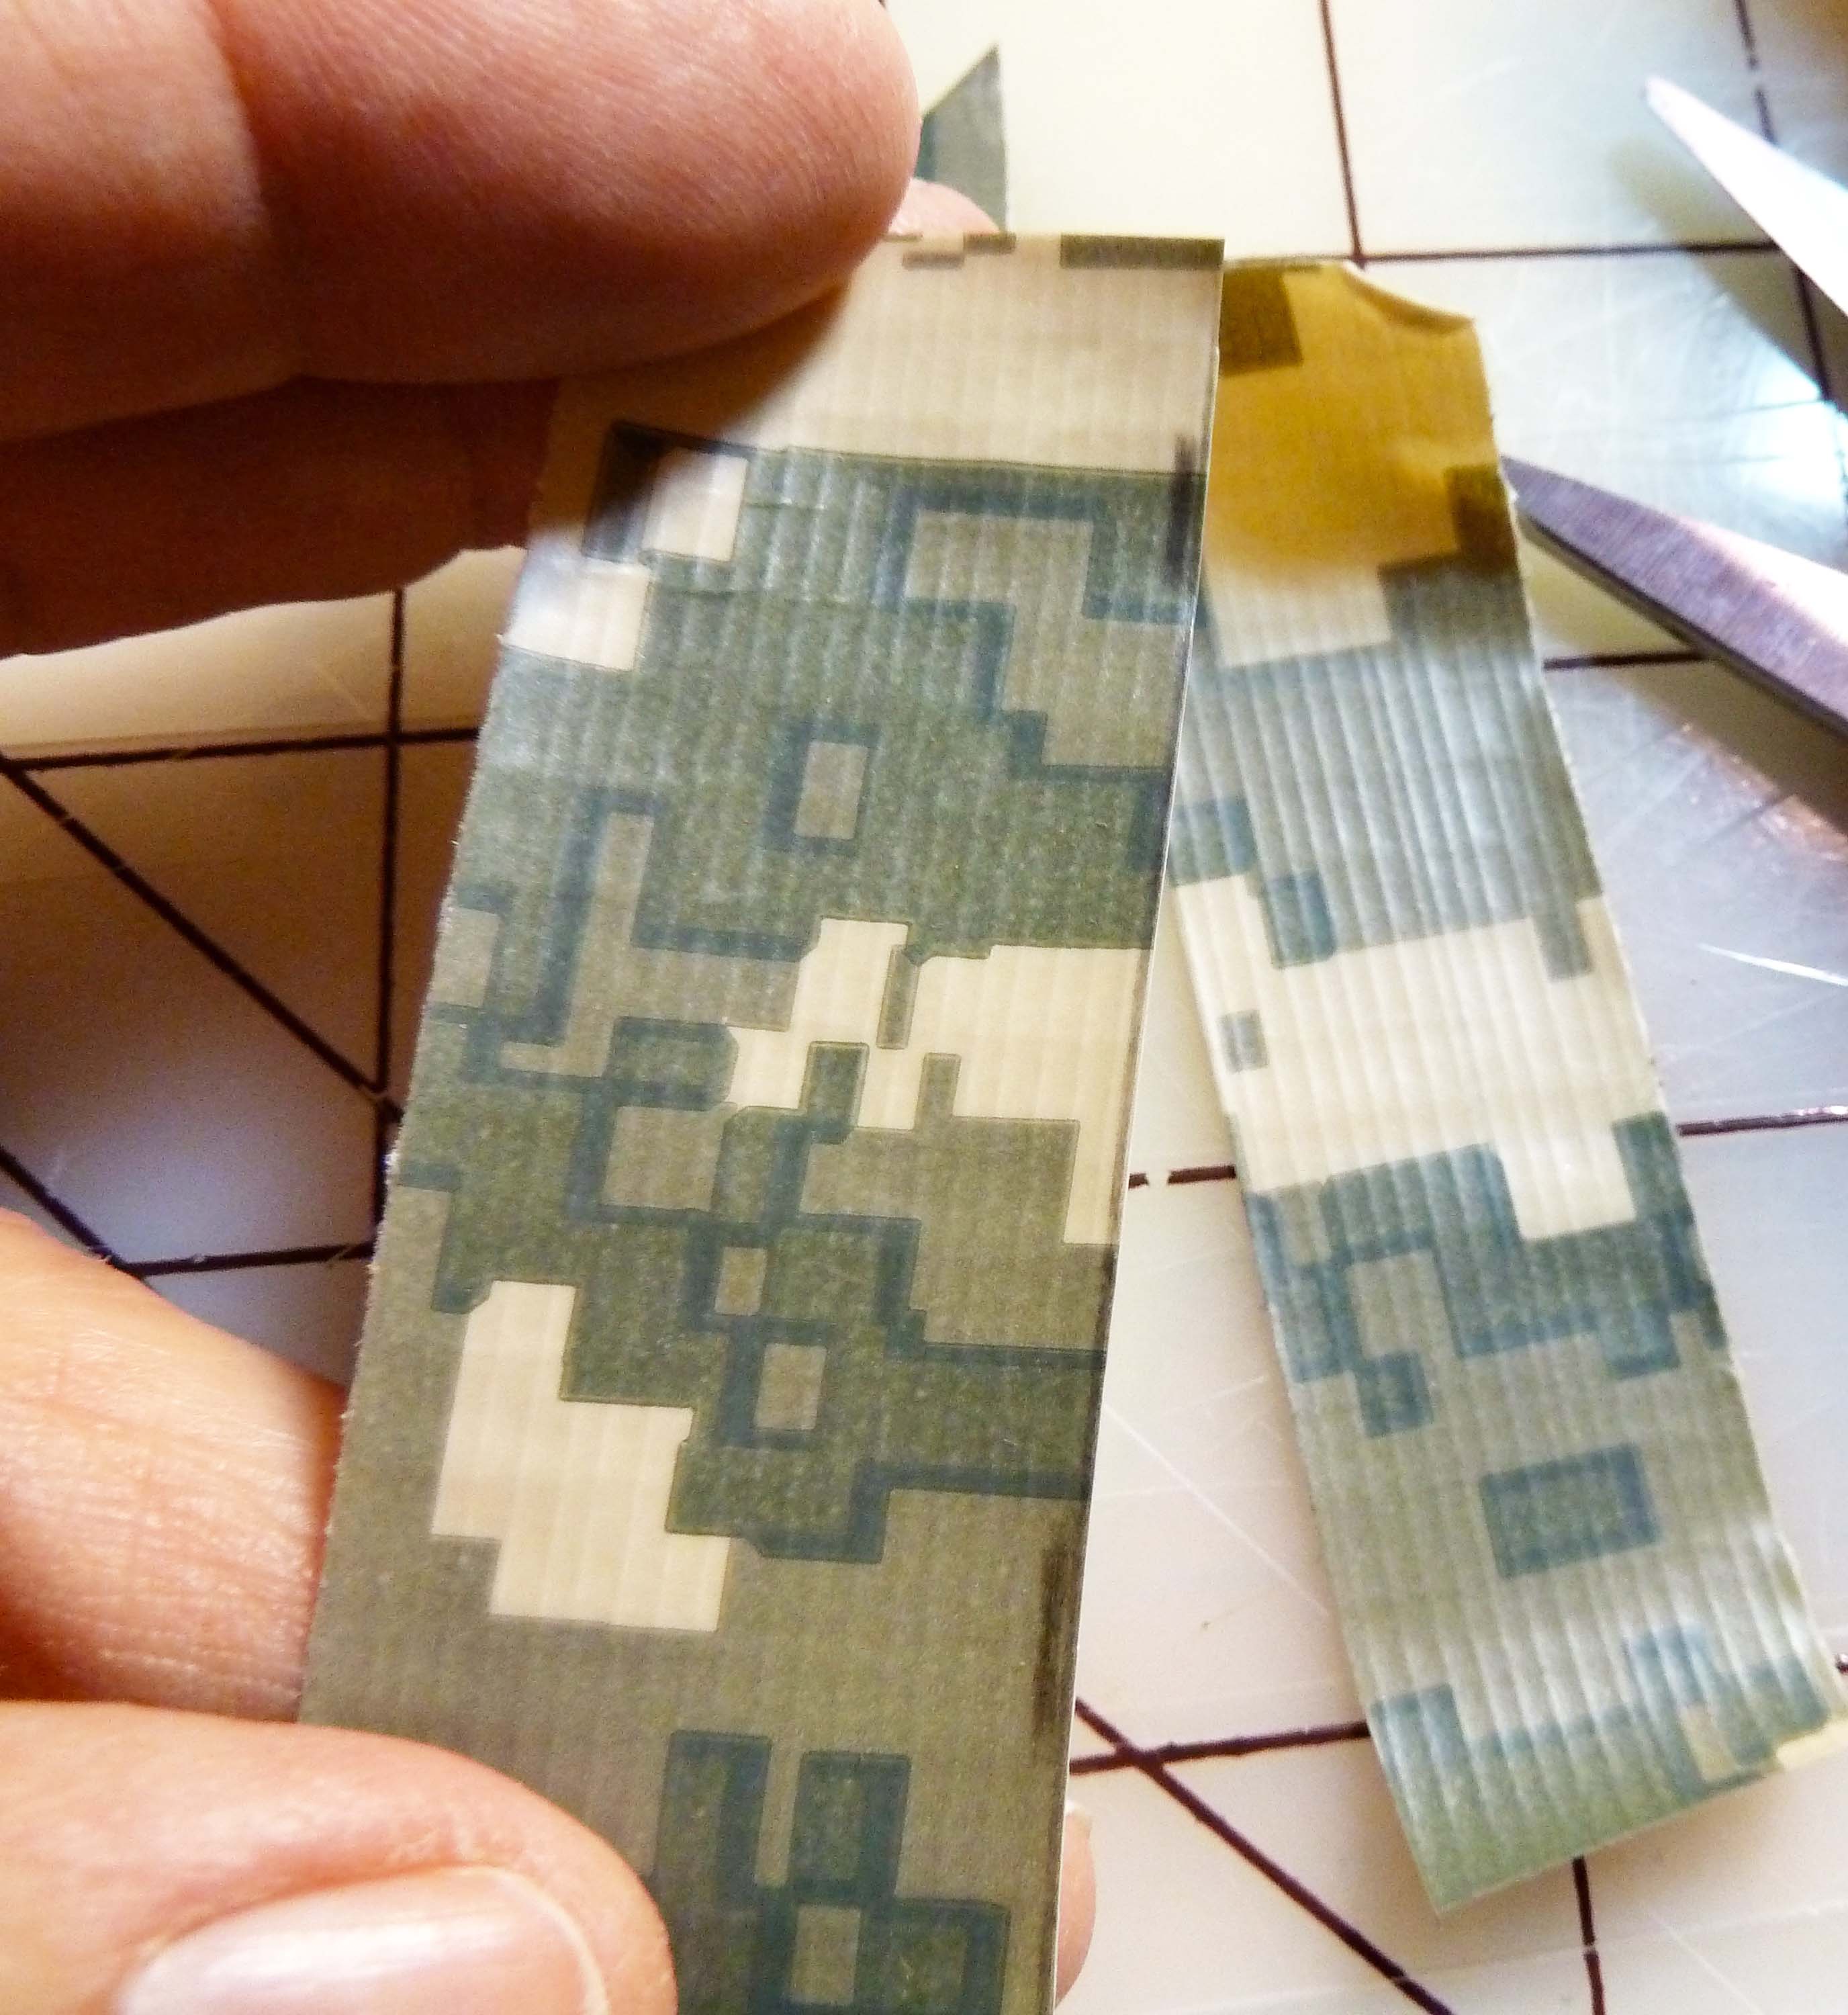
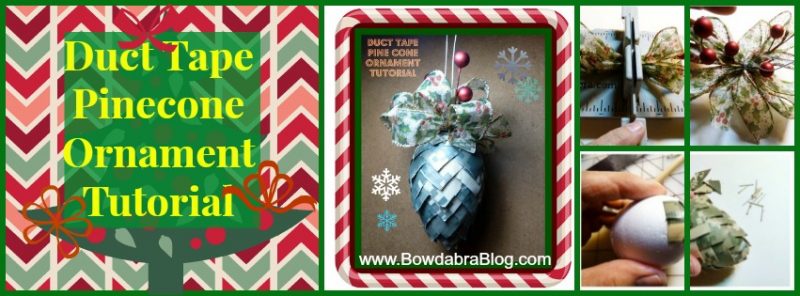
1. Use a plastic cutting mat to measure and cut 1” squares from your duct tape. Fold diagonally to make a triangle shape.
Duct Tape Pinecone Ornament
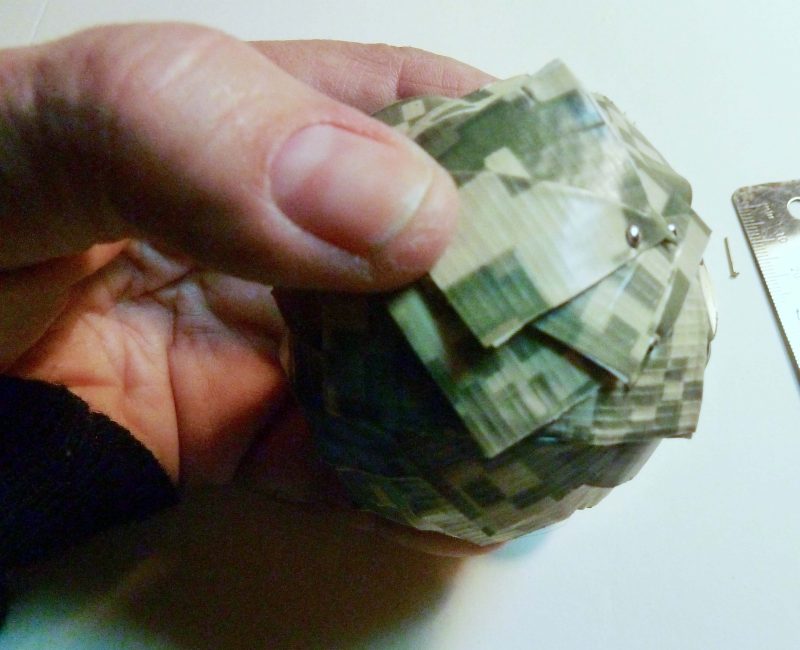
2. Attach one square on the pointed end of the Styrofoam egg and secure with sequin pins on each corner. Begin placing triangles working up towards the wider end with pointed side down. Secure with a pin at each end. You may want to use a thimble to push the pins in or you can just use the flat part of your ruler. Continue working up the egg overlapping the triangle petals. Try and cover the pin heads as you work upward. (See photo)
Duct Tape Pinecone Ornament
3. When you reach the top of the egg cover with duct tape triangles as needed.
Duct Tape Pinecone Ornament
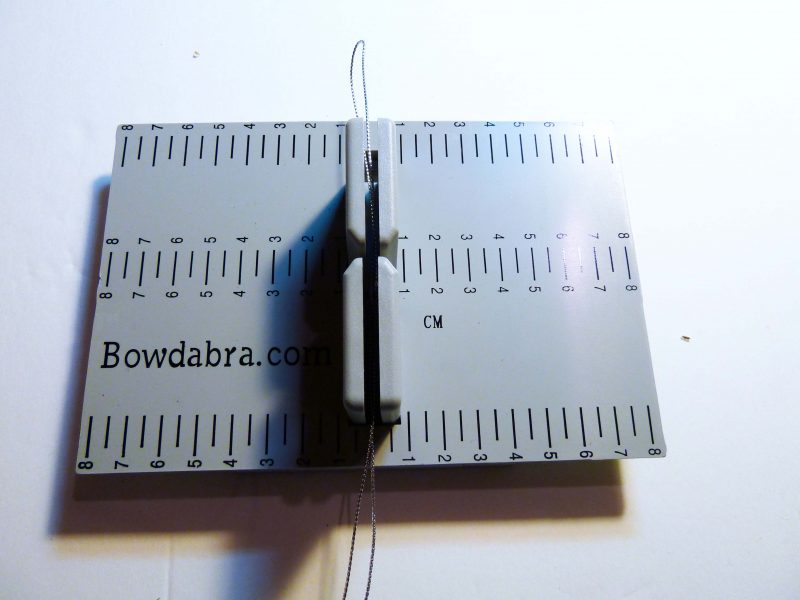
4. Make the bow. Cut an 18” length of Bowdabra bow wire fold in half and place in the bowmaker. You will have a loop at one end.
Duct Tape Pinecone Ornament
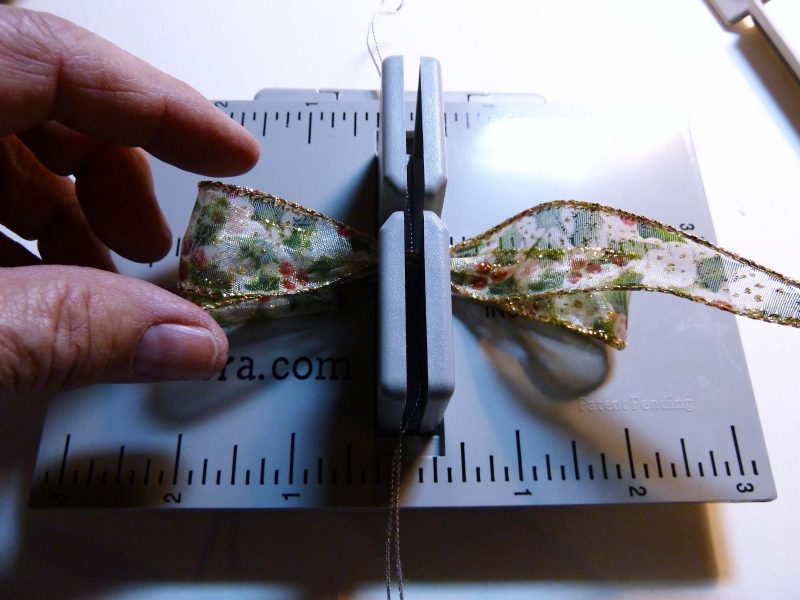
5. Cut a 36” length of 7/8” wide wired ribbon. Place one end in the bowmaker to the 2 inch line. (This will be the tail)

Duct Tape Pinecone Ornament
6. Make a loop on the opposite side to the 2 inch line and make a corresponding loop on the opposite side.
Duct Tape Pinecone Ornament
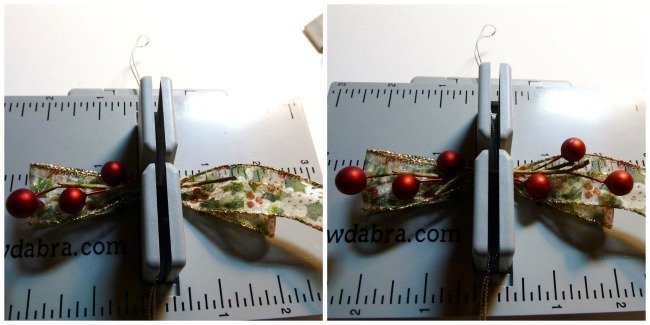
7. Cut two small sprigs of holly berries and insert into the bowmaker on each side.
Duct Tape Pinecone Ornament
8. Continue folding loops on each side till you have a two-inch tail left. Scrunch down with the wand.

Duct Tape Pinecone Ornament
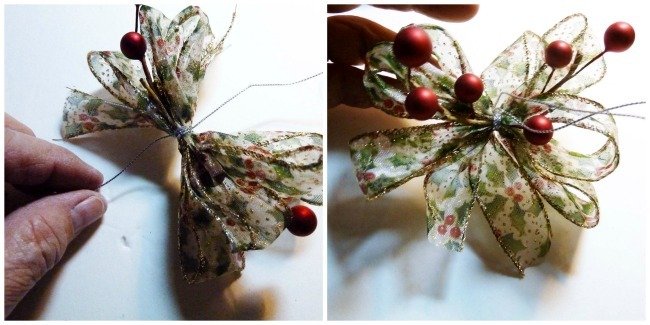
9. Thread the loose ends of the bow wire through the loop and pull tight. Tie the wire into a knot. And fluff up the bow loops and arrange the berries.
Duct Tape Pinecone Ornament
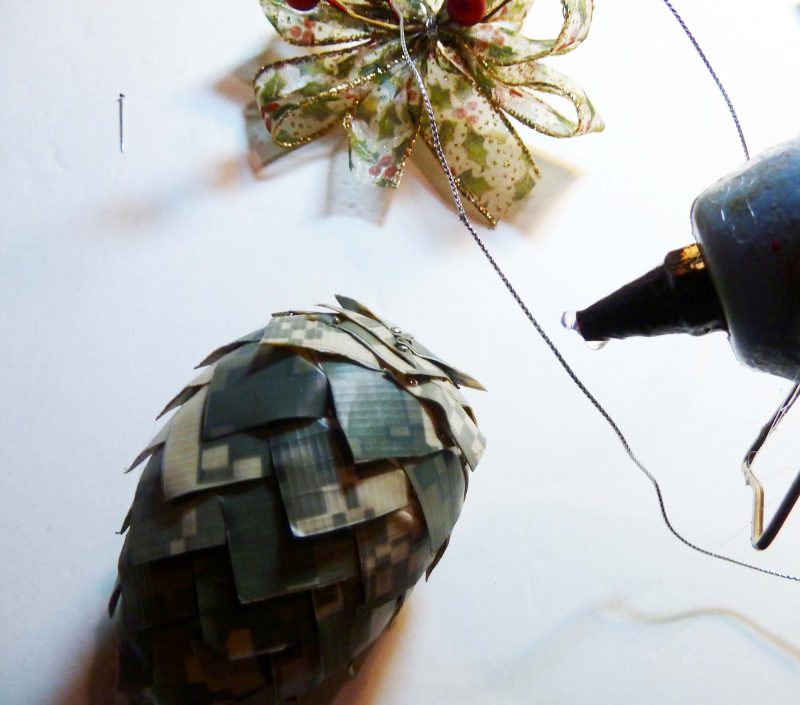
10. Pull the two loose ends of the bow wire to the top of the bow and tie a knot. (You will use the bow wire for hanging your ornament. Attach the bow to the egg with a hot glue gun. Add a couple of pins for extra security.
Duct Tape Pinecone Ornament

Duct Tape Pinecone Ornament
Tutorial by Bowdabra Designer Crystal


8 thoughts on “Duct Tape Pinecone Ornament Tutorial”