Spring is around the corner. Watch Nick from Nick’s Seasonal Décor on Bowdabra Facebook Live. He demonstrates five surprisingly easy bow-making ideas including one wreath. Learn how to decorate your home and enjoy the upcoming season of festivities.
Drawing in the inspiration from nature, he makes beach-themed bows in blue with spring reef ribbon that gives it an alluring look. Also, he experiments with colorful flowers in wreath making.
Commenting on Facebook Live Video gives you chance to win a roll of ribbon. Also, every week Bowdabra chooses one lucky winner from its viewers. Facebook lives are on Mondays at 7:00 p.m. EST, 6:00 p.m. CST, 5:00 p.m. MST, and 4:00 p.m. PST.
Make professional-looking bows in minutes. In fact, you will be able to create beautiful bows in minutes that are uniquely yours.
1. Hobby Lobby Spring Reef Ribbon Bow(Starts at 2.12 mints)
One Ribbon Roll (Blue)
Gold Bowdabra bow wire (100 yrds, 300 Feet)
SilverBowdabra bow wire(100 yrds, 300 Feet)
Large Bowdabra Tool
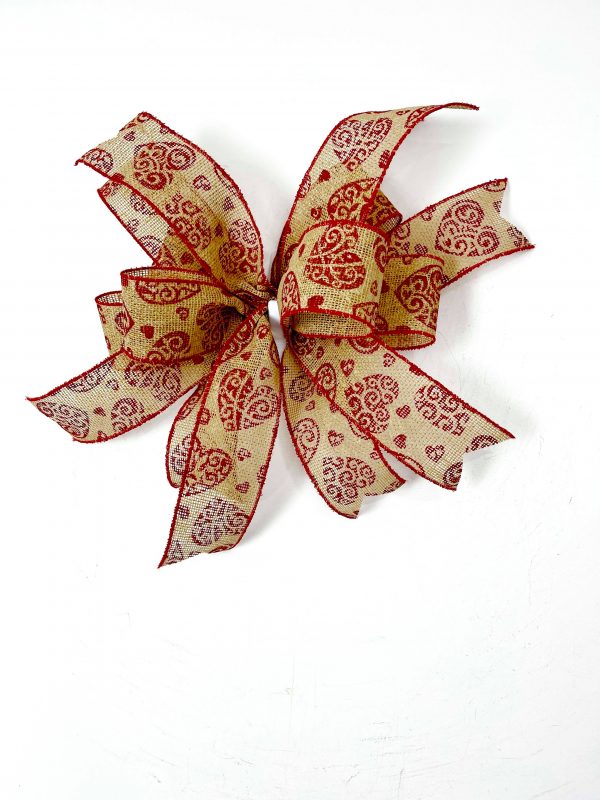
Hobby Lobby Spring Reef Ribbon Bow
Process
1. In the first place, Nick cuts a 30-inch silver wire piece, folds it and uses it to round the Bowdabra Tool
2. Then, using a wide hobby lobby ribbon piece, he makes a loop with two tails
3. Holding the intersection part of the ribbon design in the middle, he places it in the Bowdabra Tool
4. Now, he Creates three more similar designs with the ribbon, he places them in the tool placing each in the reverse direction of its predecessor
5. Next, he brings the wire from one side to another and puts a slip knot to secure all design elements
6. He makes a dove-tail design at the end of all the tails
7. Finally, he straightens out the ribbon to make the loops fluffy and looking great
2. Rainbow Shower Ribbon Bow (Starts at 7.37 mints)
Wreath
One Ribbon Roll (with multi-color strips)
Bowdabra bow wire
Large Bowdabra Tool
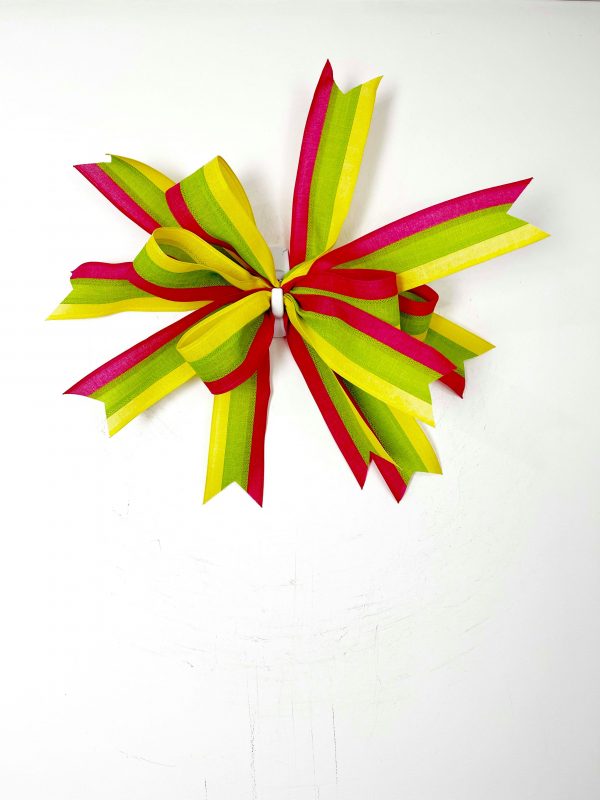
DIY Spring Bows and Wreaths Using Bowdabra
Process
1. First, Nick cuts a silver wire piece, doubles it, and uses it to round the Bowdabra Tool
2. He creates an 8-structured loop, what he calls funky ribbon, but keeps one end open with two tails
3. Next, he places the ribbon loop in Bowdabra with the intersection lying on the wire
4. He creates four more ribbon loops and places them in the Bowdabra Tool
5. To be sure to secure the bow, he brings the wire from one side to another and puts a slip knot
6. He takes out the design and applies another knot for extra safety
8. He makes a dove-tail design at the end of all the tails
9. To conclude, he straightens each loop arranging them into the circular pattern
3. Wreath Bow (Starts at 12.48 mints)
Wreath
Flower
Seasonal green bushes
One Ribbon Roll
Bowdabra bow wire
Large Bowdabra Tool
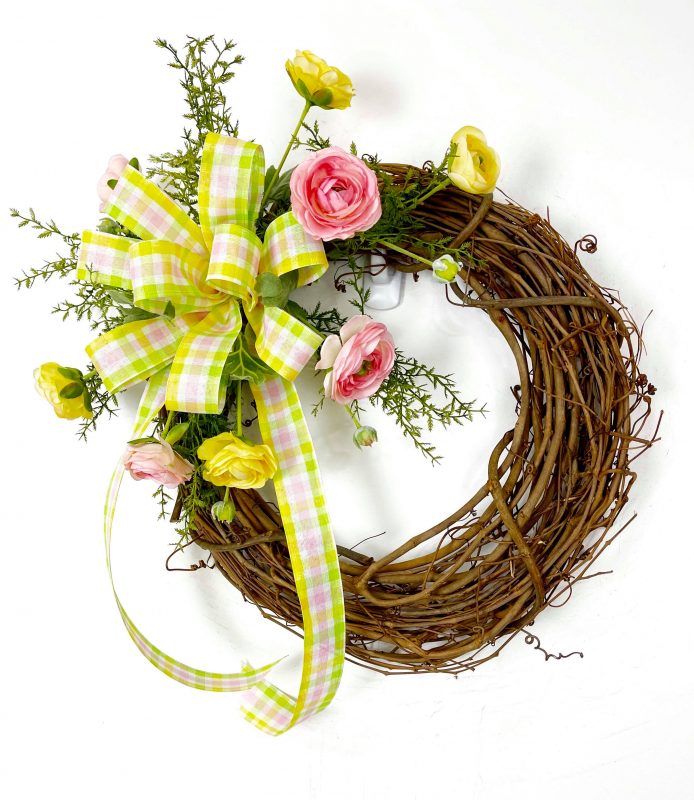
Wreath Bow
Process
1. Firstly, Nick folds the bow wire in half and places it underneath the Bowdabra
2. Next, he cuts off a ribbon piece (40-inch approx.) and folds it at the half mark
3. Then, he places the ribbon at half-mark in the Bowdabra creating two tails
4. He creates four loops on either side with the same ribbon
5. In order to secure the bow he brings the wire from one side to another and puts a slip knot
8. To make the knot firm, he further brings the wire on the other side and tightens it up
9. He places the bow on the wreath and sticks it with using the wire
9. In addition, he cuts some hobby lobby green bush into pieces and places them on either side of the bow. He uses some glue to fasten them with the wreath
10. He decorates the wreath further with some pink and yellow flowers. He cuts the flower sepals from the stem.
4. Valentine’s Day Bow (Starts at 20.01 mints)
One Ribbon Roll (Heart designs in multiple shapes)
Bowdabra bow wire
Large Bowdabra Tool
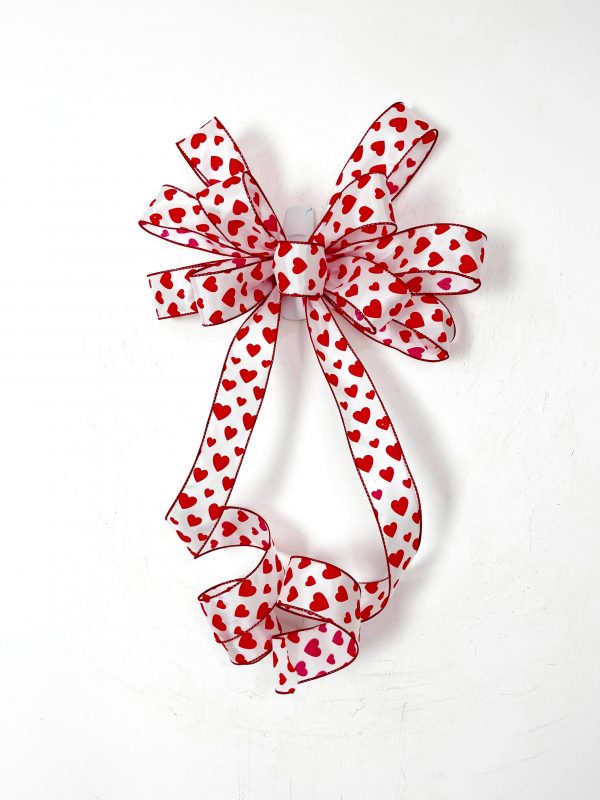
Process
1. In the first place, Nick folds the bow wire in half and places it underneath the Bowdabra.
2. Next, he takes two pieces of the ribbon and places them on the same side of the Bowdabra Tool
3. He creates three loops of equal size on either side of the Bowdabra plate separator
4. He creates two loops of equal size (smaller than the three-loop set) on either side of the Bowdabra plate separator
5. He creates one loop on either side (1.5-inch). Remember he reduces the side of the loop as he moves from set of three to two to one.
6. To secure the bow he brings the wire from one side to another and puts a slip knot
8. To make the knot firm, he further brings the wire on the other side and tightens it up
9. Lastly, he does the magic of fluffing to make the bow looks awesome
Finally, the bow is ready to be used with the wreath
5. Single Ribbon Bow with Irregular Tails (Starts at 26.23 mints)
One Ribbon Roll
Bowdabra bow wire
Large Bowdabra Tool
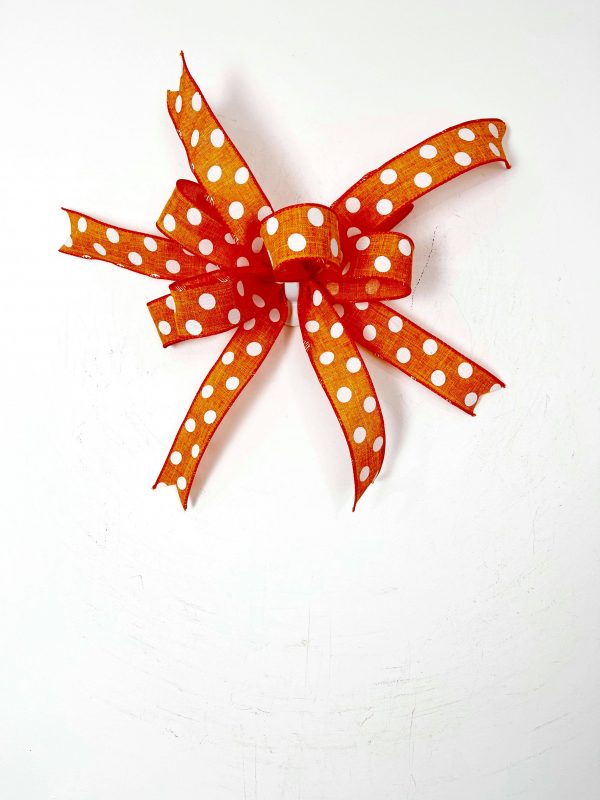
Single Ribbon Bow with Irregular Tails
Process
1. In the first place, Nick folds the bow wire in half and places it underneath the Bowdabra.
2. He picks up one end of the ribbon from the roll, and places it in the tool, and creates a loop on either side.
3. Then, he cuts the ribbon
4. Repeating Step#2 and #3, two more times, he creates more loop designs
5. Now, to secure the bow he brings the wire from one side to another and puts in a slip knot
6. To make the knot firm, he brings the wire on the other side and tightens it up
7. Finally, he straightens up the ribbons to give it a professional final touch
In conclusion, we hope you enjoyed these bow making tips!
