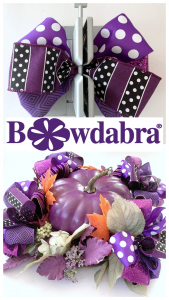
 Fall is an incredibly colorful season full of royal colors like deep hues of purples. Perfect for a handcrafted absolutely gorgeous bow centerpiece that includes many autumnal colors namely purples, oranges, and golds! And adding colorful purple-ish bows takes the centerpiece to a whole new level – giving that wow factor to just about any type of fall decor!
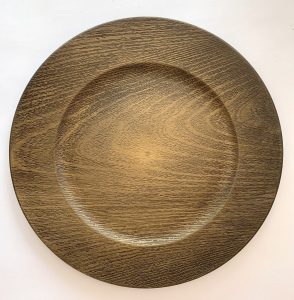
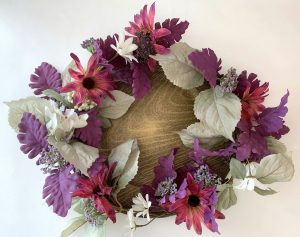
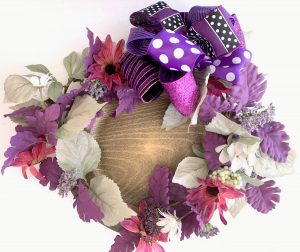
Let’s begin with placing a charger plate on the work surface which will be the base for the centerpiece.
Next, comes the garland. Since I’m featuring hues of purple in the centerpiece, I painted some of the leaves and tips of the sunflowers with purple to blend in.
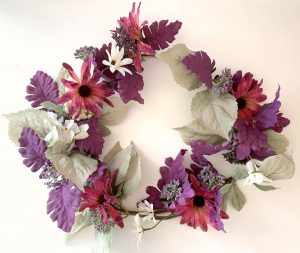
Once the paint is dry, wrapped the garland around the top of the charger, securing the ends with floral wire.
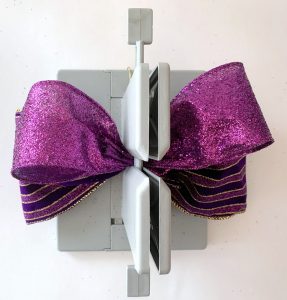
First, fold a 24″ piece of Bowdabra wire in half and lay it in the Bowdabra, tucking ends under. Cut a 21″ piece of 4″ ribbon, pinching one end, and insert down into the Bowdabra. Fold over a four-inch loop, twisting the center for the right side, and press into the Bowdabra.
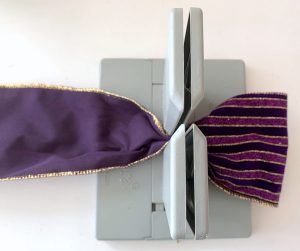
Fold the ribbon on the opposite side, making a four-inch loop, inserting it down into the Bowdabra to form the first bow.
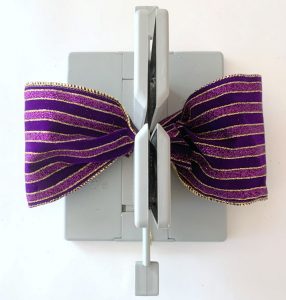
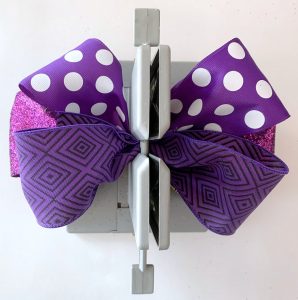
We will be using a total of five different ribbons for each of the four bows in the centerpiece starting with the widest ribbon. It’s easier to cut four 21″ strips of each ribbon at one time.
Continue creating loops for each ribbon strip, as before, pinching one end into the Bowdabra, forming a four-inch loop, twist the ribbon down into the Bowdabra, and . . .
create another loop on the opposite side. As you are making the loops, use the Bowdabra wand to scrunch them down together.
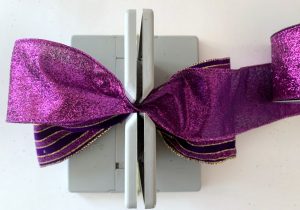
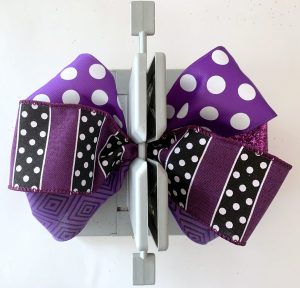
Continue creating different ribbon loops, blending the different designs . . .
and using the Bowdabra wand to scrunch the ribbon down . . .
until all the different ribbon strips are used to form the bow.
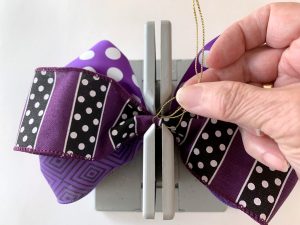
While the bow is still in the Bowdabra, tie together by threading the two loose ends of the bow wire through the loop at the other end. Pull the bow wire tightly before removing the bow from the Bowdabra, then take the bow wire ends around to the back of the bow, tying in a double knot to secure tightly.
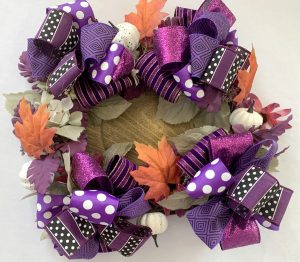
Use the ends of the bow wire to tie the bow to the garland, cutting off excess bow wire when it’s secure. Then fluff the loops of the bow in place.
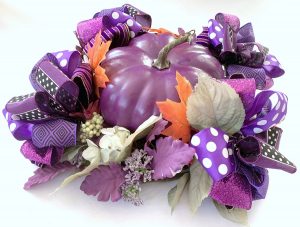
Make three more bows and tie each one to the garland with the Bowdabra bow wire from the bows. Then fluff each bow and add any additional embellishments including a . . .
nine-inch pumpkin to the center.
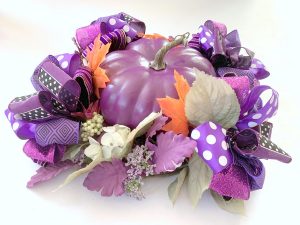
How gorgeous is this!