

Are you ready to think Spring? Let’s get into a Springtime state of mind with this beautiful yellow Spring bow with greenery! One of my favorite features of the Bowdabra is its versatility when making bows. You can make gorgeous bows with one, two, or many ribbons and add greenery or floral accents if you’d like. It’s up to you, and the Bowdabra makes it easy!
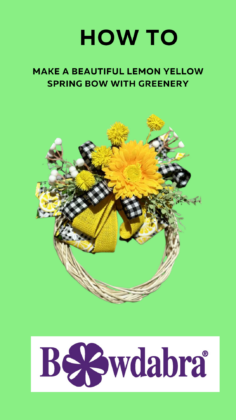
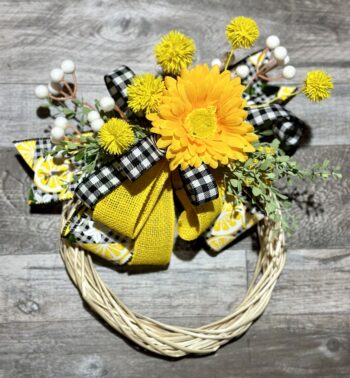
I wanted to make a small Spring wreath for a friend, and this is a perfect size! This 9″ wreath frame is from Dollar Tree and is the ideal way to add a pop of color. Let’s get started!
9″ Wreath Frame (this one is from Dollar Tree)
Bright Yellow Burlap Wired Ribbon
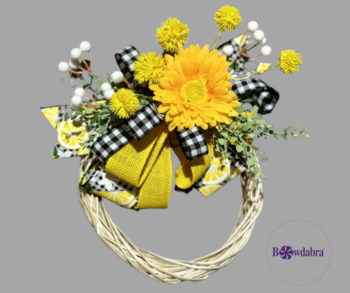
Florals and/or Greenery of your choice (this one has greenery, yellow floral accents, white balls, and a yellow daisy)
Bowdabra Gold Wire or Zip Tie and Pipe Cleaner
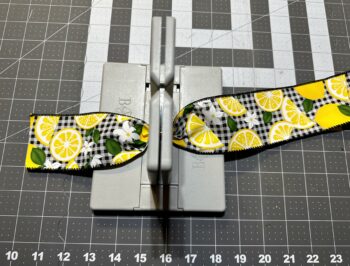
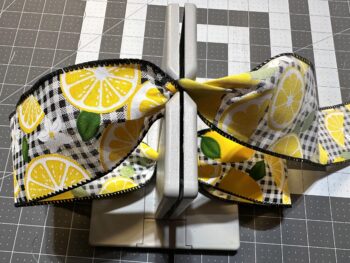
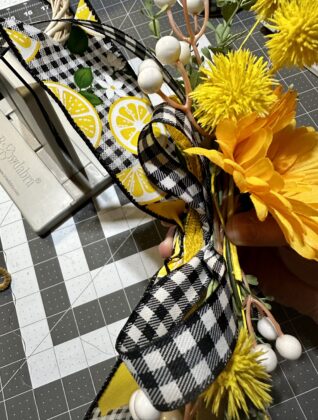
First, start with the Lemon and Bloom’s ribbon.
Next, measure 6″ and put it into the Bowdabra at the 6-inch mark. This makes the first tail.
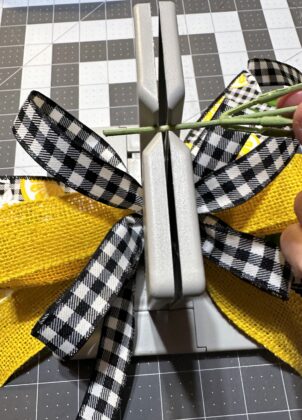
Then, twist the ribbon so the backside of the ribbon shows on the right side. Measure 4 inches, twist, and put into the Bowdabra, making the first loop.
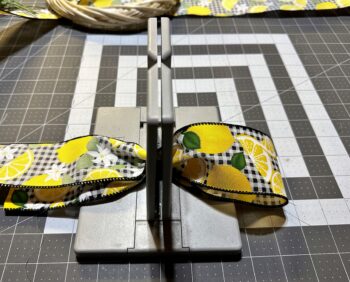
Next, repeat the process on the other side to have two 4-inch loops. Here’s a photo of what the ribbon looks like when you twist and push the ribbon down into the Bowdabra.
Now we have completed the first ribbon! I dovetail my ribbons as each is complete in the Bowdabra. Repeat the process with the Yellow Burlap ribbon next. Measure a 6-inch tail, twist, and push into the Bowdabra.
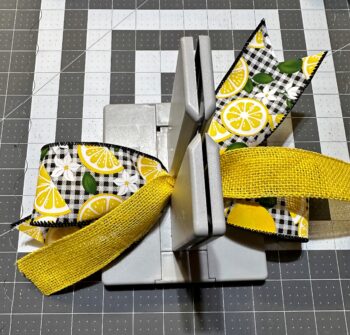
Measure a 3″ loop this time and twist, then repeat so you’ll have two 3-inch loops, one on each side. Dovetail the yellow burlap ribbon, if you’d like.
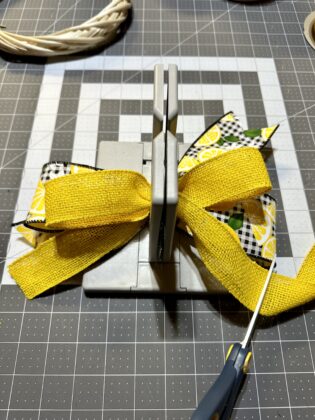
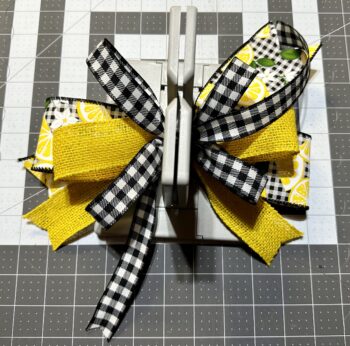
Now let’s repeat this process with a thinner black and white plaid ribbon. This one has 8″ tails, so we can curl them up when complete. Then make two 3-inch loops on each side for four loops. This adds a nice texture element to the ribbon design. Don’t forget to dovetail the ribbon when you’re done.
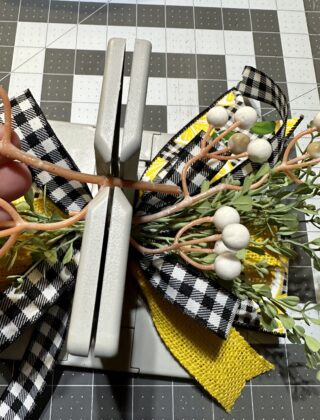
Now that the ribbon is complete let’s move on to the floral elements. Start with your choice of greenery to your yellow spring bow.
I used two pieces with stems long enough to place in the Bowdabra, one on each side.

NEepeat the process with the rest of your florals! I added the white balls next, repeating the process with one set on each side of the bow. Just leave enough stem to go through the Bowdabra horizontally.
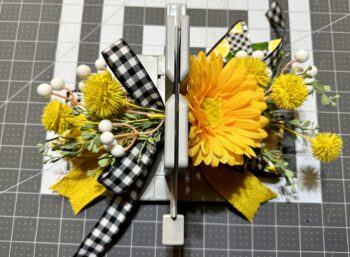
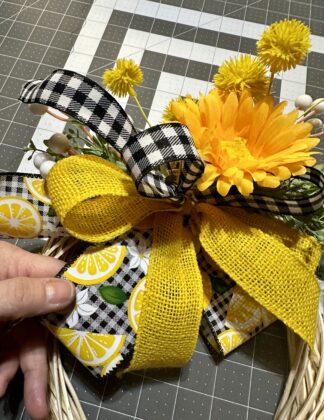
Complete with a focal flower. I chose a yellow daisy for this design, and it highlights the yellow lemons and the yellow burlap ribbon.
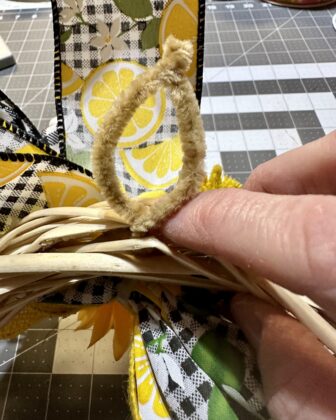
After using the Bowdabra Wand to compress the bow, gently remove it from the Bowdabra. Place your hand under the bow and hold it firmly with your thumb and finger. If you use the Bowdabra wire, gently remove and pull the wire to tighten around the ribbon and florals. I used a zip tie to secure this one and added a pipe cleaner to attach it to the wreath form.
Place the pipe cleaner around or through the wreath. Tip – use the pipe cleaner to form a circle for a wreath hanger!
Now enjoy arranging your bow as you like! You can put a little hot glue to secure the ribbons or florals where you’d like them, but this is up to you. When you’re happy with the design, hang it in your favorite space to enjoy.
Be sure and visit Bowdabra designer, Amanda at Whimsey wreath design company for more of her fabulous creations!


