


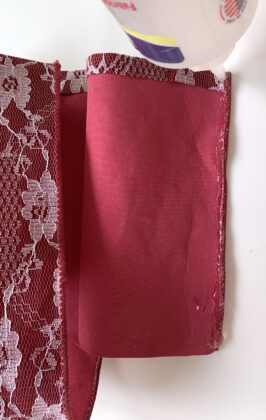
First, cut one strip of 4″wide wired ribbon, 16″ long and two strips, 6″ long. I am making a gift bag approximately 6″ tall. To get to this measurement of the longer strip at 16 inches, take the width of the ribbon (4″) and subtract it from the length (16″) to get 12″. Divide by 2 (short sides) to get 6 inches for the height. You can use this to make any height gift bag.

Once you have the lengths of the ribbon lined up, place the longer strip in between the two shorter strips. Fold over (1/4″) the top edges on each strip and glue down, making sure the lengths are even. Also fold down and glue together the bottom edge of the longer strip (not shown).

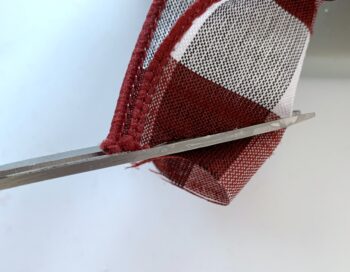
Begin adding glue along one edge of the shorter strip and one edge of the longer strip, stopping where the shorter strip ends and . . .

press edges together to bond. Let dry.


Once that side has bonded together, continue adding glue to the next side of the short strip edge to the longer strip edge and . . .

bond together.

Make sure to add glue in the corners and press firmly together. Continue to the third side, moving around the short strip adding glue to its’ edge and . . .

Be sure to go around all three sides, pressing together, making sure all the edges are glued together, especially the corners. Add additional glue if needed.


Next, cut two strips of ribbon, 1/2″ wide and 8″ long. Lay on work surface. Cut two cording pieces 12″ long. Lay ends of one cord on top of one ribbon strip in a horseshoe shape. Add glue along strip and under cord ends. Add additional glue on top of the cord ends that are on the ribbon strip.


Once the handle strips are dry, add glue to the back of the each strip, one at a time, and attach each one to the front and back inside top of bag. Clamp in place and let dry.

Then take the 12″ strip of ribbon and pinch the ribbon in the middle and insert down into the Mini Bowdabra for the bow tails.


Create a loop by folding over the ribbon at the 3″ mark on the Bowdabra measuring tool. Twist the ribbon down into the Mini Bowdabra smoothing the ribbon out.


Use the Mini Bowdabra wand to crunch down the bow.

While the bow is still in the Mini Bowdabra, thread the two loose ends of the bow wire through the loop, pulling tightly while gently pulling the bow out.

Take the end of the ribbon in the center over the bow wire, tucking under into a decorative knot for a finished look!
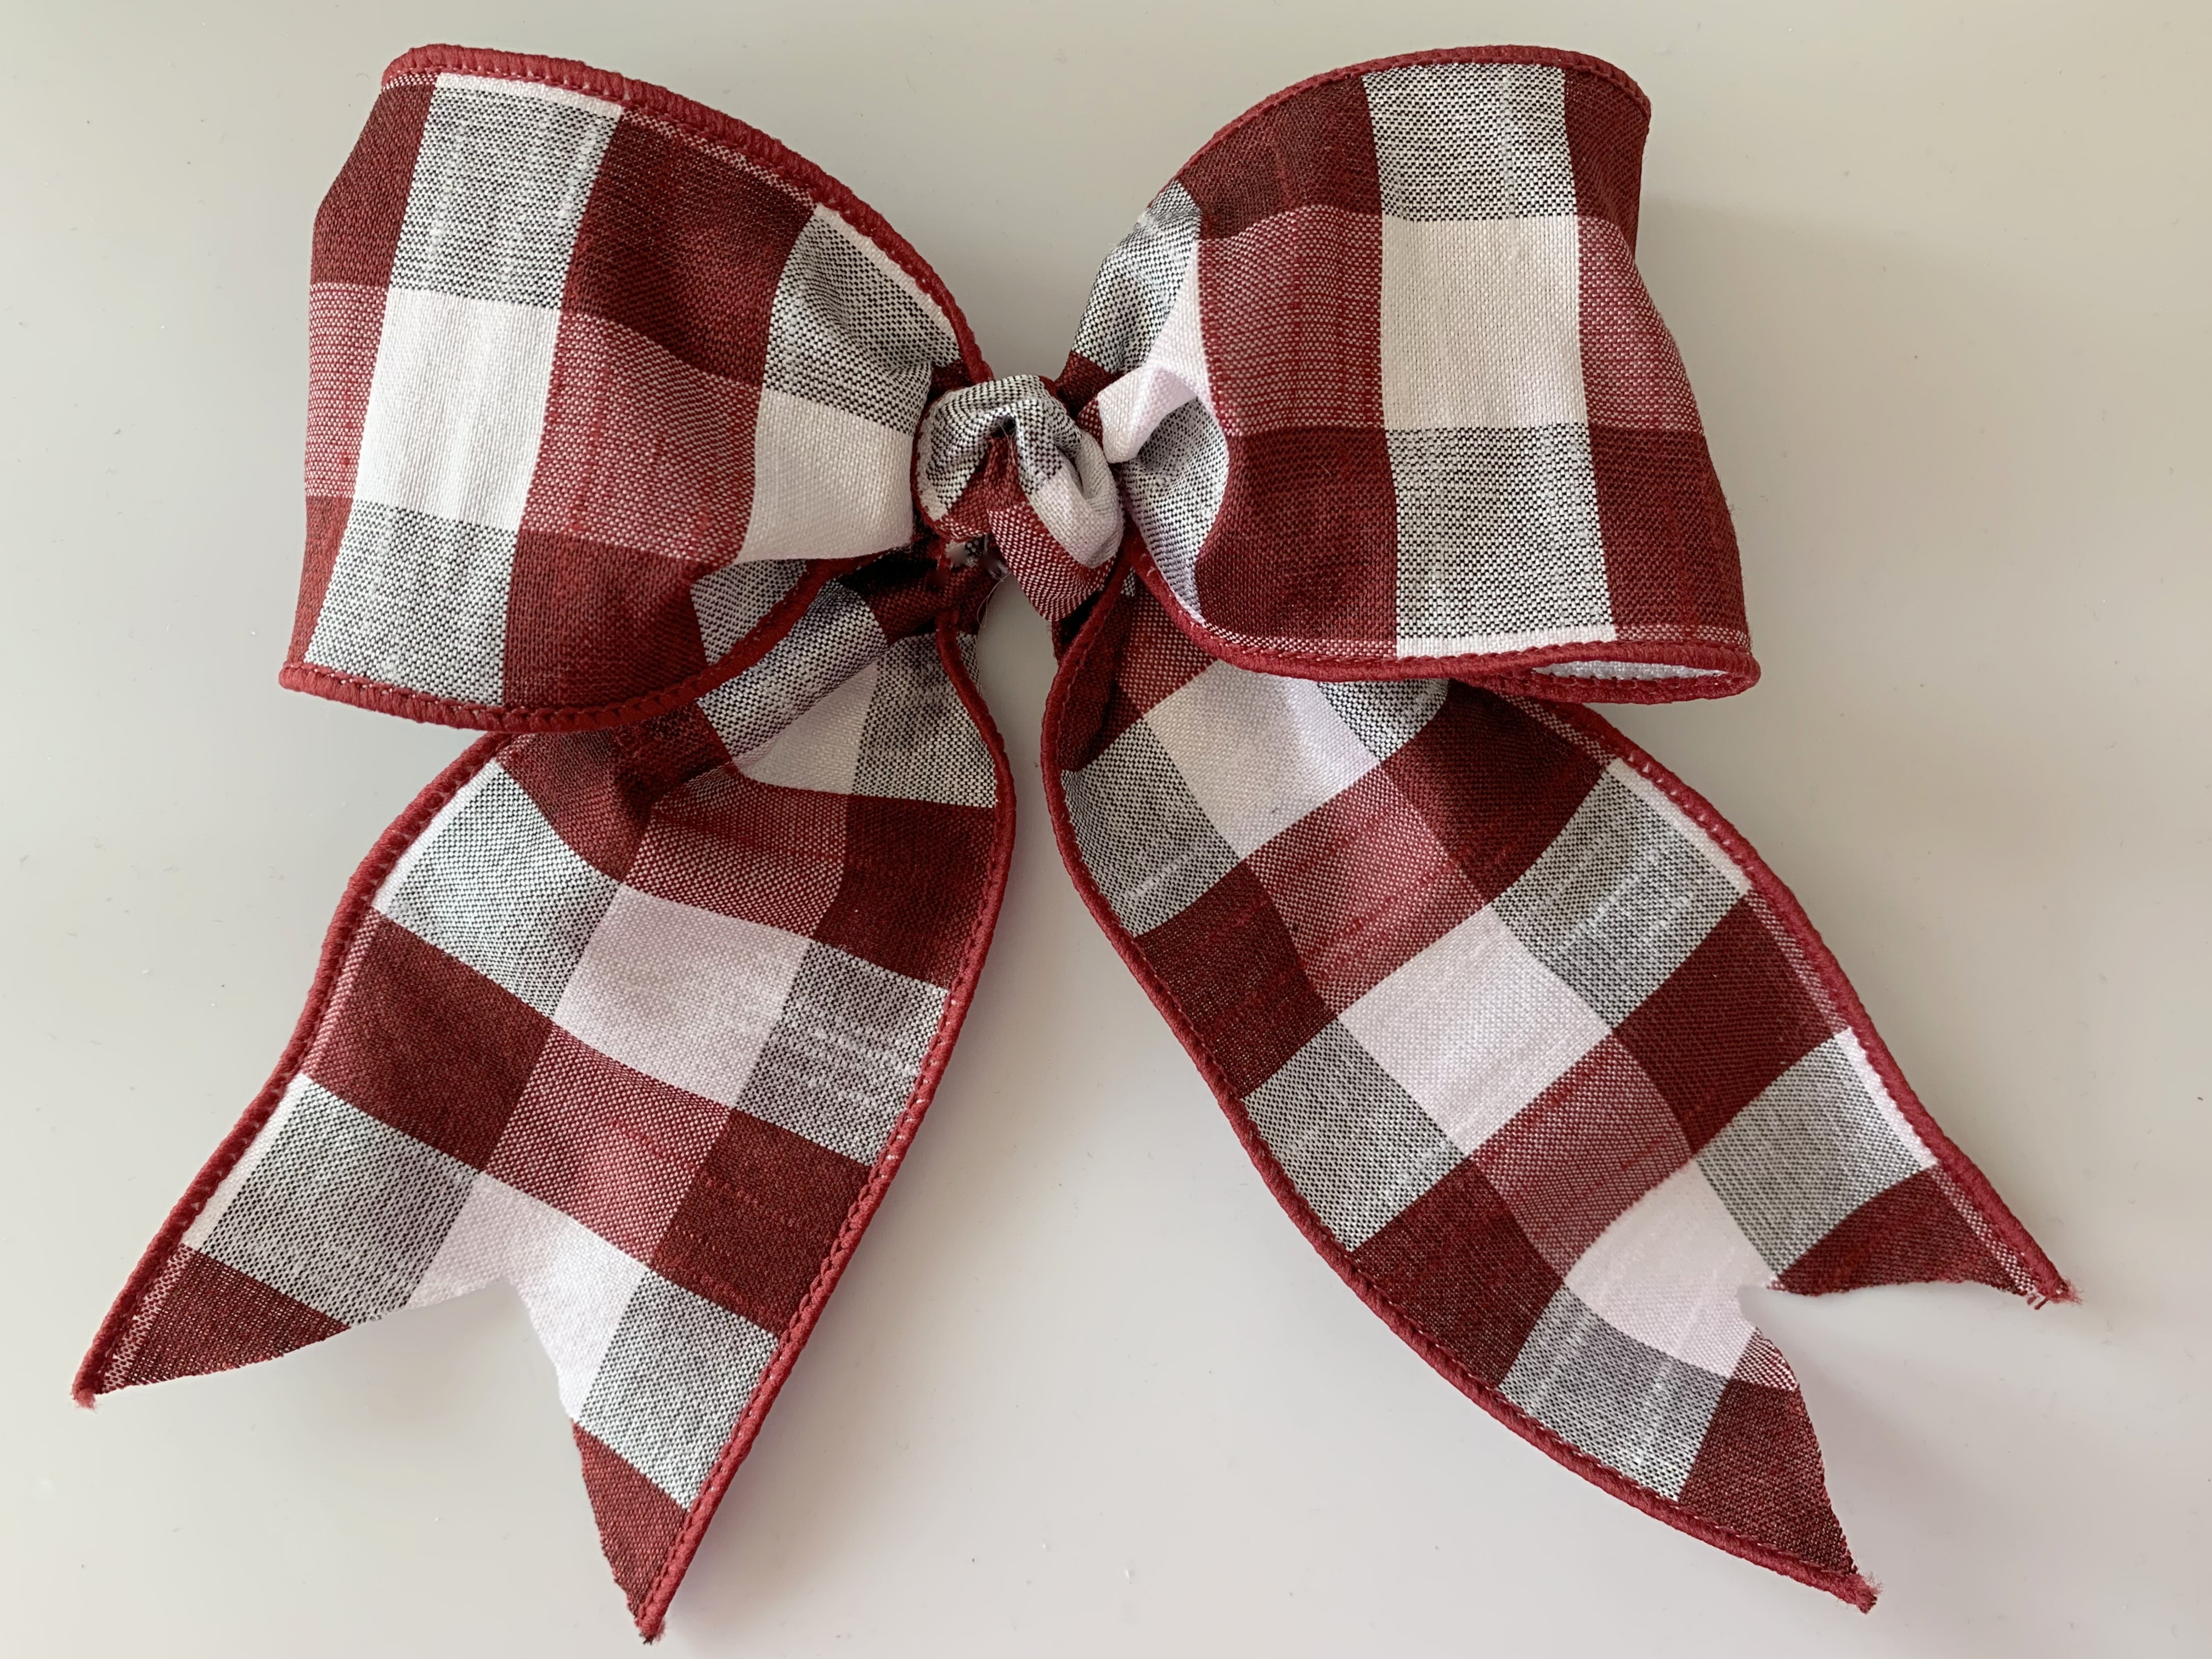
Attach the bow to the top center of the ribbon gift bag, gluing in place. Fluff the bow for a fabulous designer look!


