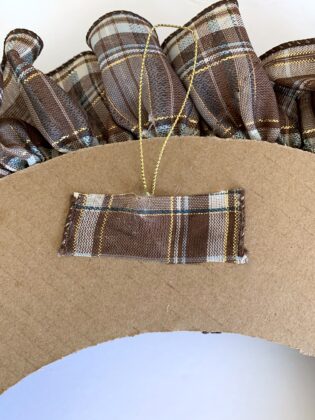
Here’s an amazing DIY decorative ruffled wreath using wired ribbon on cardboard and adorned with a Bowdabra bow that’s topped with a ribbon rosette. How fabulous does that sound!
First, let’s begin by drawing a 13″ circle on cardboard using a 13″ wood hoop or any round object such as a cookware top or bowl.
Next, place a top or bowl in the center of the cutout cardboard circle that measures three inches from the edge of the circle and draw another circle. I used an 8″ plastic bowl for this. Then, cutout the inner circle and . . .
It took about nine feet of wired ribbon to make one ruffle to fit around the cardboard wreath. Leave a bit of wire on the end, wrapping it around into a knot, cutting off excess ribbon.
Apply glue along the edge of the ruffle ribbon and fold over to make a small hem. Do the same for the other ribbon end adding glue and folding ribbon end over to make a small hem. Attach the ruffle to the cardboard using Fabri-Tac fabric glue along the cardboard edge in increments.
Smoothly press down the ruffle edge of the ribbon along the edge as you apply the glue . . .
Repeat creating the second ruffle using the same techniques as before and . . .
for the third ruffle, spacing the ruffles to cover the cardboard wreath.
Doesn’t this wreath look gorgeous with the three rows of ruffle ribbon! Wait until you add the bow!

Fold a 18″ length of bow wire in half and place in the Bowdabra, tucking ends under. Leaving the wired ribbon on the roll, pinch the ribbon in the center and twist down into the Bowdabra, leaving six inches for the tail. Create a 6.5″ loop by folding over the ribbon, twisting the ribbon down into the Bowdabra smoothing the ribbon out.
Next, make another loop, slightly shorter than the first two, folding over, twisting the ribbon down into the Bowdabra and making another loop on the opposite side for a total of four loops (two on each side), leaving enough ribbon for a matching tail cutting off the excess ribbon.
Use the Bowdabra wand to crunch down the bow.
Crush down the ribbon using the Bowdabra wand. Then cut off excess ribbon.
While the bows are still in the Bowdabra, thread the two loose ends of the bow wire through the loop, pulling tightly, gently pulling it out.
Tie in a double knot at the back to secure. Cut off excess bow wire.
Dovetail the ribbon ends by folding the ribbon together and cutting at an angle from the corner tip up to the fold.
To make the ribbon rosette for the center of the bow, cut off about 18 inches of ribbon. Begin by gently pulling the wire out of one side of the ribbon to create the ruffle. Glue down the ribbon ends to secure the wire and ruffle.
Begin coiling the ribbon tightly for the center forming a “bud.”
Continue coiling the ribbon, loosely until . . .
a rosette is formed. Use a clamp to hold in place.
Then wrap the excess wire around the base and . . .
glue in place to the center of the bow.